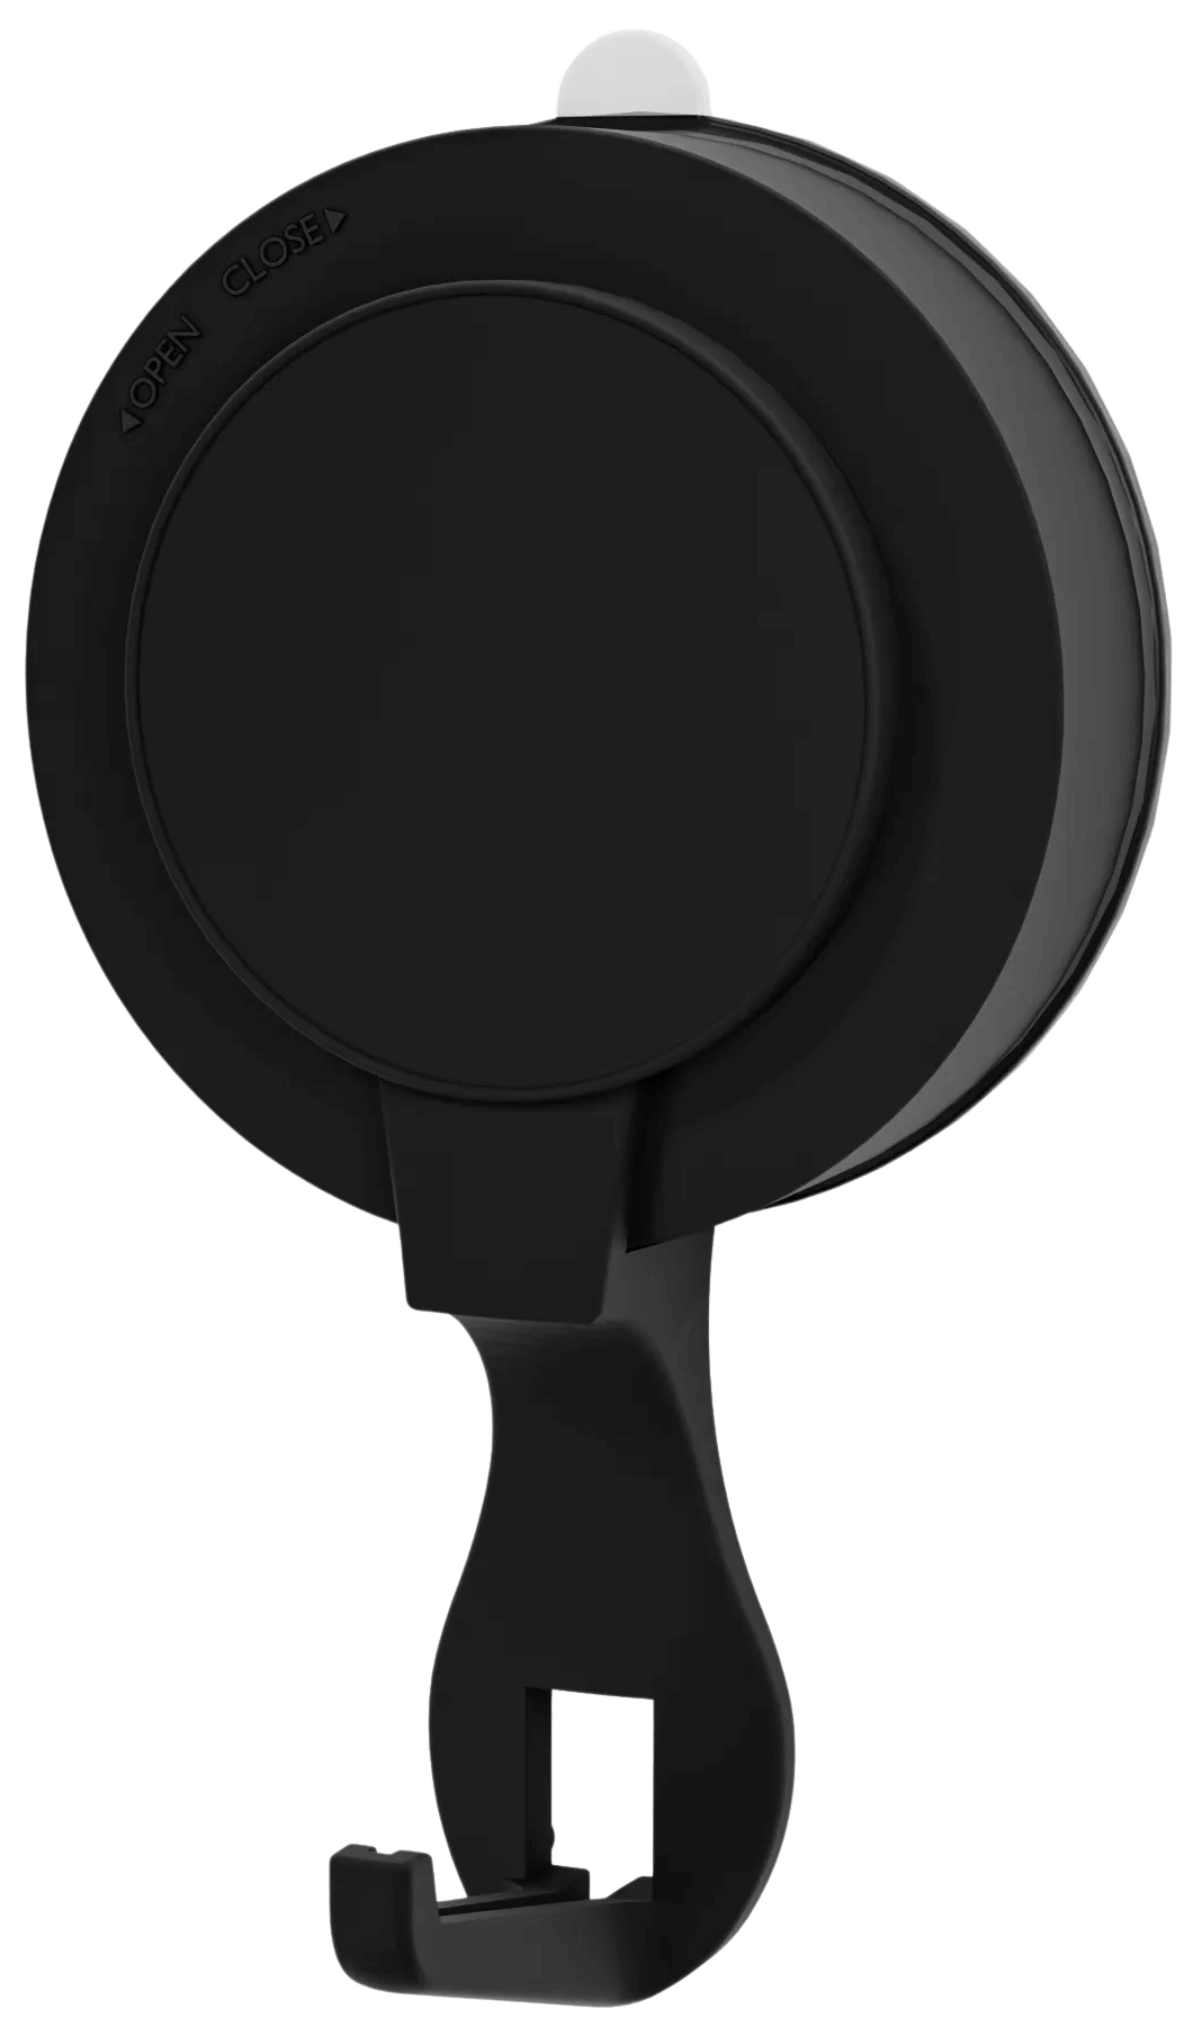
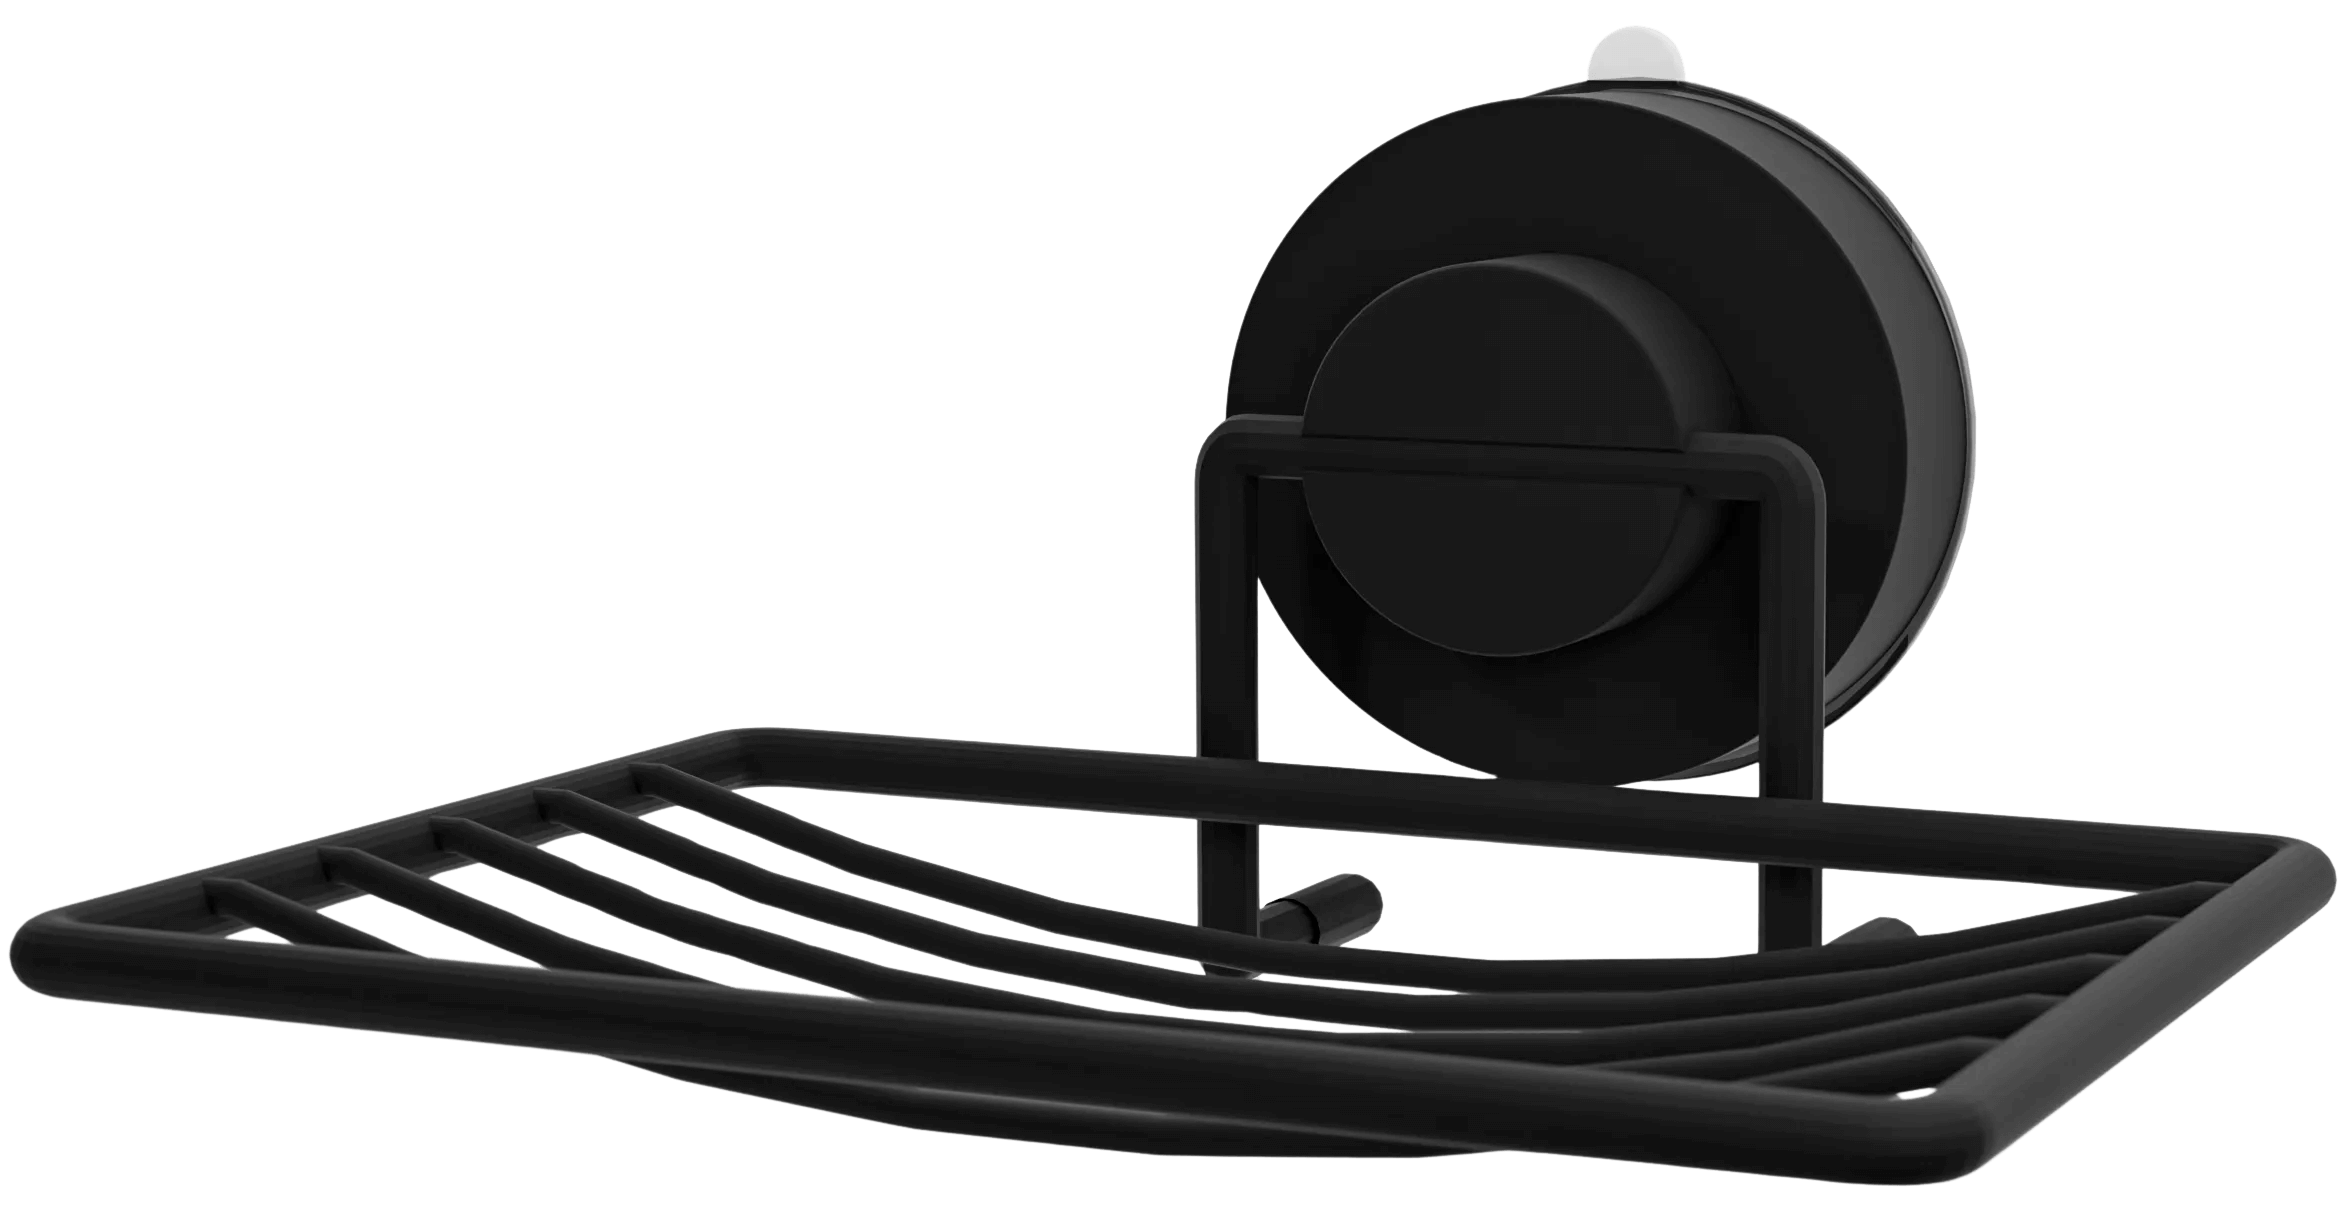
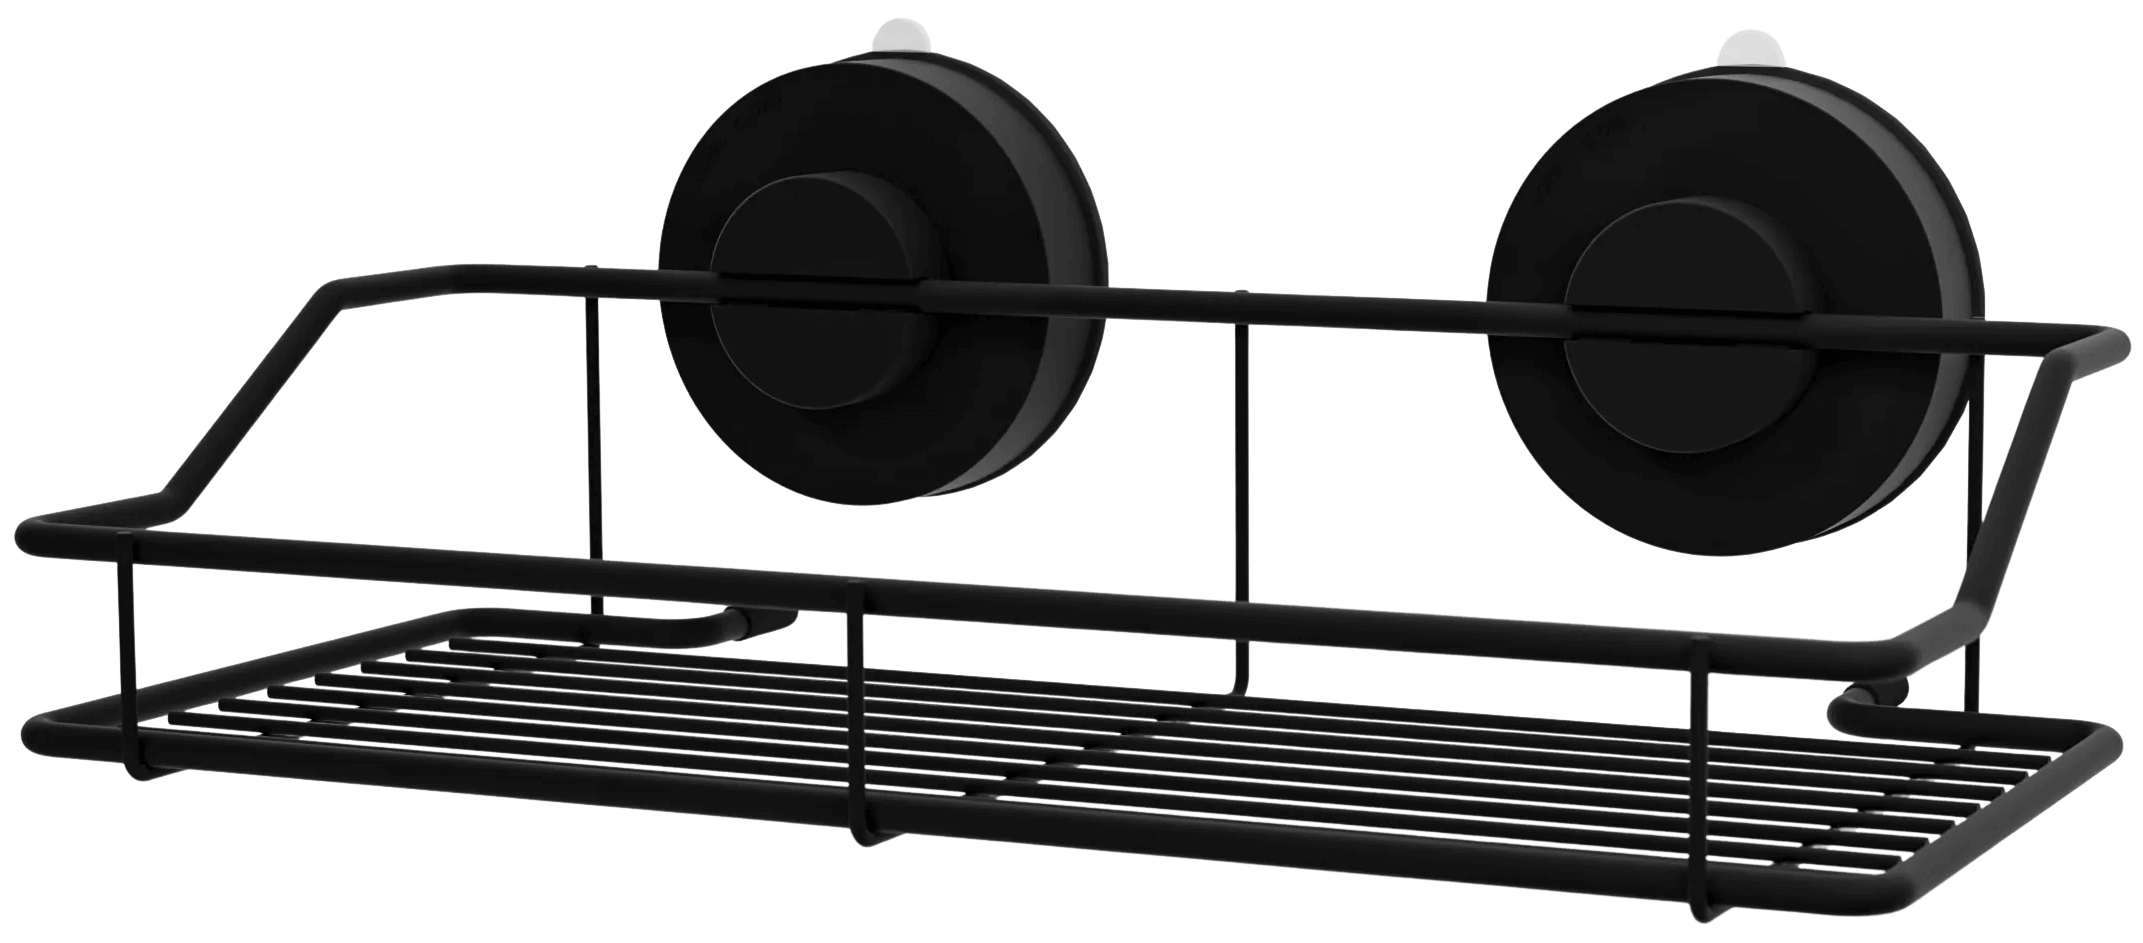
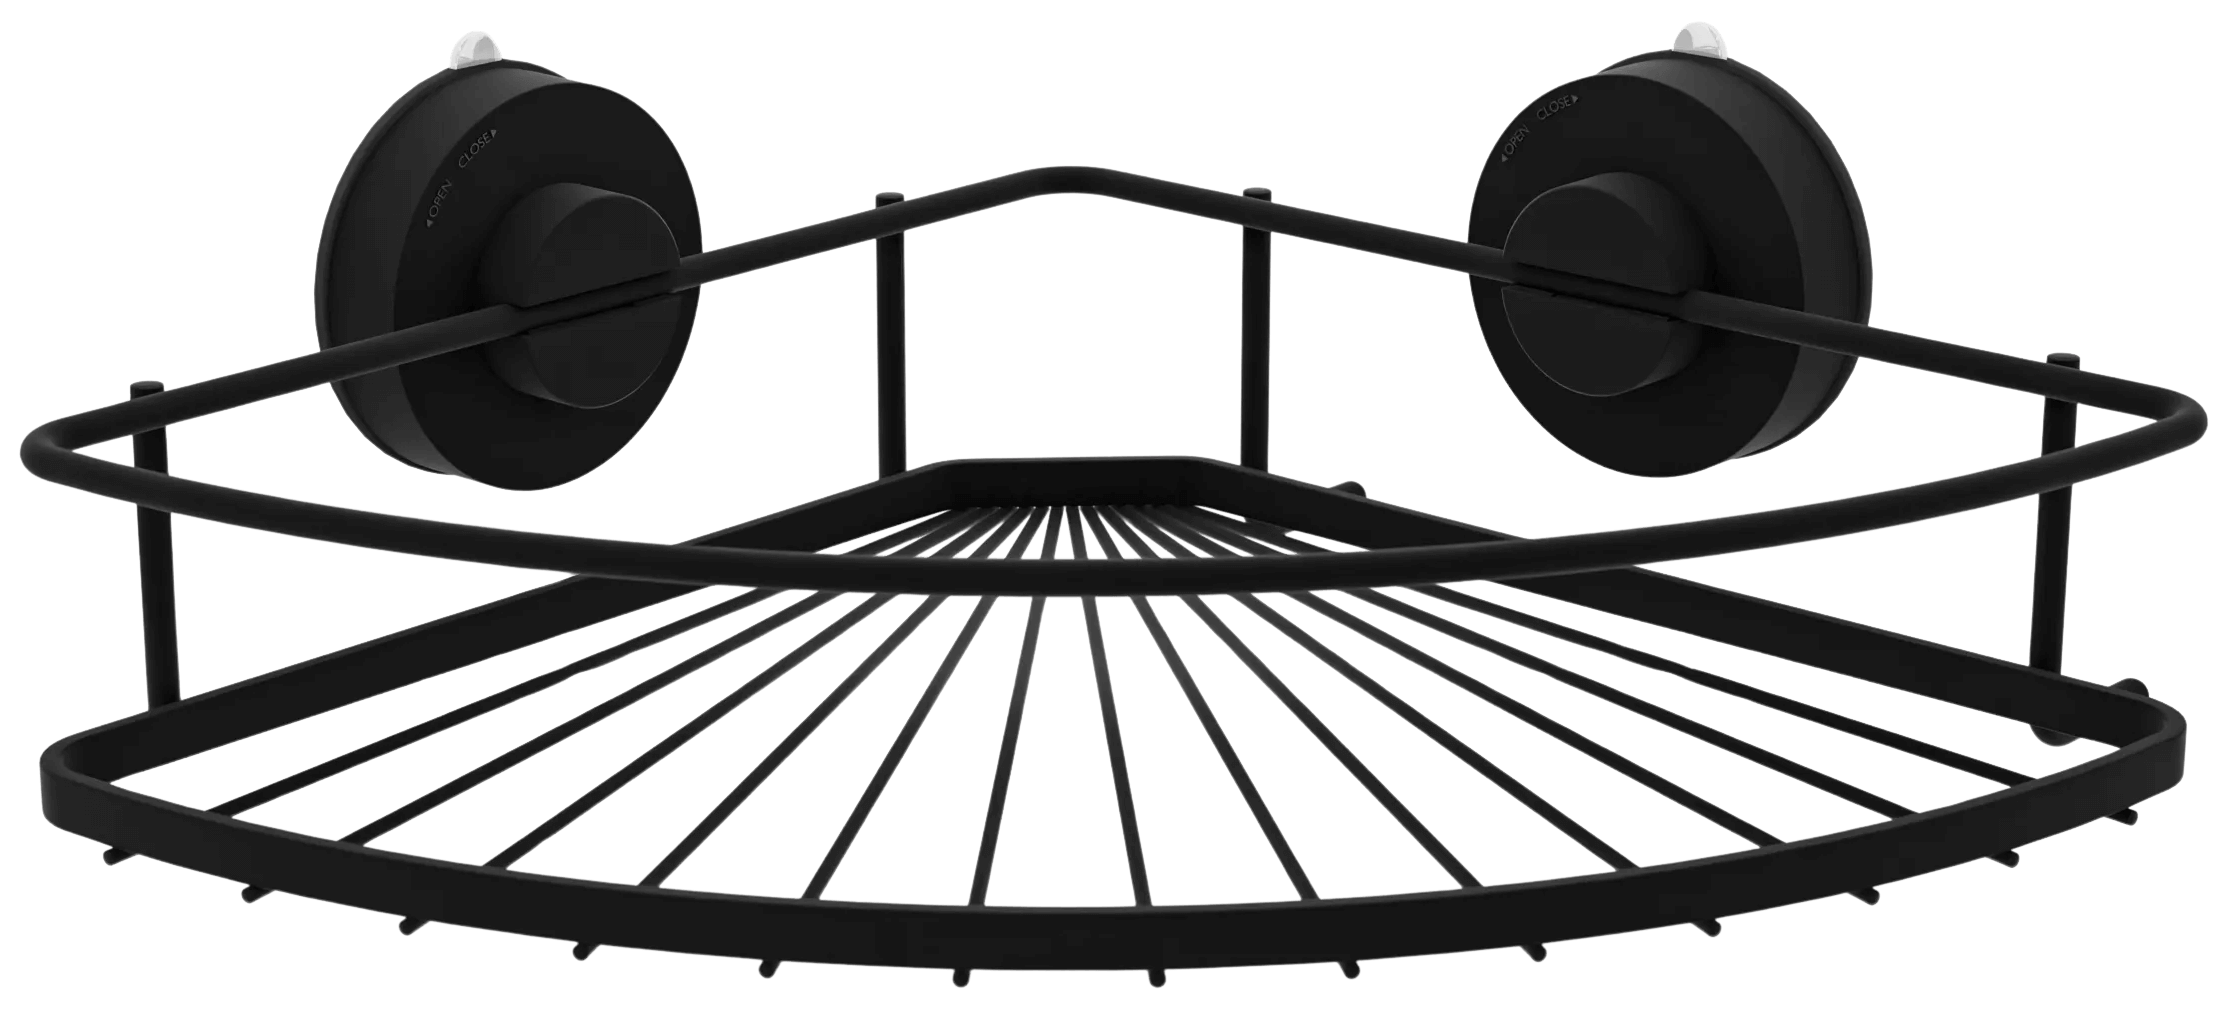

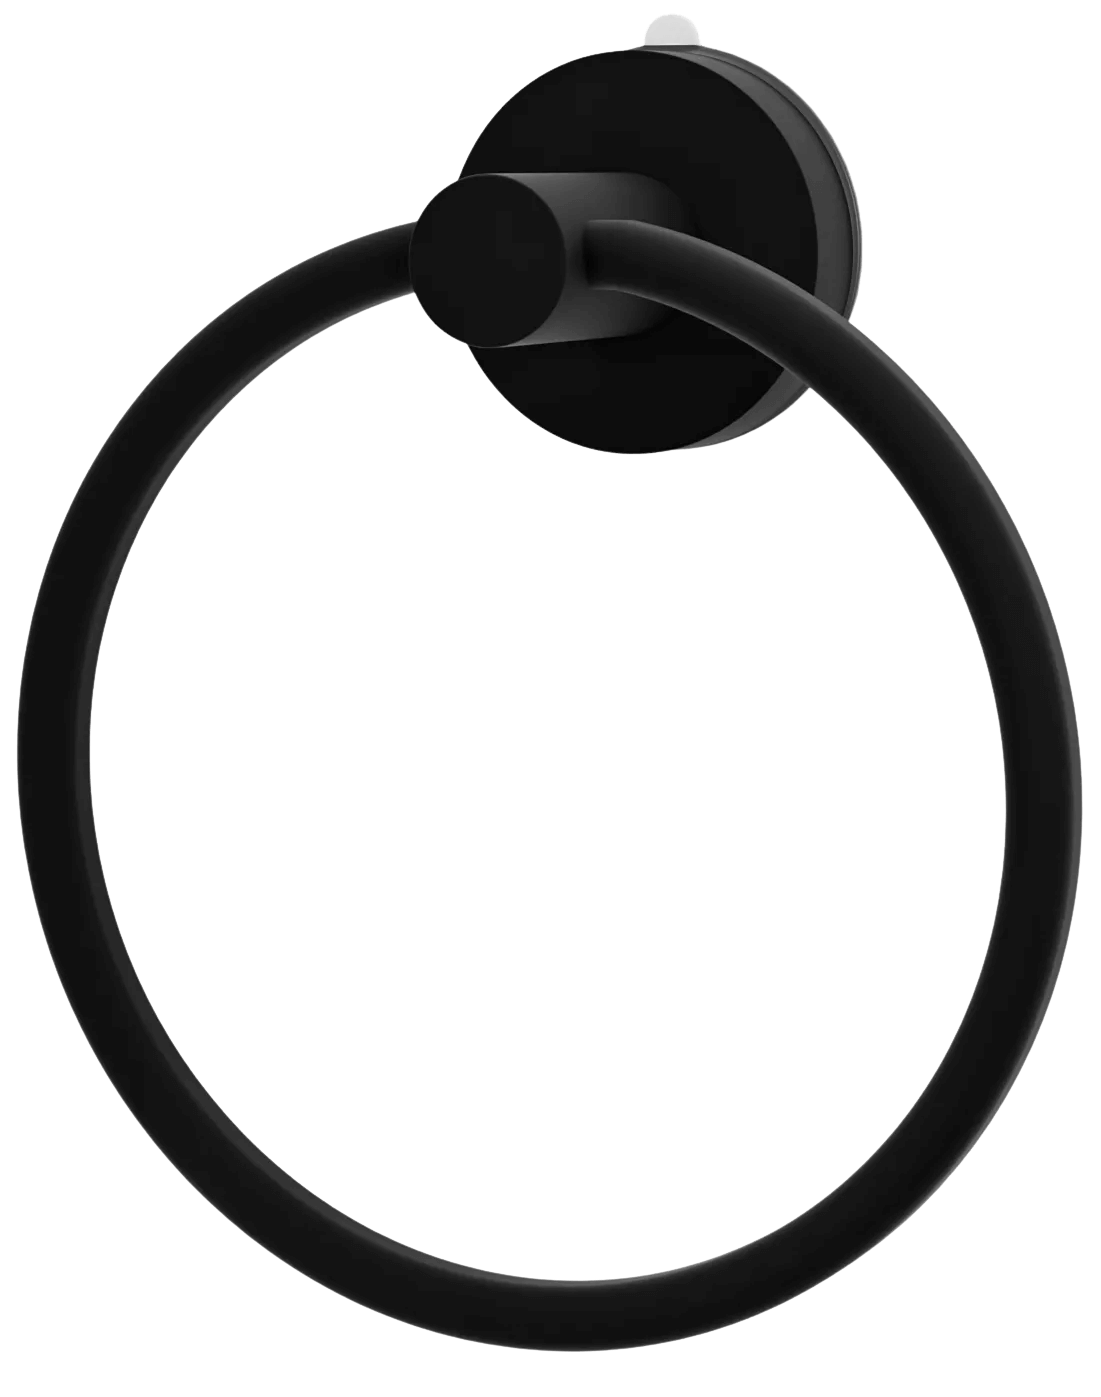
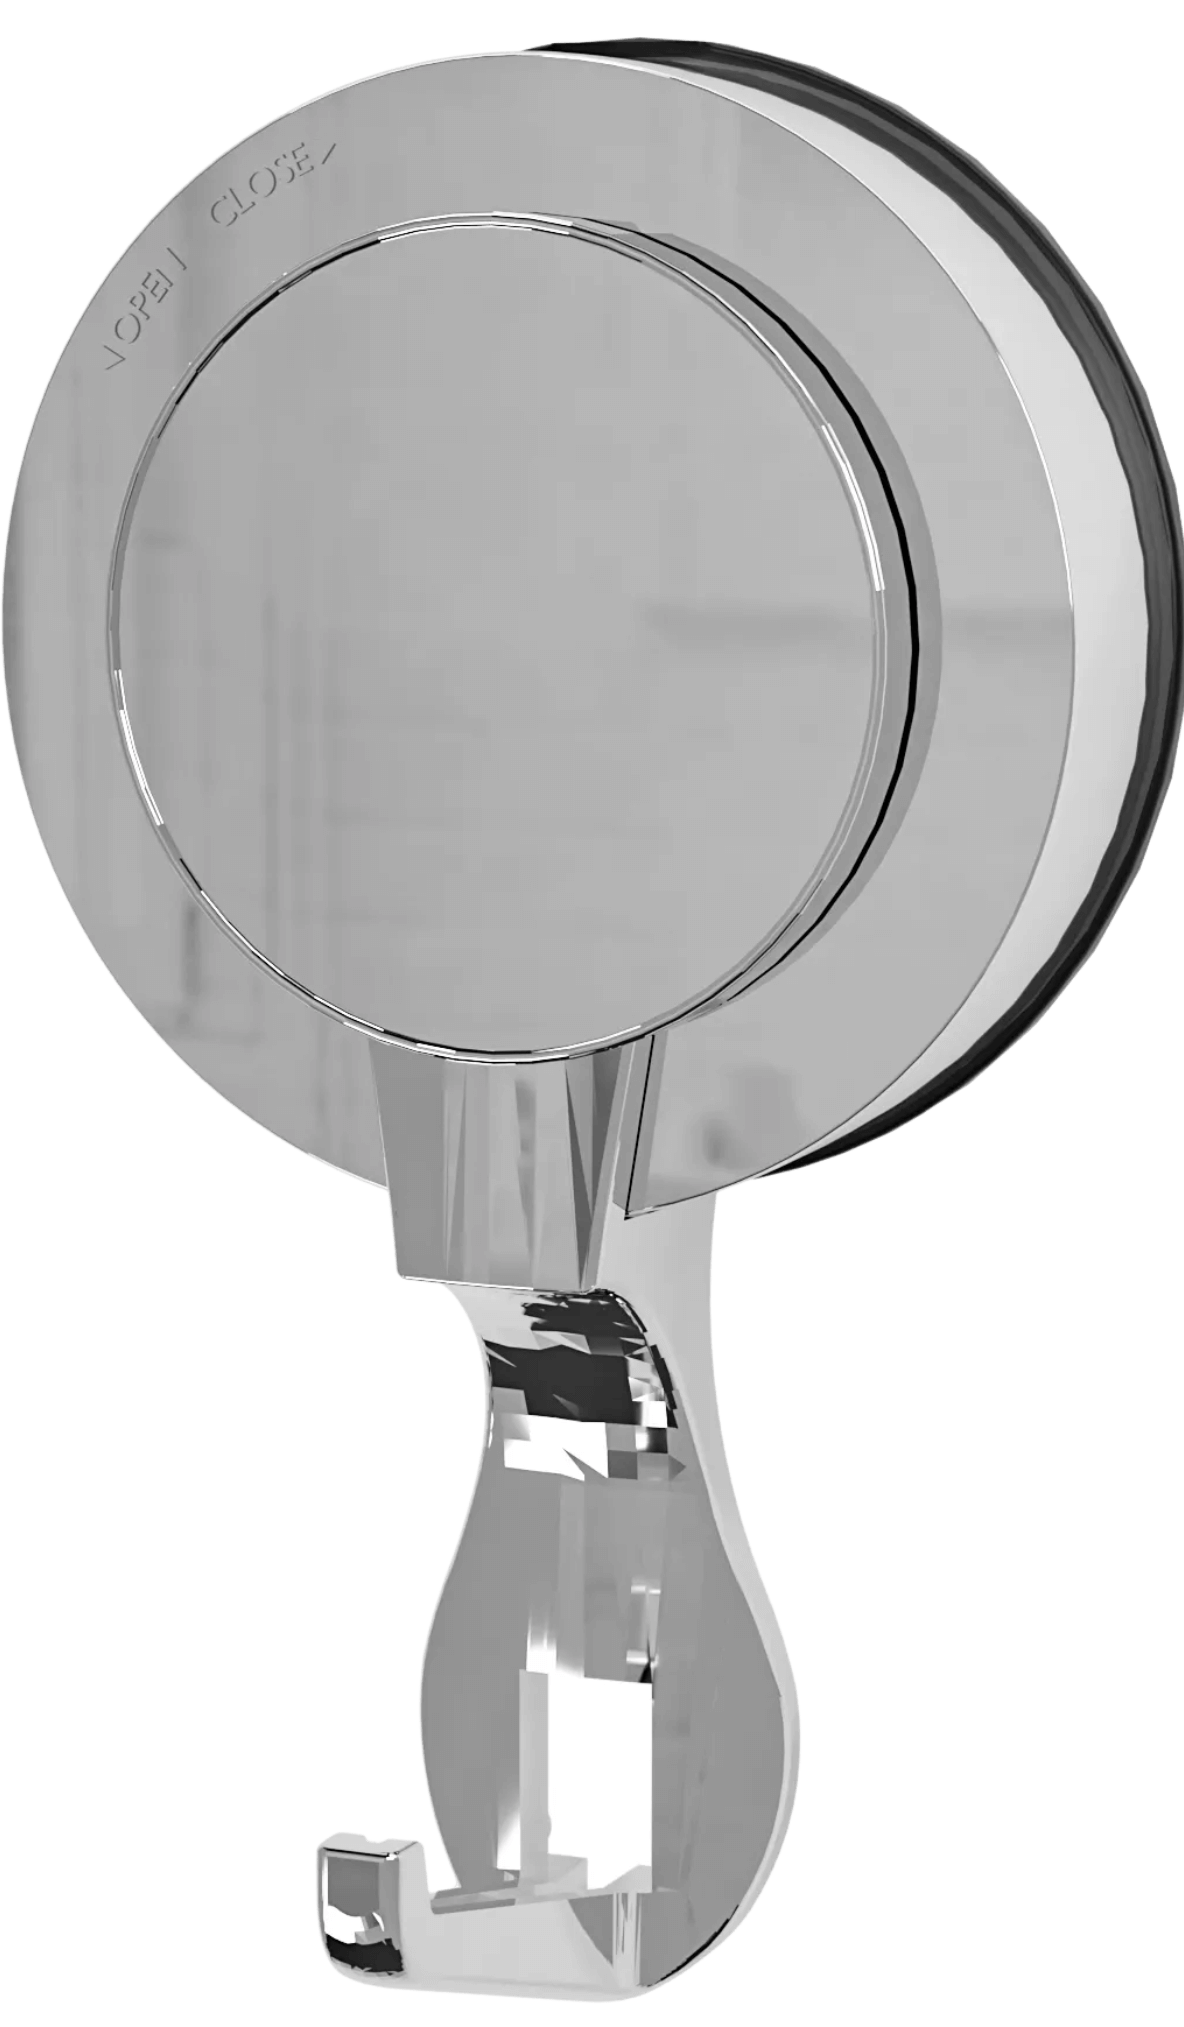
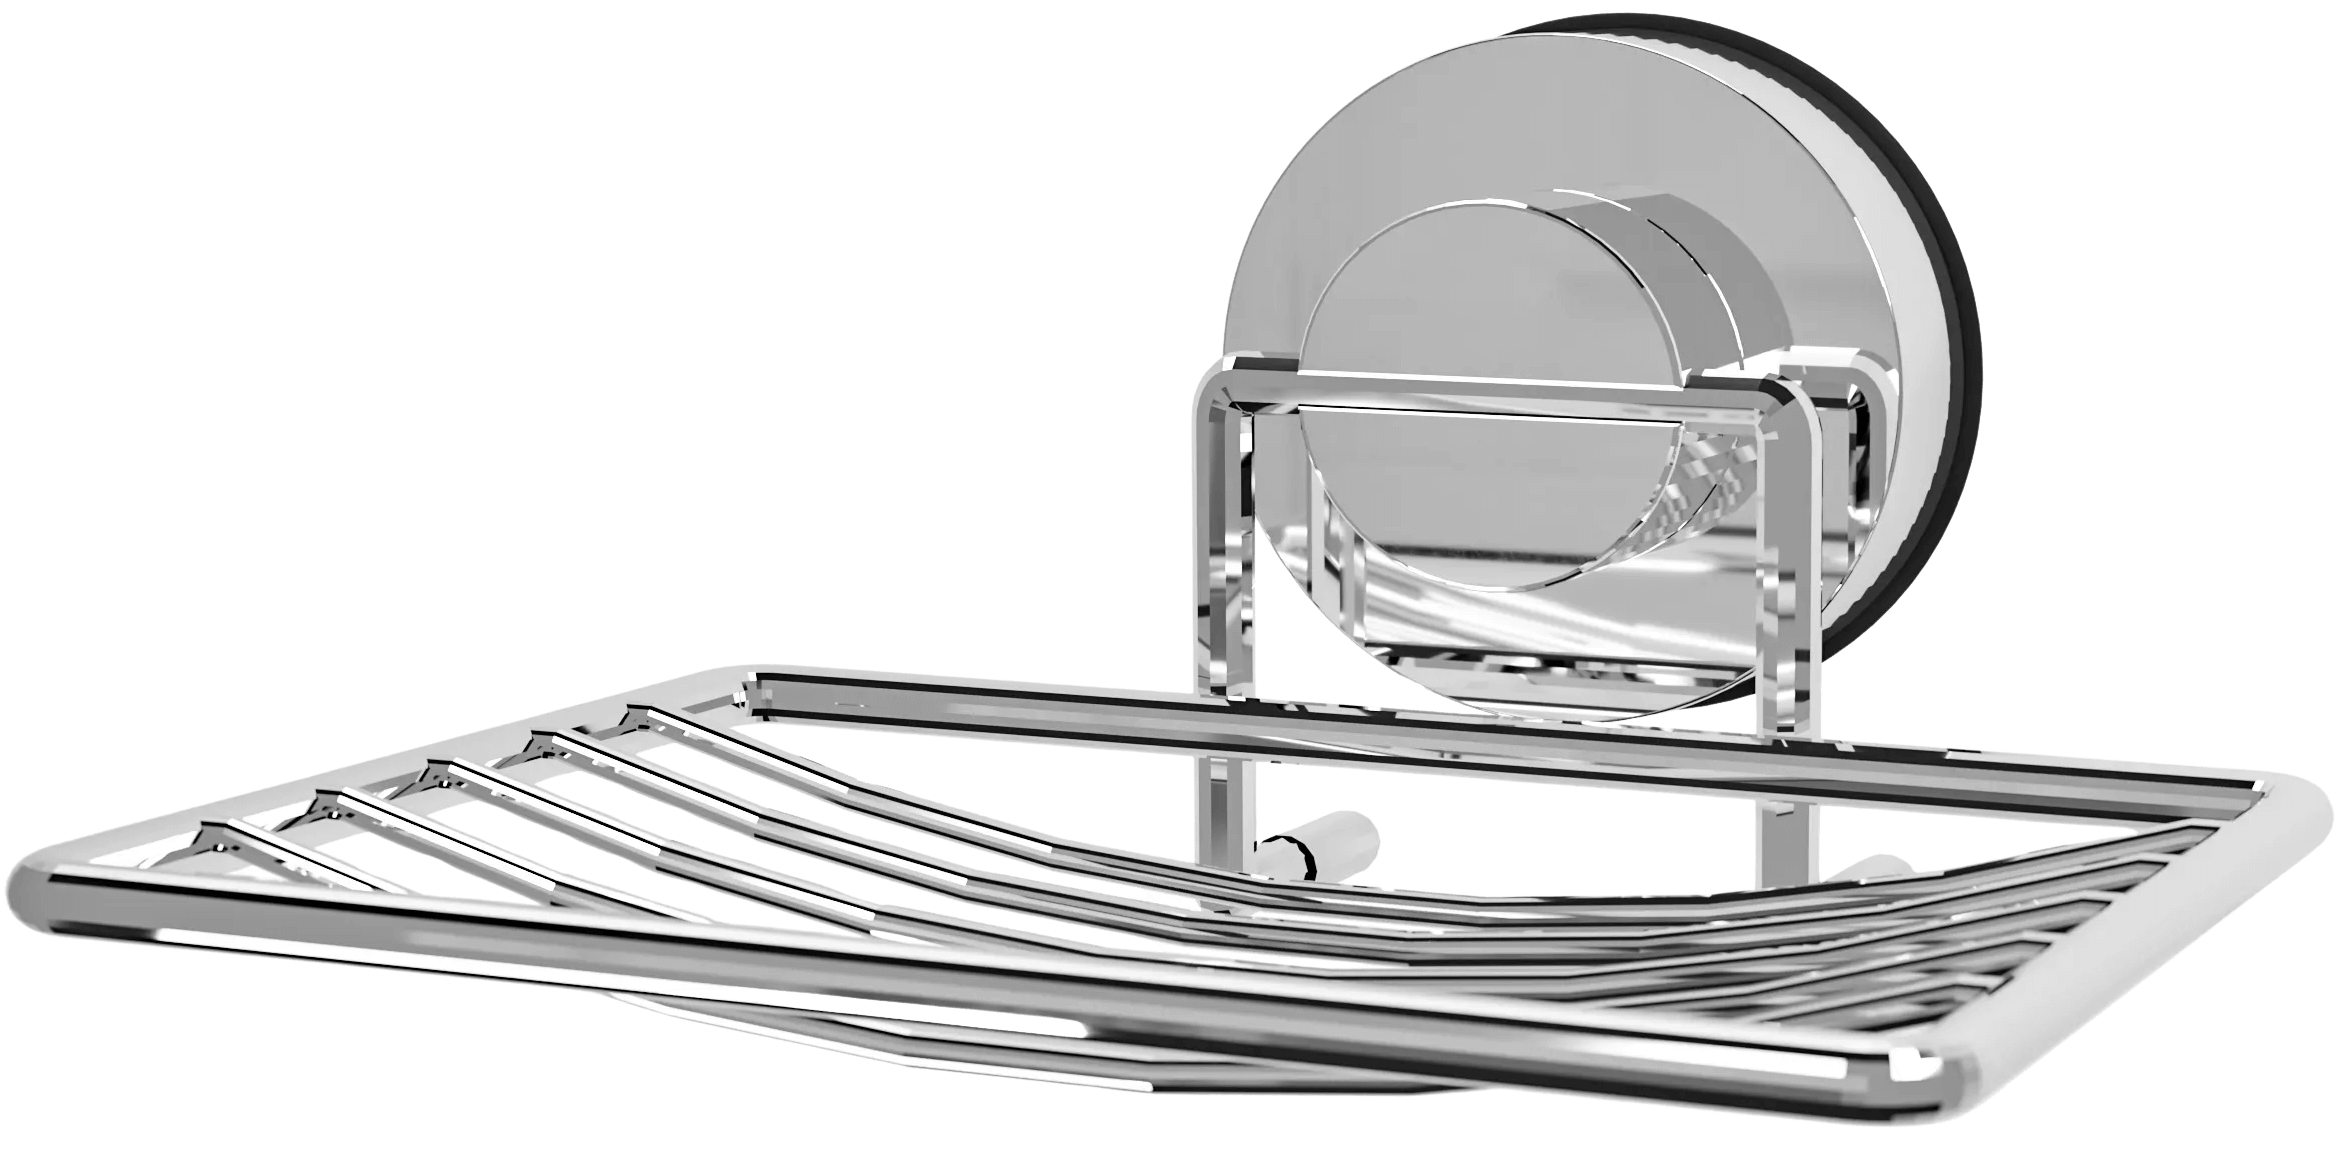
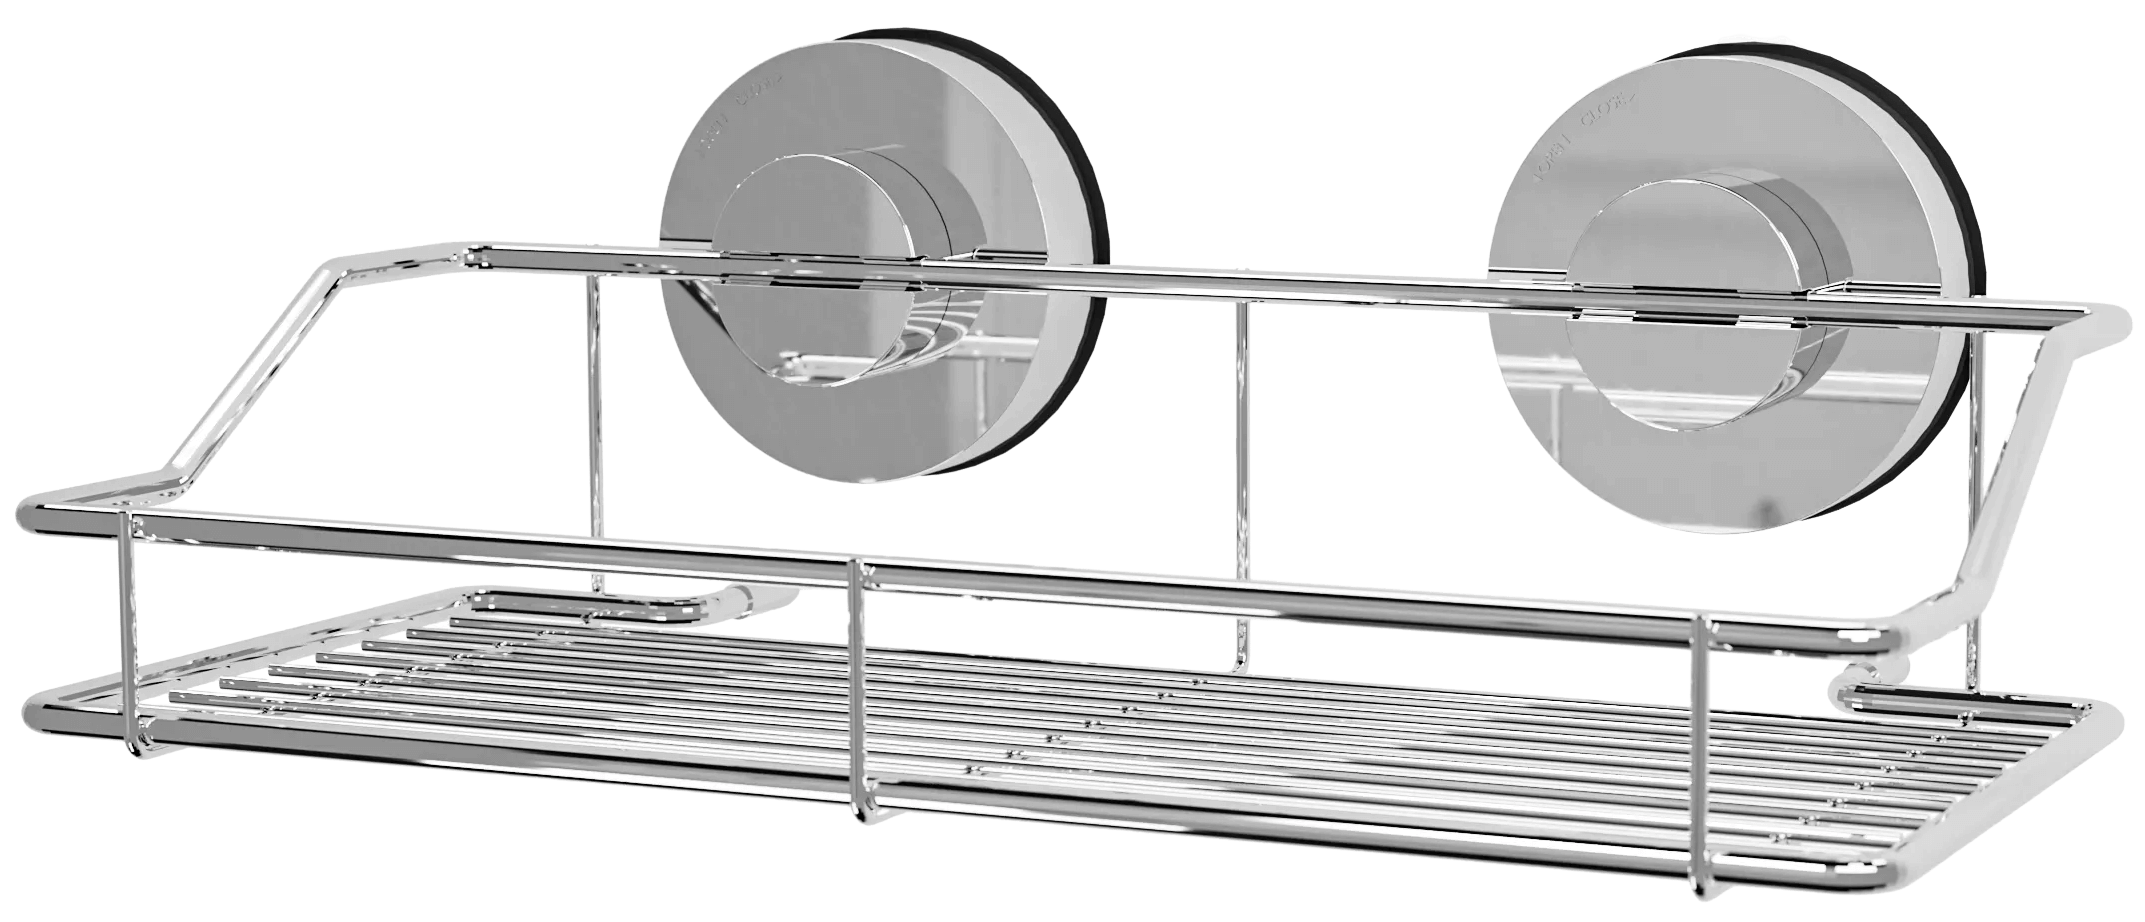
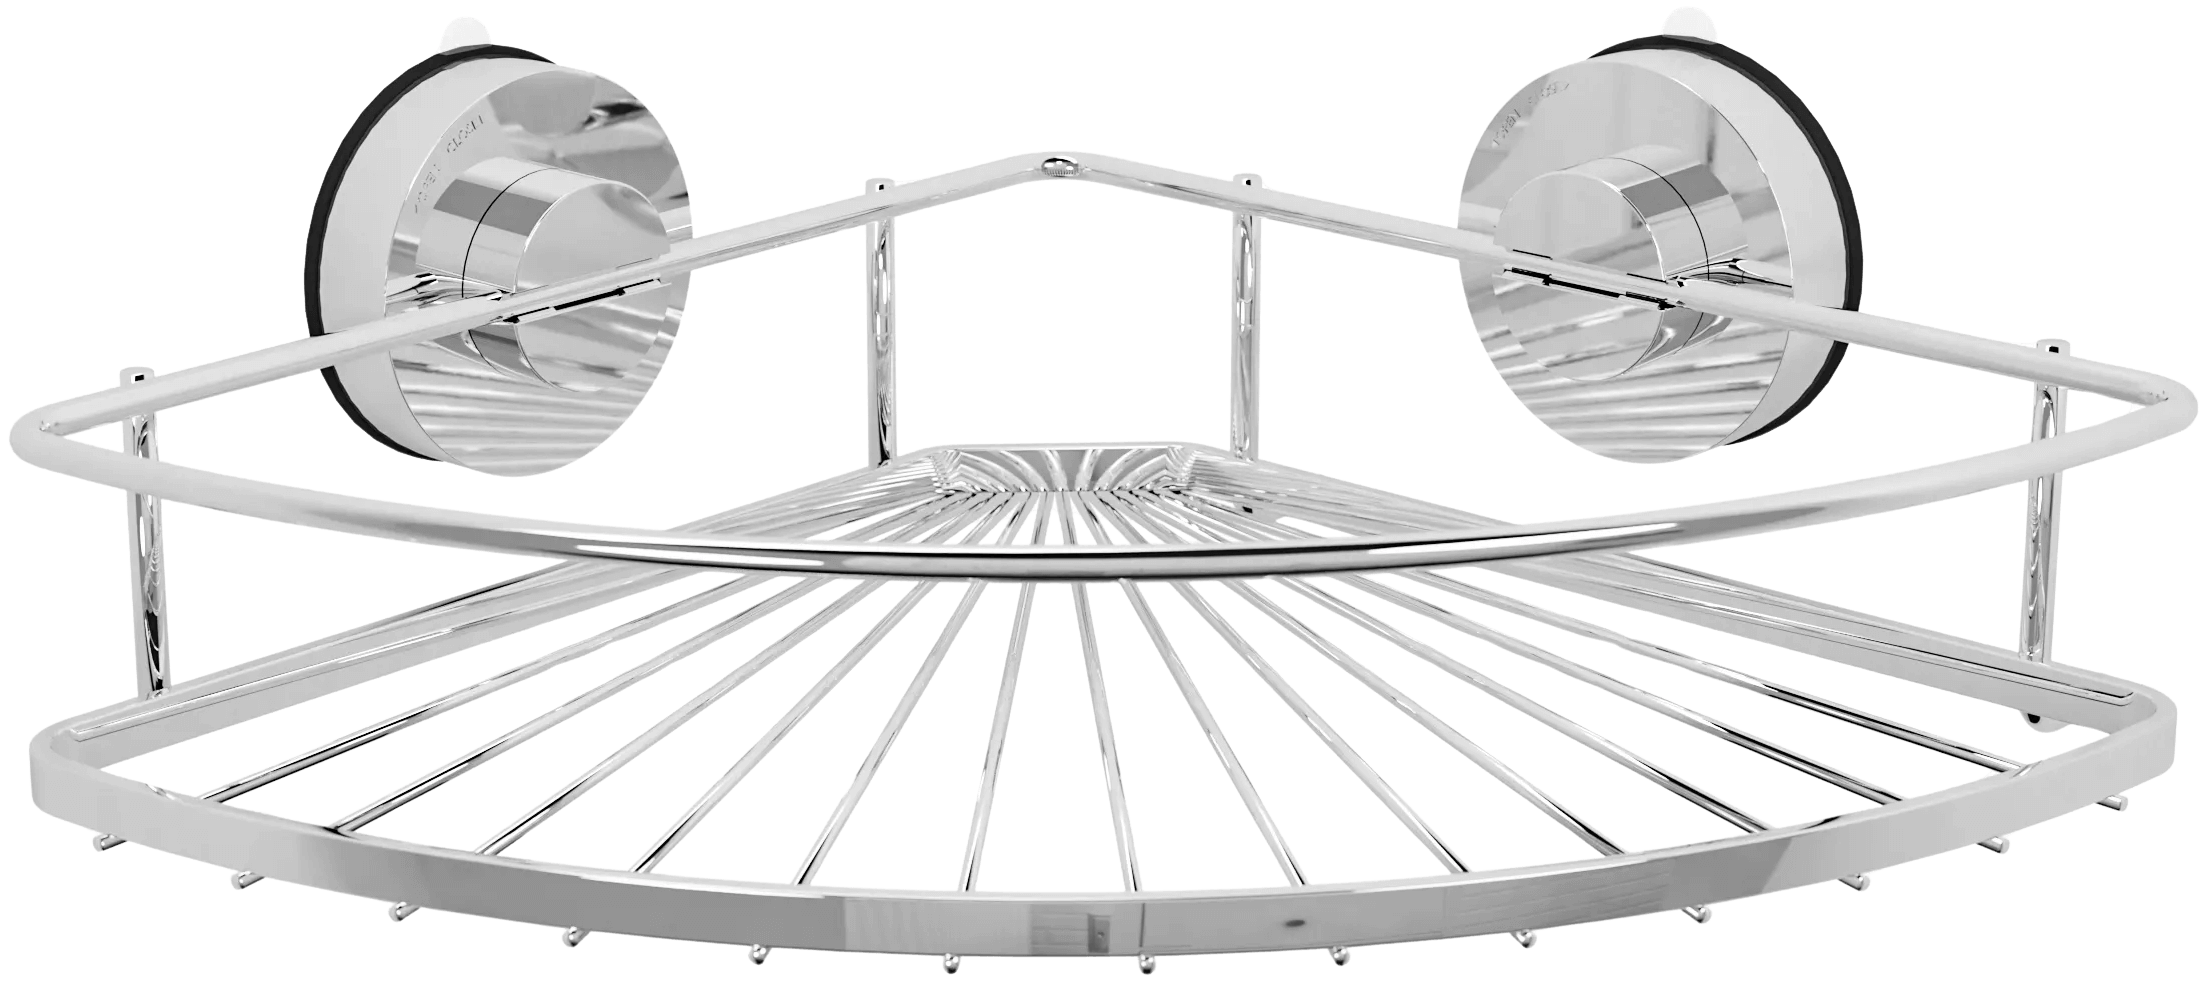

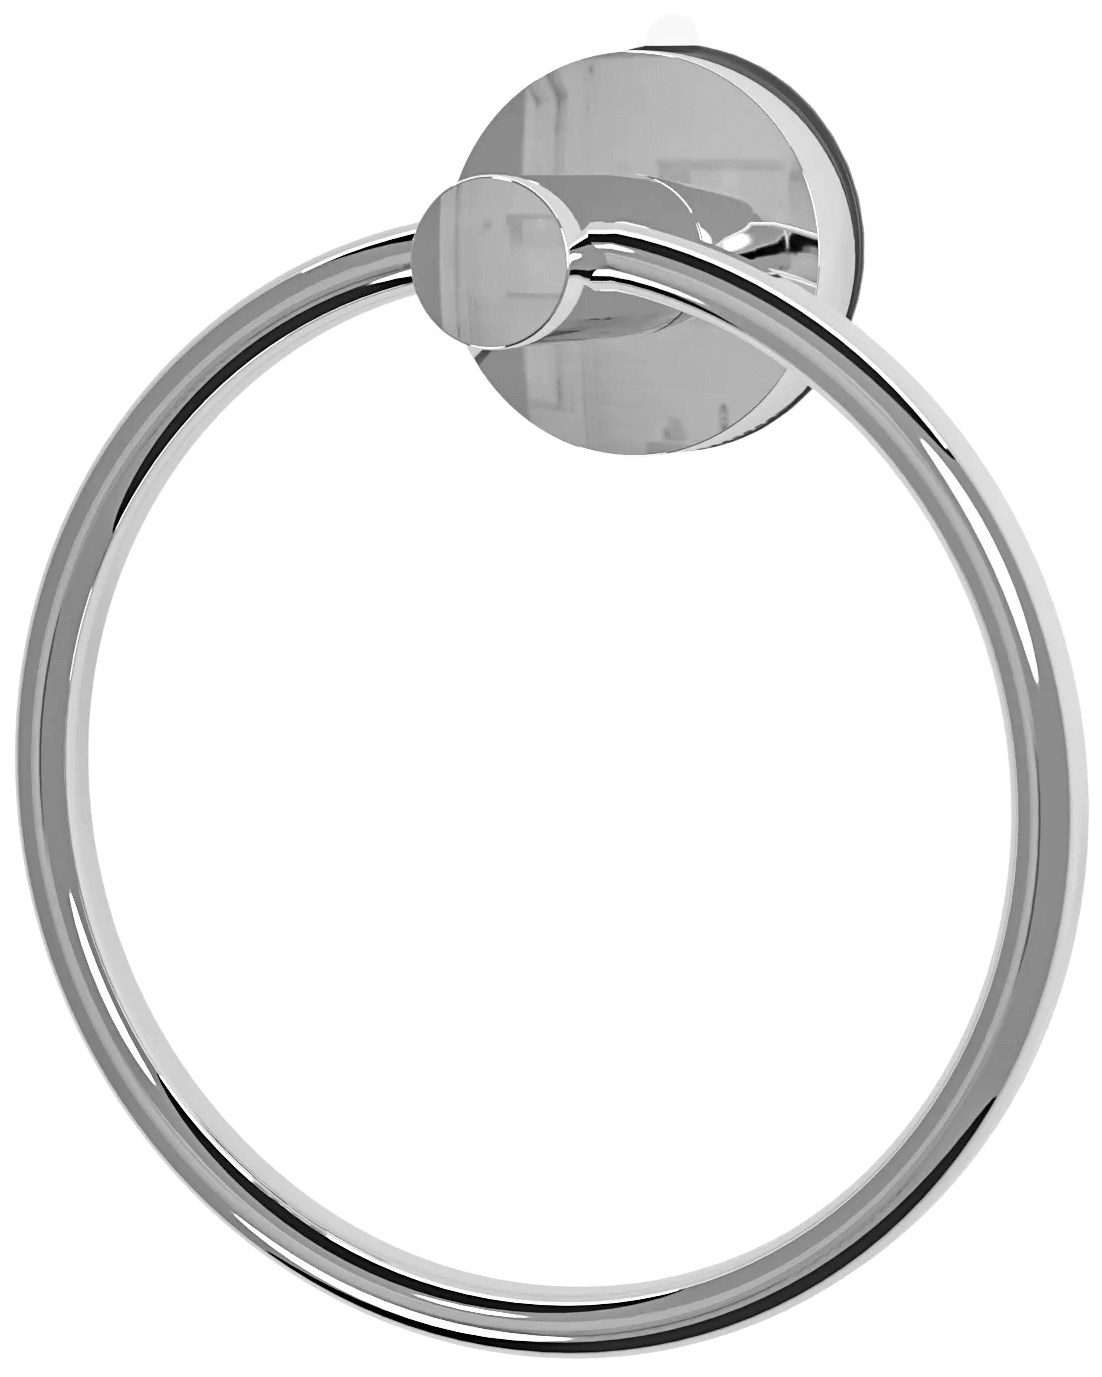
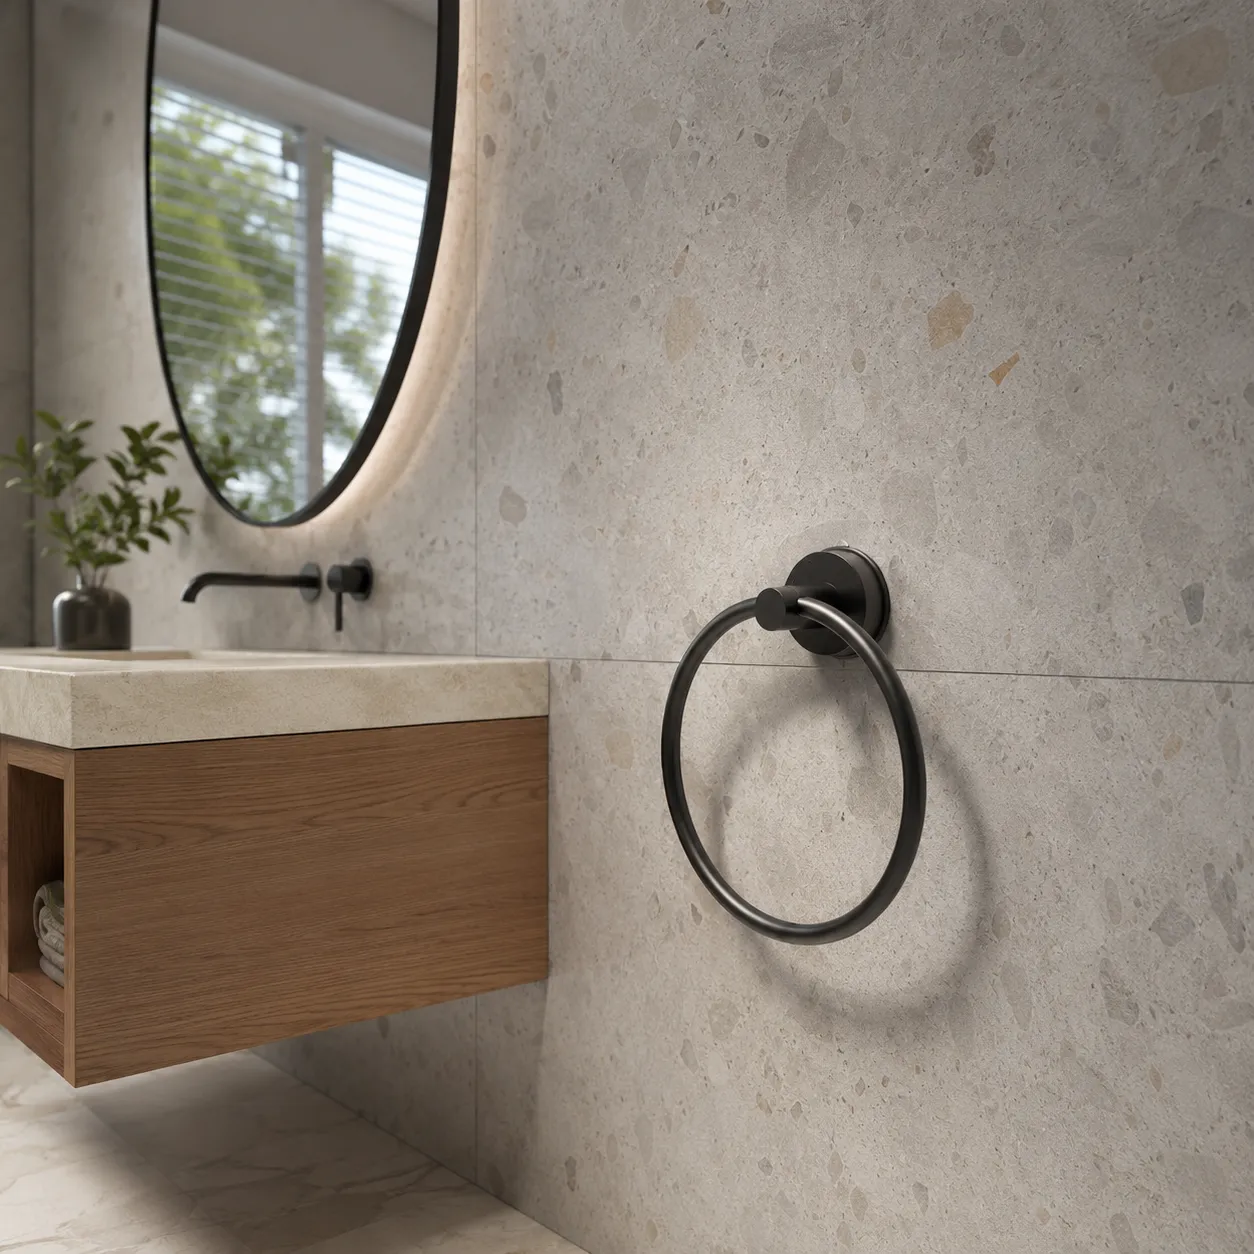
Looking for an easy way to refresh your bathroom? Learning how to install a towel ring without tools is one of the quickest home improvement projects you can complete. Modern self-adhesive towel rings eliminate the need for drilling, screws, or complicated hardware. Whether you’re renting, renovating, or simply updating your space, this guide will show you how to achieve a secure and stylish installation in just a few minutes.
Why Choose a Tool-Free Towel Ring
A no-drill towel ring offers a clean look while protecting your bathroom walls. Most adhesive models use strong waterproof backing that sticks securely to smooth surfaces like tile, glass, or metal.
Benefits of Tool-Free Installation
Installing a towel ring without tools offers several advantages:
- No drilling or wall damage
- Perfect for rental homes
- Quick installation in under 10 minutes
- Modern and sleek appearance
- Easy to remove or replace
What You’ll Need
Before starting, gather the following:
- Self-adhesive towel ring
- Microfiber cloth
- Mild surface cleaner
- Measuring tape (optional)
- Pencil or masking tape for marking placement
How to Install a Towel Ring Without Tools
Following the correct process ensures the adhesive bonds properly and lasts for years.
Step-by-Step Installation Guide
- Clean the wall thoroughly to remove dust, grease, and moisture.
- Dry the surface completely.
- Mark the desired mounting location.
- Peel off the adhesive backing.
- Press the towel ring firmly against the wall for 30–60 seconds.
- Allow the adhesive to cure for 24 hours before hanging towels.
- Test the installation gently before regular use.
When you install a towel ring without tools, patience during the curing period is essential for maximum holding strength.
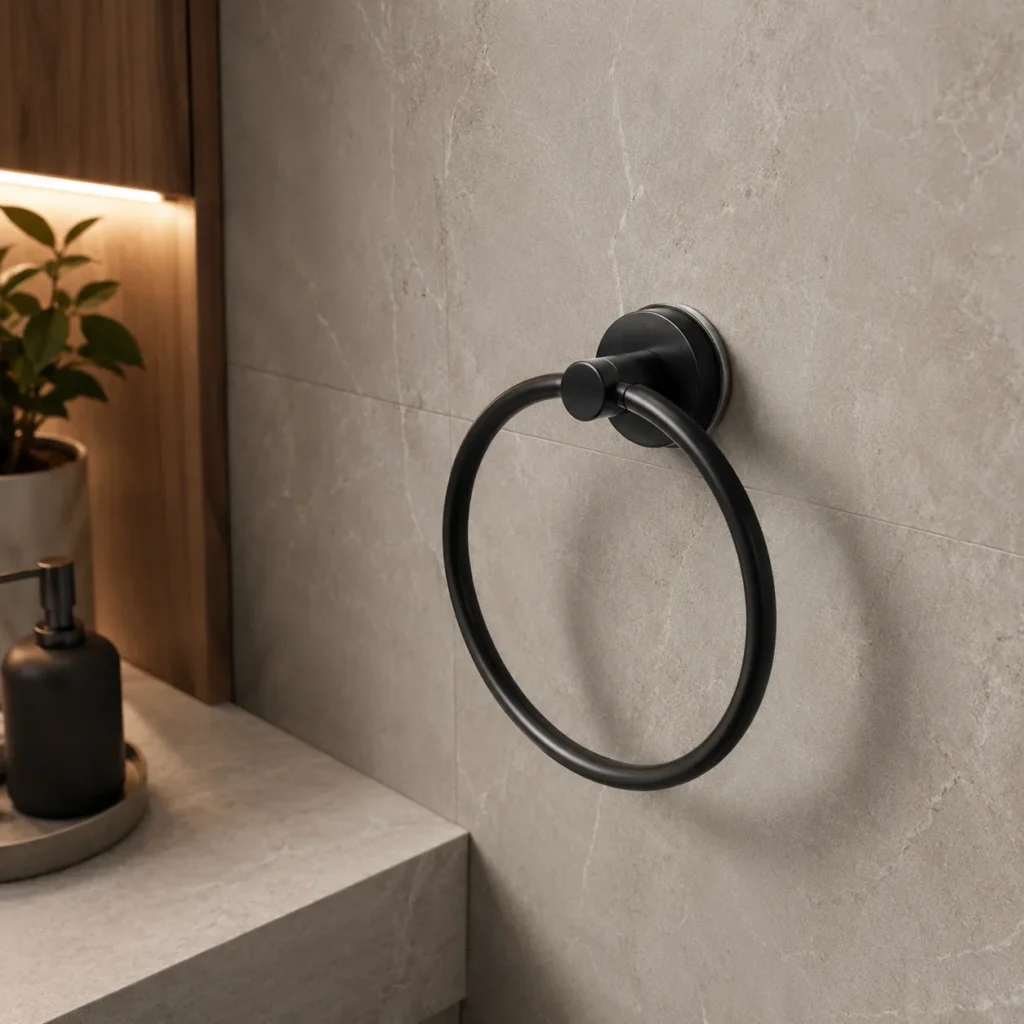
Best Surface Comparison
| Surface | Suitable for Adhesive | Recommended |
| Ceramic Tile | Yes | Excellent |
| Glass | Yes | Excellent |
| Metal | Yes | Excellent |
| Marble | Yes | Very Good |
| Painted Drywall | Sometimes | Check Product Instructions |
| Textured Walls | No | Not Recommended |
Tips and Common Mistakes
Proper installation helps your towel ring stay firmly attached for years.
Helpful Tips
- Choose a waterproof adhesive model.
- Install near the sink for convenience.
- Wait the recommended curing time.
- Clean the wall before installation.
- Measure placement carefully.
Common Mistakes to Avoid
- Applying to dusty or wet surfaces
- Hanging towels immediately
- Installing on textured walls
- Ignoring weight limits
- Repositioning after sticking
Quick Installation Checklist
- Surface cleaned
- Wall completely dry
- Position marked
- Adhesive firmly pressed
- Waited 24 hours before use
Following these steps makes it easy to install a towel ring without tools while ensuring long-lasting performance.
FAQ
Can I install a towel ring without drilling?
Yes. Most modern self-adhesive towel rings are specifically designed for tool-free installation on smooth surfaces.
How long does adhesive take to cure?
Most manufacturers recommend waiting 24 hours before hanging towels for the strongest bond.
Will adhesive towel rings damage my wall?
Quality adhesive towel rings usually remove cleanly from smooth surfaces when removed according to the manufacturer’s instructions.
What surfaces work best?
Ceramic tile, glass, polished stone, stainless steel, and smooth metal surfaces provide the strongest adhesion.
Can adhesive towel rings hold wet towels?
Yes. Most premium models are designed to support standard hand towels when installed correctly. To install a towel ring without tools successfully, always follow the product’s weight recommendations.
Conclusion
A tool-free towel ring is an affordable and practical way to enhance your bathroom without drilling holes or hiring a professional. By preparing the surface correctly and allowing the adhesive to cure, you can enjoy a durable and attractive installation in just a few simple steps. If you’re looking for a fast bathroom upgrade, this DIY project is an excellent place to start.