


Introduction
Has a wall hook ever come off the wall a day after you stick it on? Maybe you drilled a hole where you weren’t supposed to? Yup, we have all been there. Installing home accessories can be a piece of cake if you prepare the surface. Hanging a towel rack or a storage shelf, surface preparation of the area is the most crucial step to make installations seamless, strong, and without damage. In this article, I will explain all the tools and techniques to help you out.
Understanding the Installation Method
Drill vs. No-Drill Installations
Before you get to the toolkit, grasp the installation methodology. Are you planning to use:
- Drilling for a permanent stronghold?
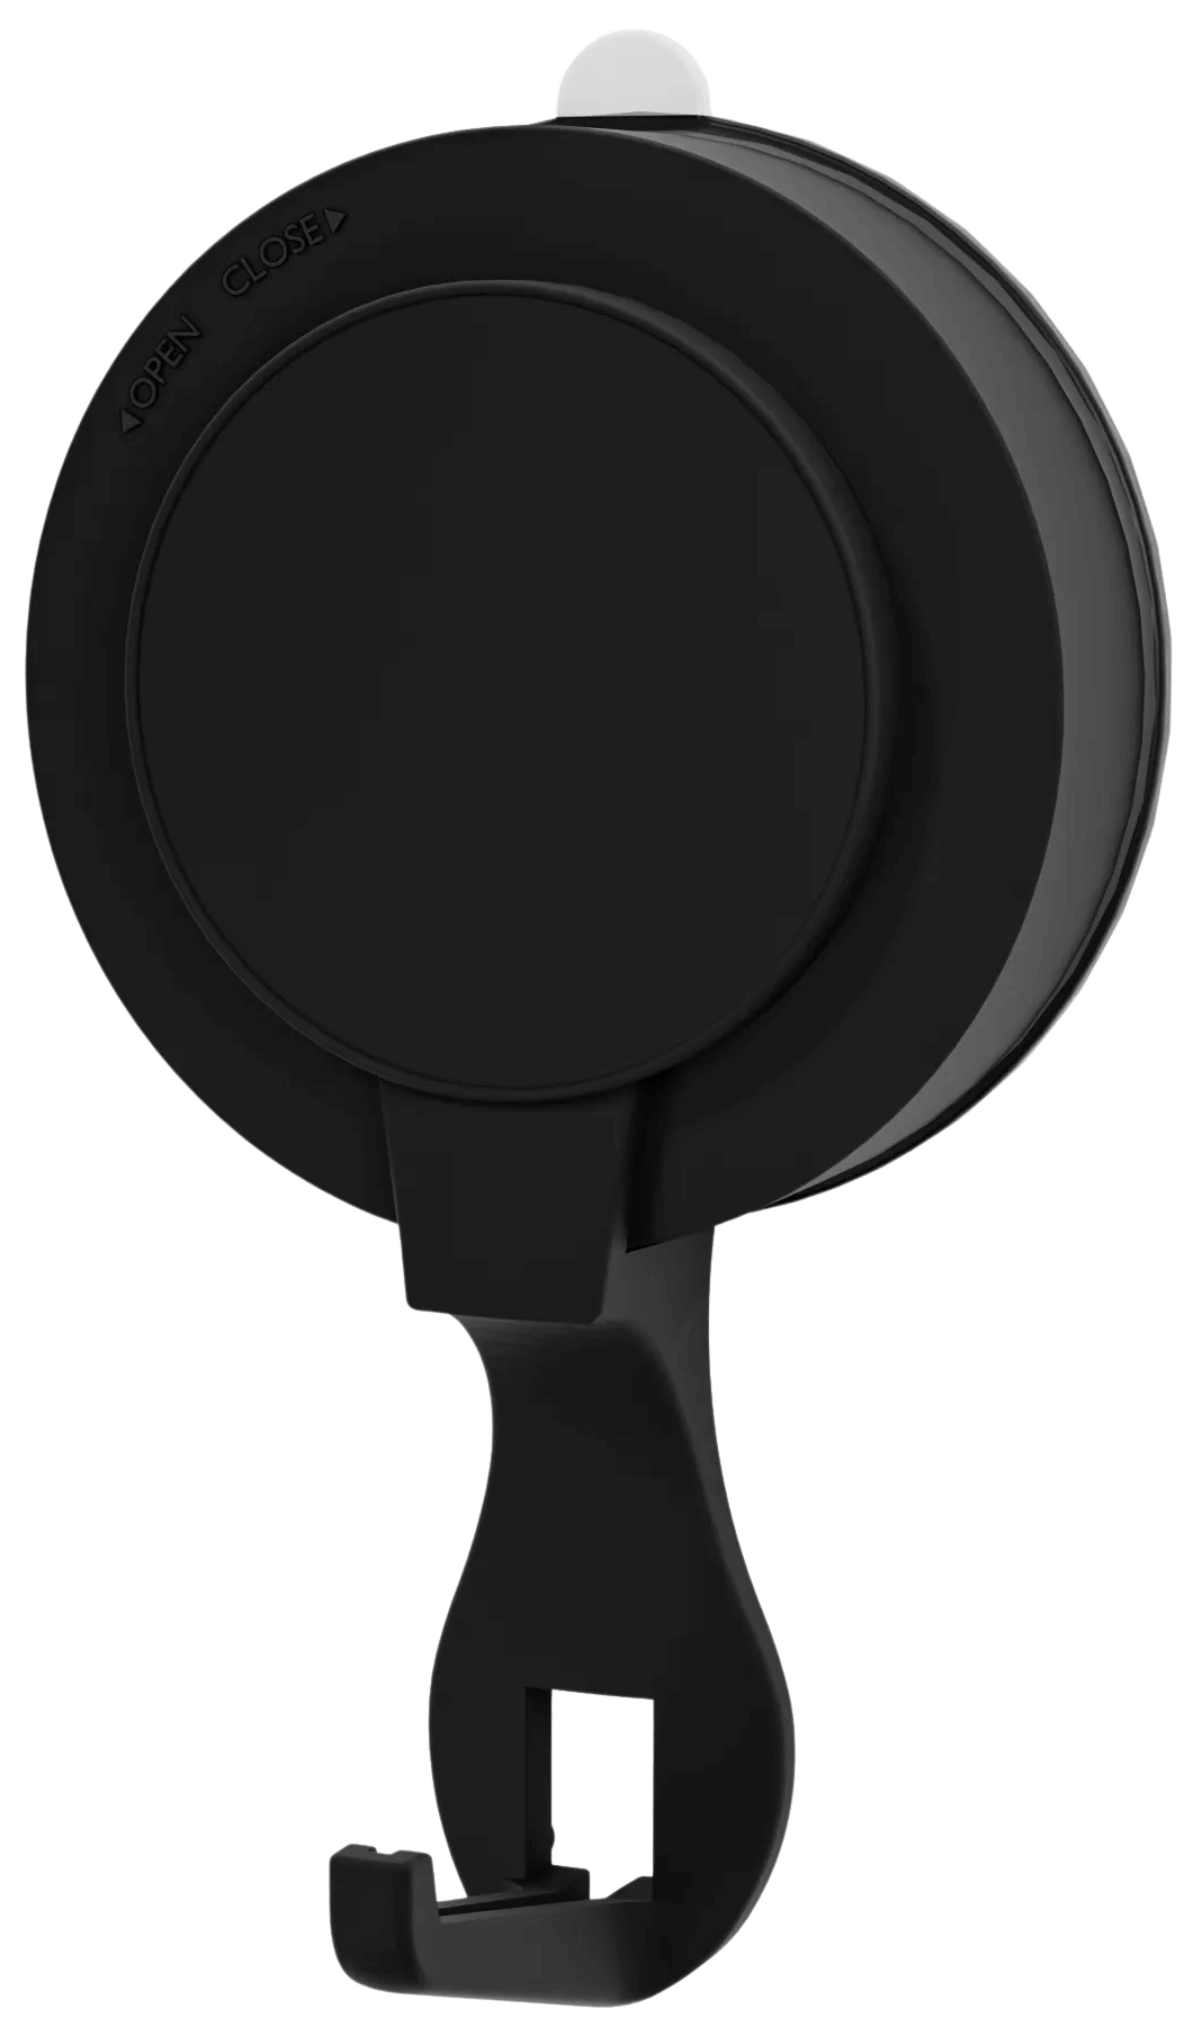
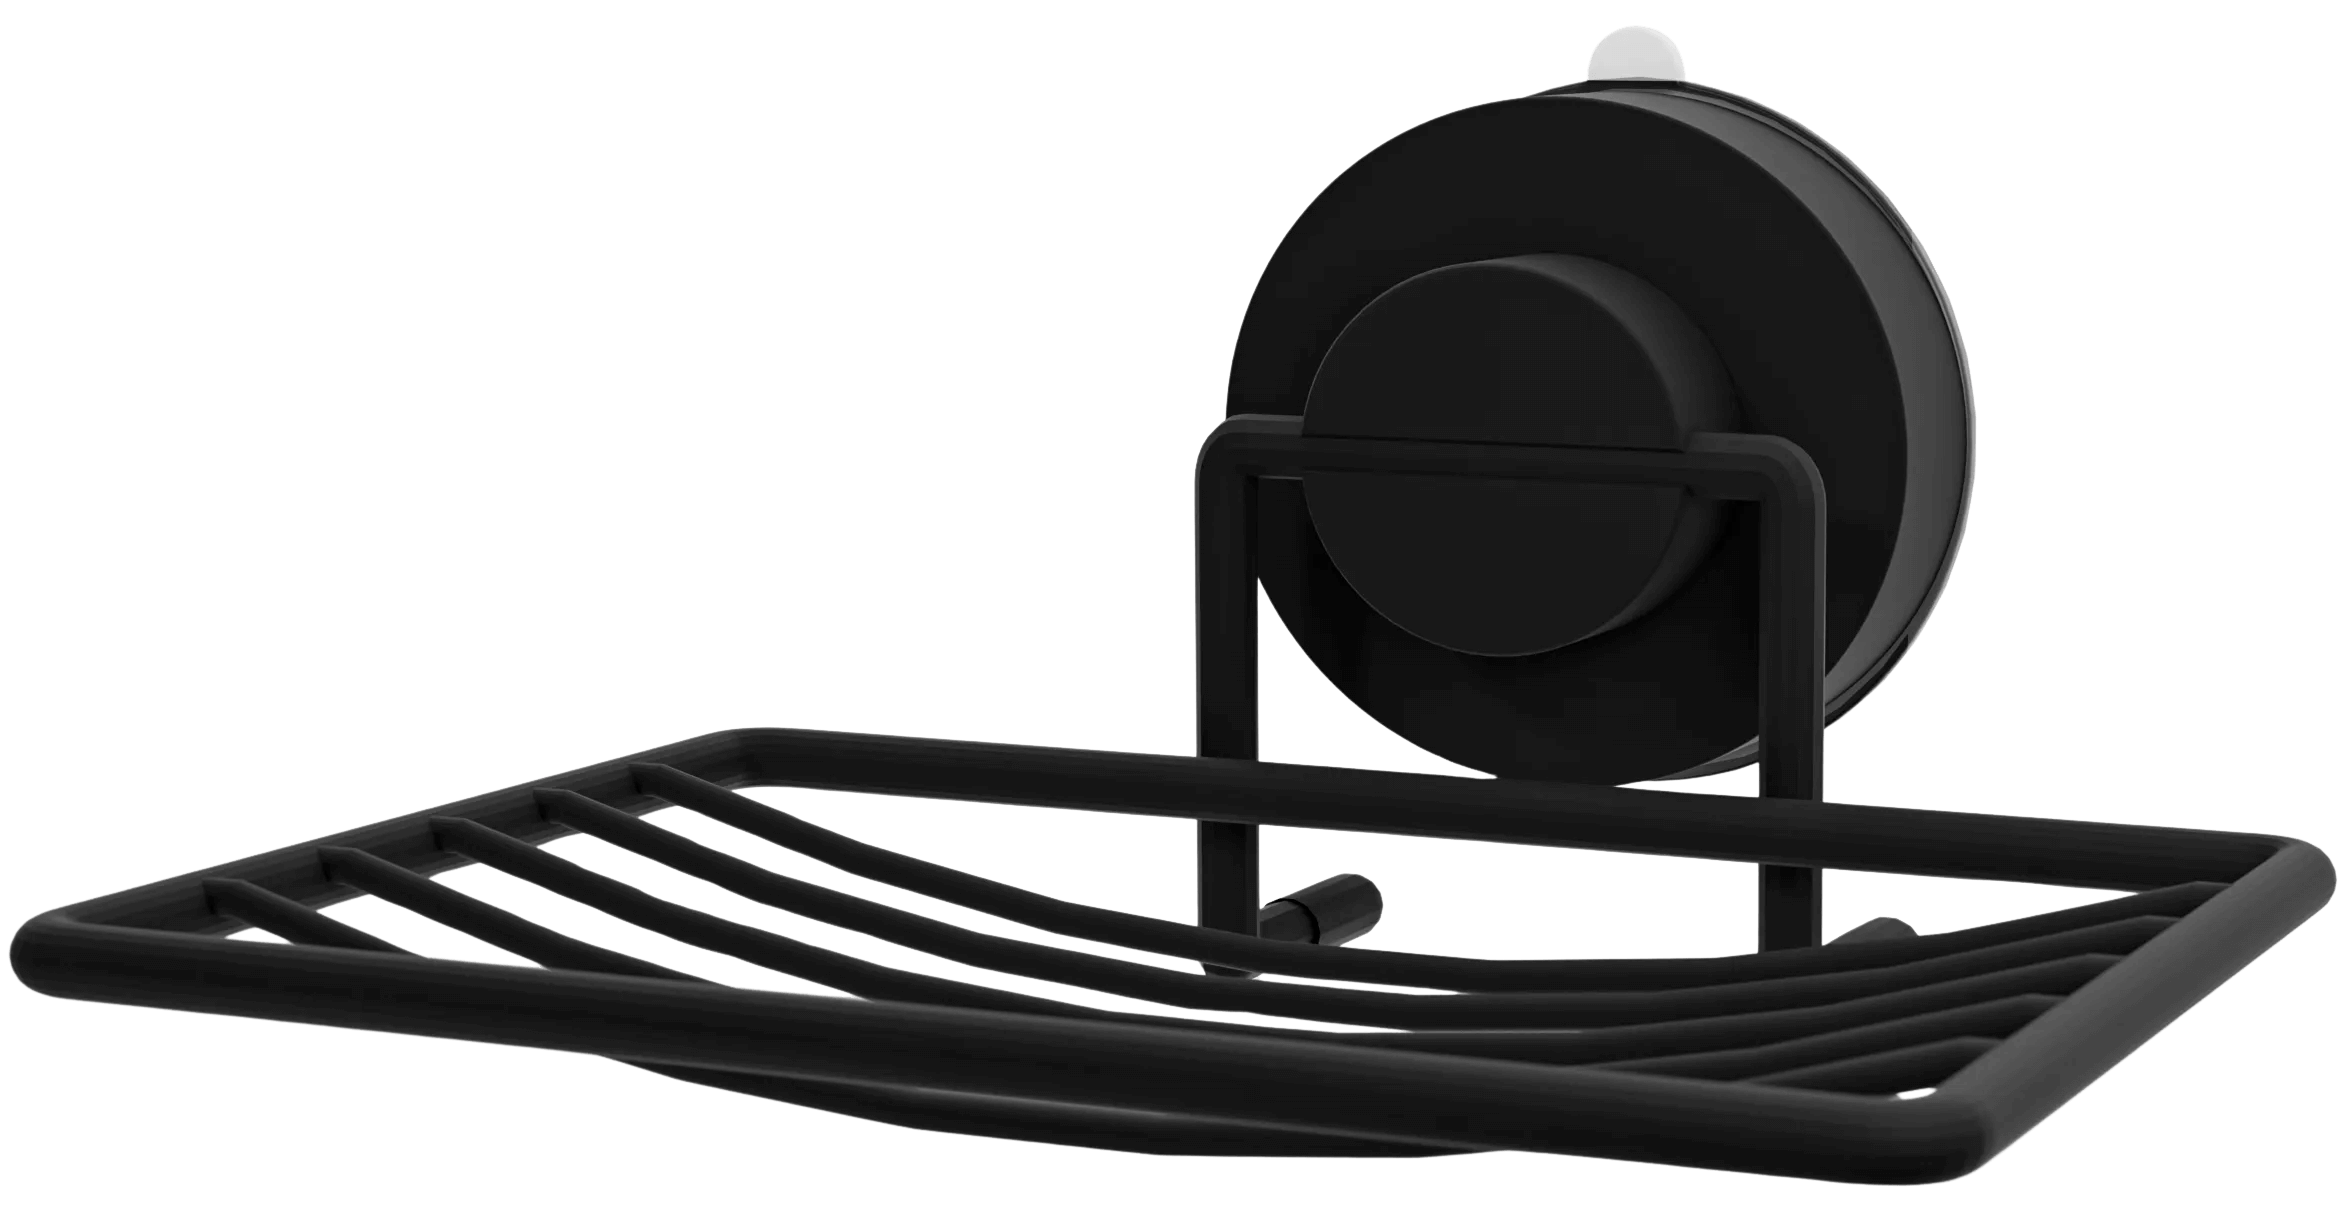
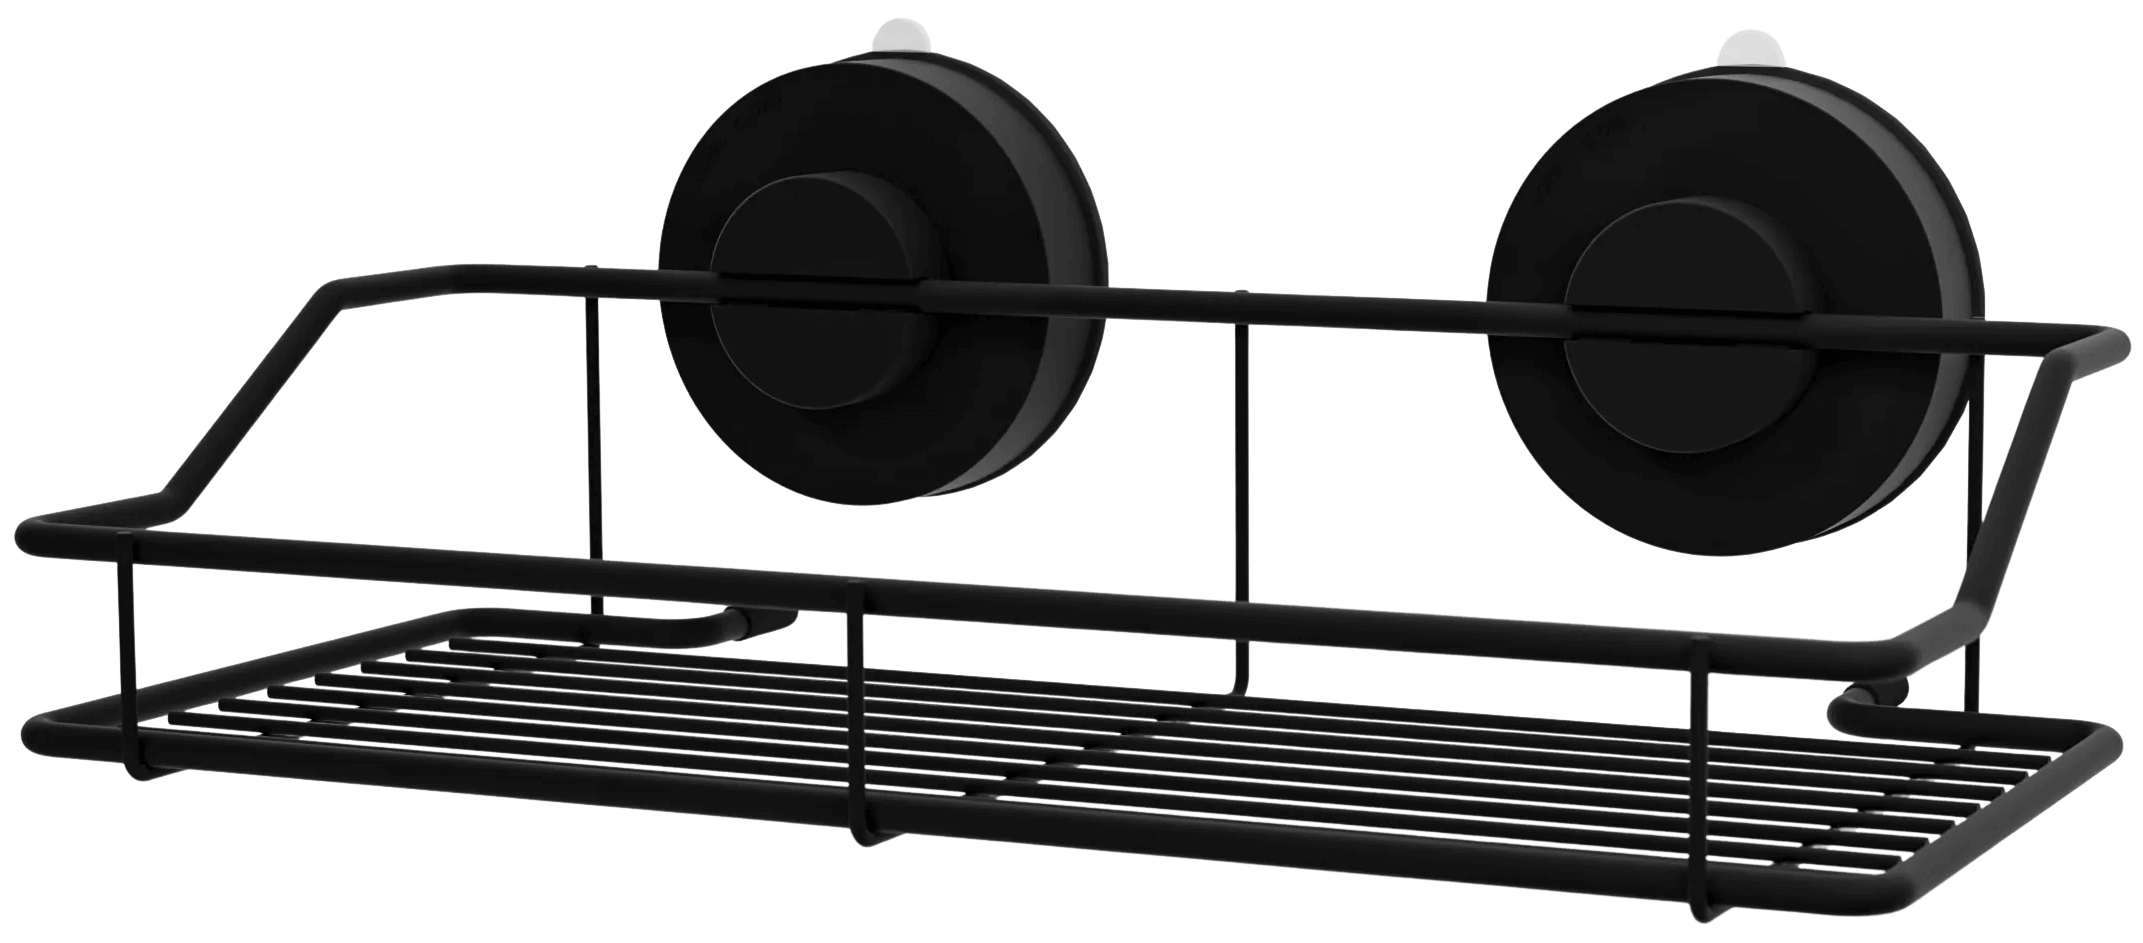
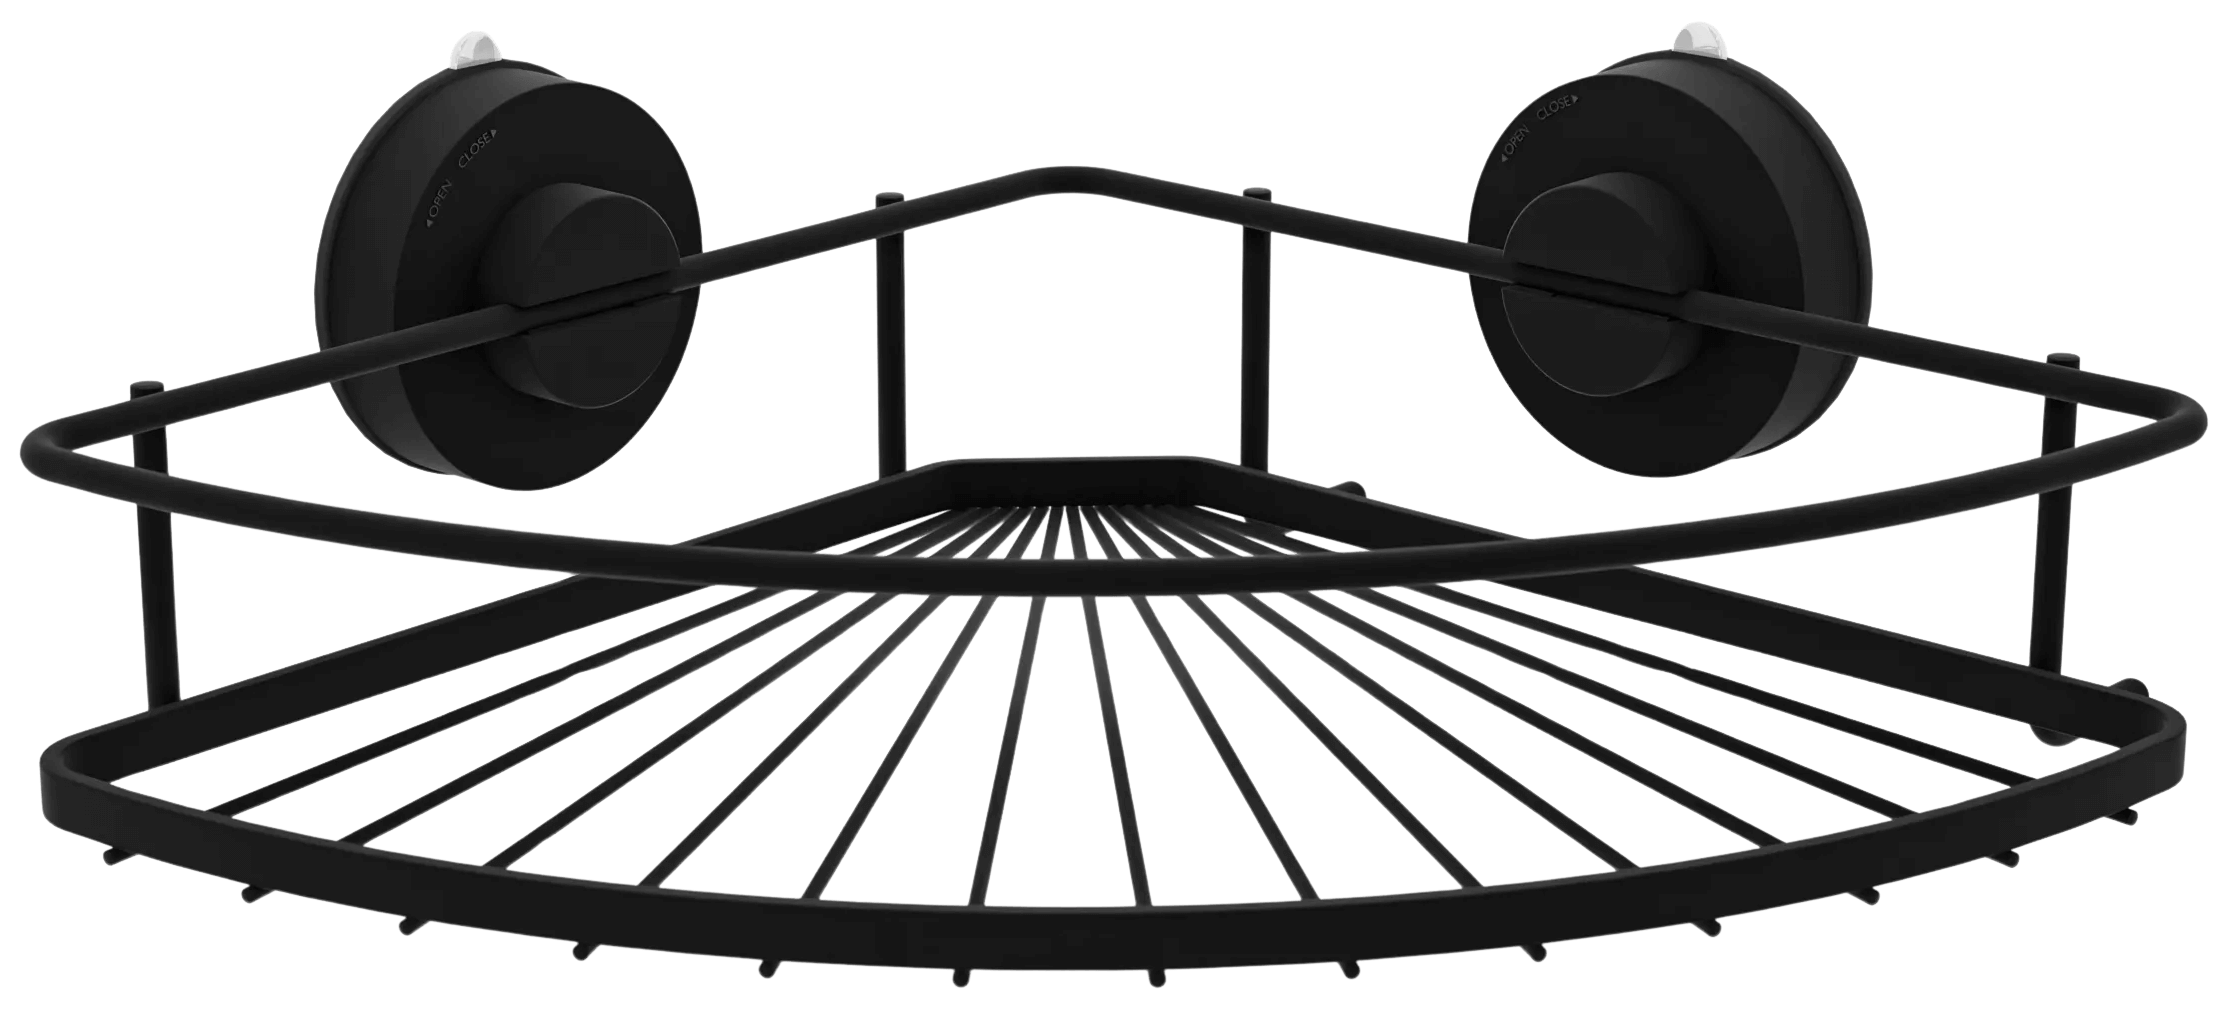
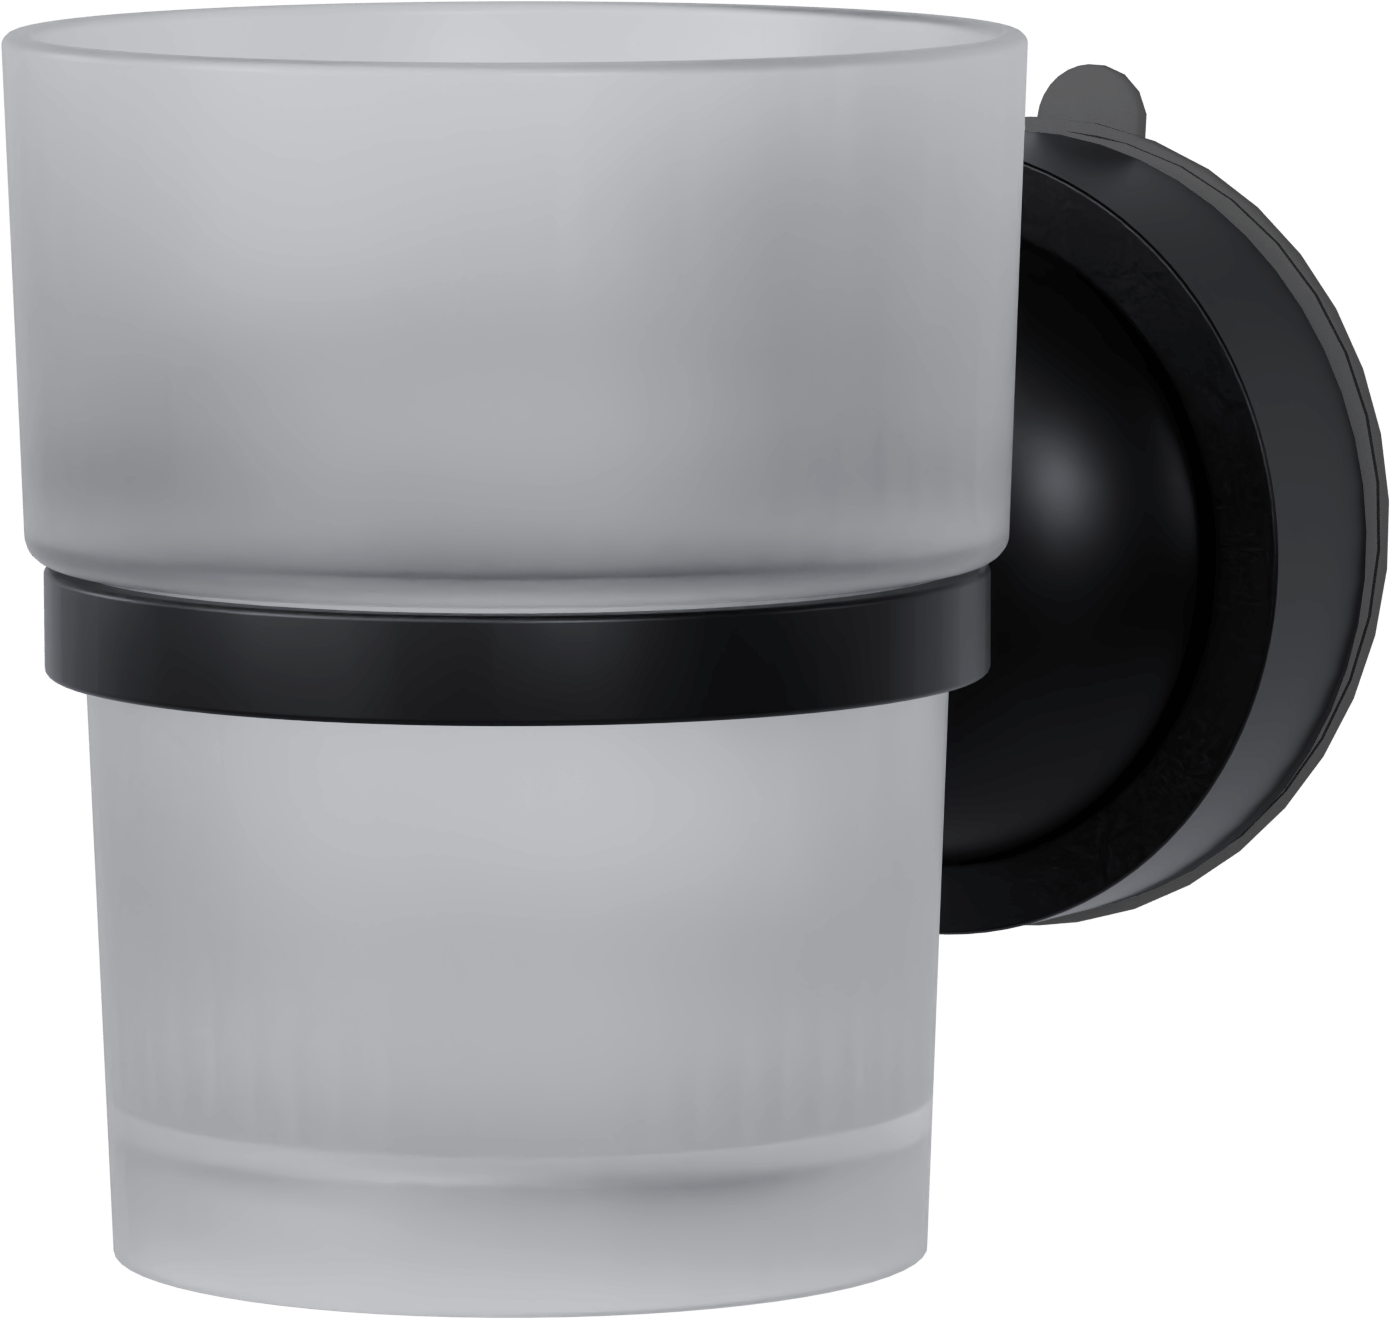
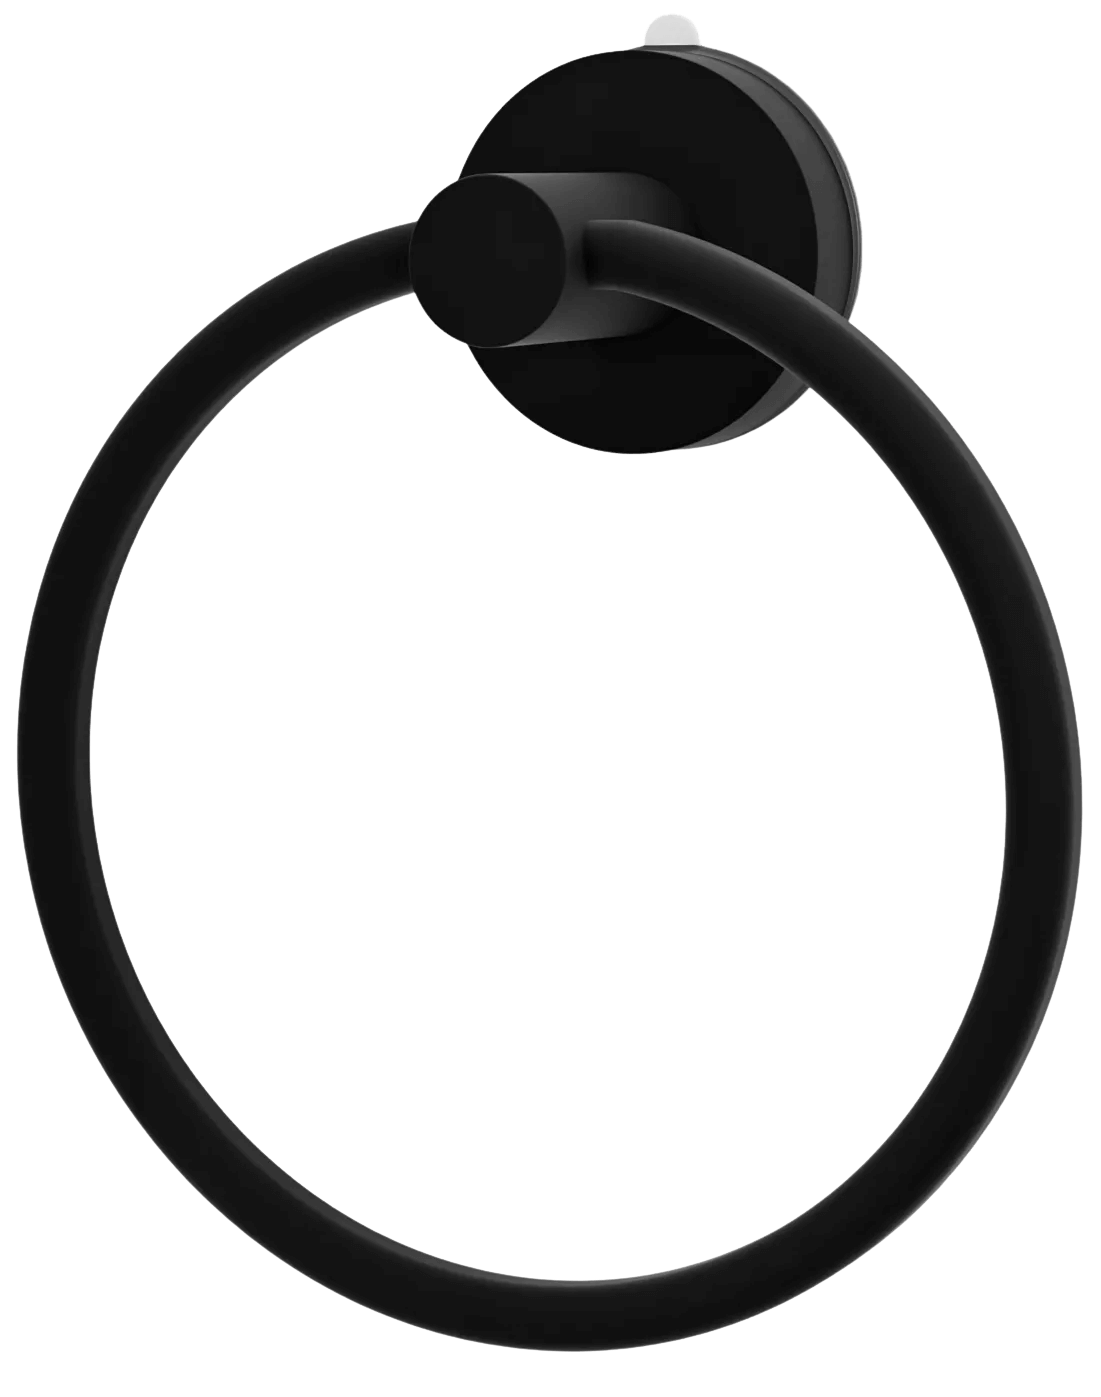
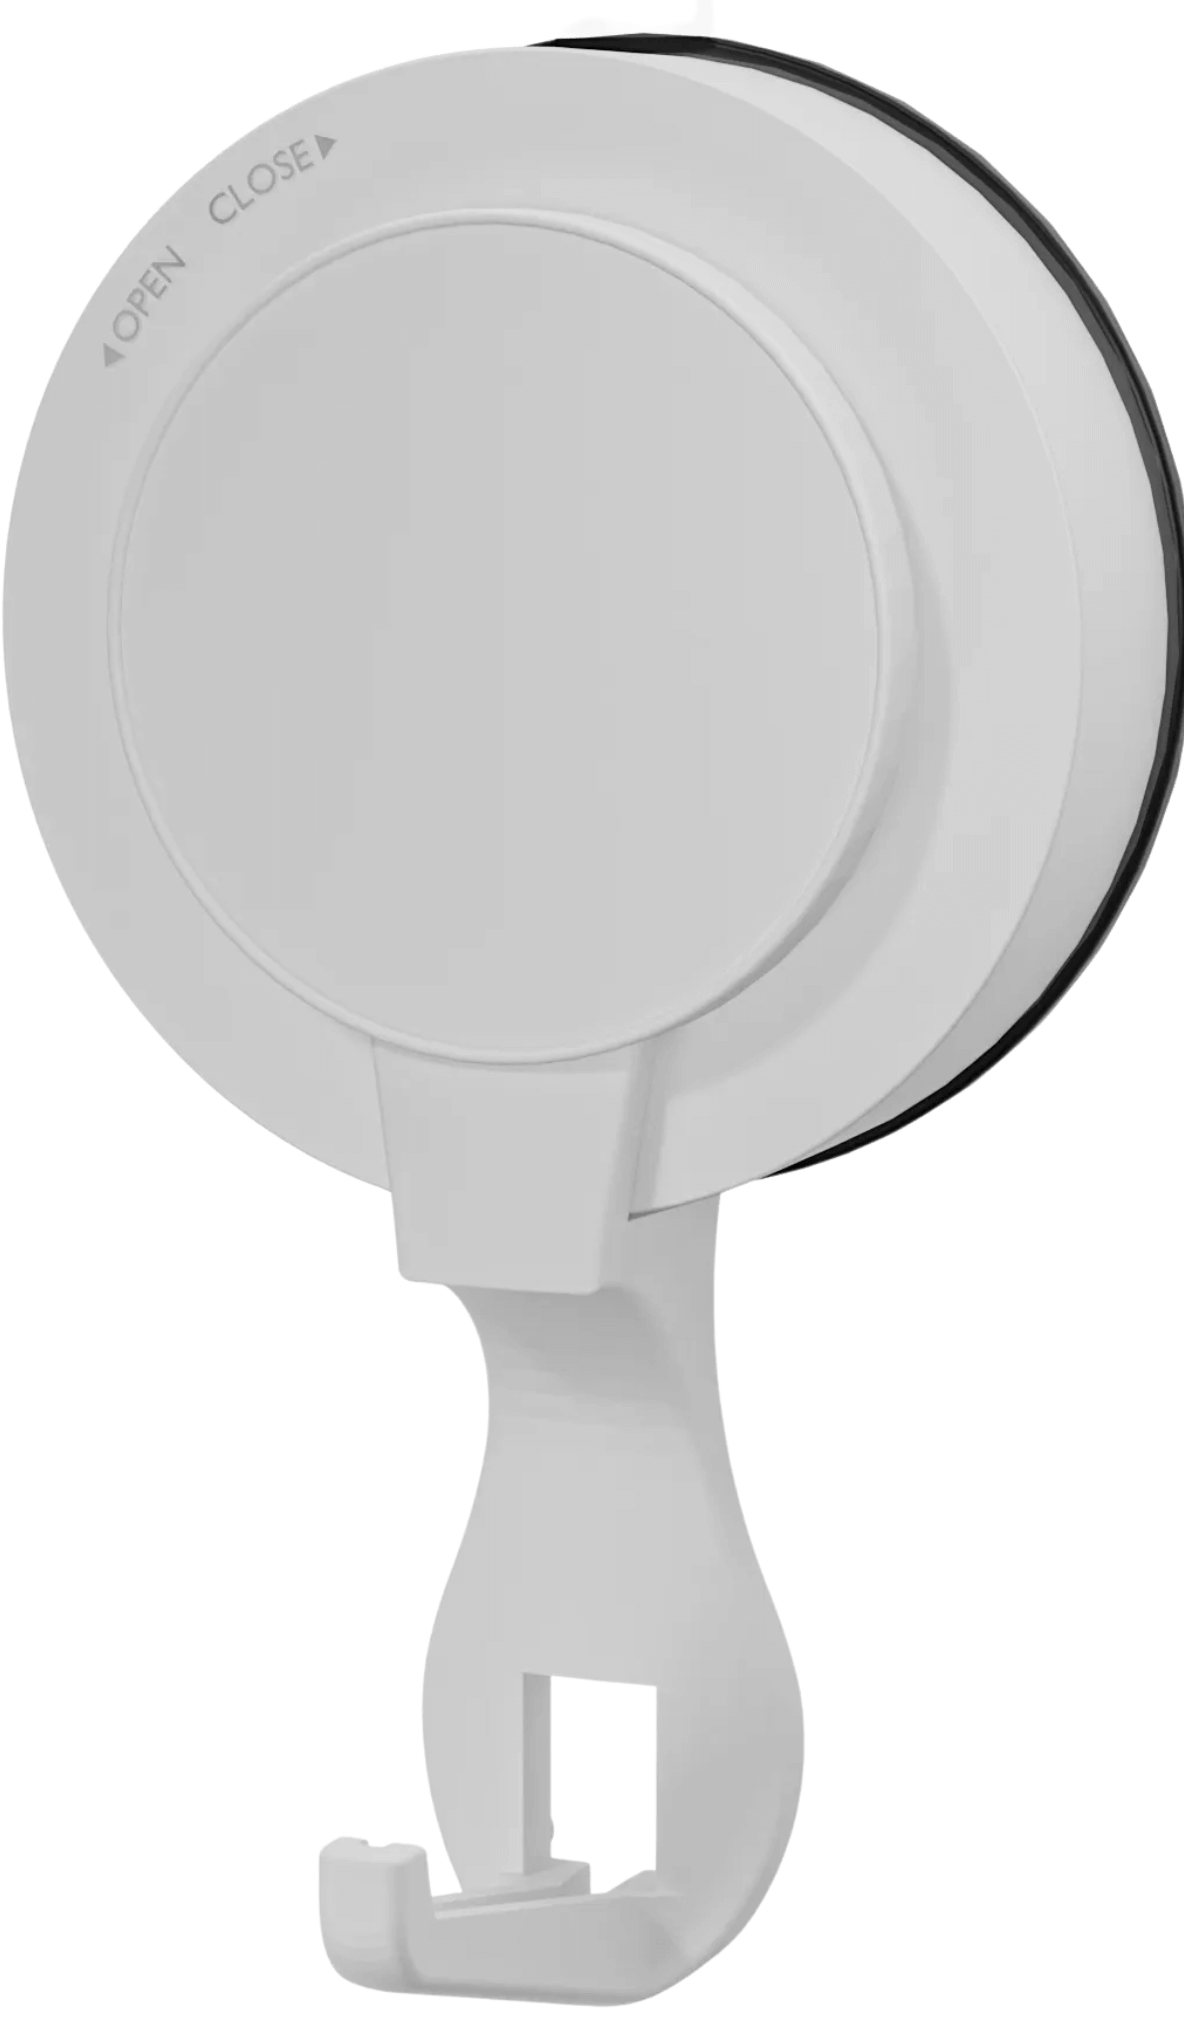
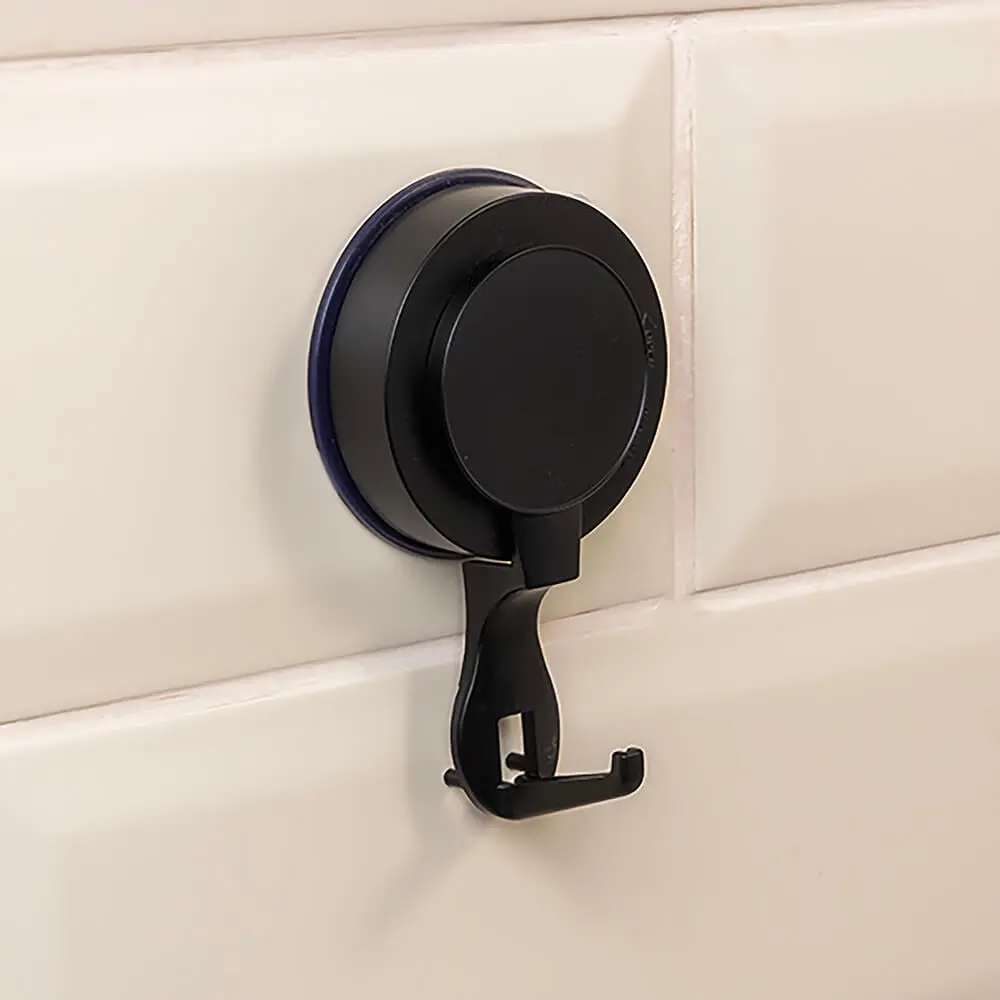
- Suction for a damage-free drill-less option?
- Adhesives for a less permanent hold?
- Magnets on metal surfaces?
All of the methods have their own unique pre-requirements. For excample, suction cups need smooth and non- porous walls. Drilling requires precisely marked, clean, and dust-free walls.
When Not to Use Suction or Adhesives
Suction is best used in areas like the bathroom, kitchen or even in rented apartments where drilling isn’t permitted. Adhesive methods are most suitable on tiles or glass surfaces but need to be clean and dry to stick properly.
Required Tools and Materials
To make things more manageable, here’s a prep kit checklist:
- Microfiber cloths
- Rubbing alcohol or vinegar
- Masking tape
- Pencil or washable marker
- Measuring tape
- Spirit level
- Rubber gloves
- Cleaners for specific surfaces
- Specialized suction test cups or sample adhesives
- Portable lint-free towels
Having the right tools = smooth prep, no regrets.
Select the Right Surface
While some surfaces would make mounting a suction or adhesive an absolute dream, others make for a more challenging work.
Best Options:
- Glossy tiles
- Glass
- Polished metal
- Laminated wood
- Marble
Worst Options:
- Textured paint
- Porous stone
- Uneven concrete
- Wallpaper
- Flaky surfaces
Nailing a surface? Do a thorough check first otherwise poor prep will lead to poor performance.
Verifying Surface Conditions
Testing your surface with the following methods will ensure you are ready to go:
Moisture Level
Feeling a damp or cold wall means moisture, which would undermine any suction or adhesive performance.
Texture
Smooth Texture = success, and rough Texture = regret. Suction cups despise rough surfaces.
Cleanliness
Dust, grease, soap residue are all adverse for perfect installs, S suction cups, and adhesion work.
Load-Bearing Capability
If you intend to mount a rack weighing 5kg, check that wall first, particularly when dealing with drywalls and plasterboards.

Cleaning The Surface
To make sure your installation holds securely, follow these steps to prep the surface:
- Using a dry microfiber cloth, wipe down the area.
- Clean using a mixture of water and vinegar, or rubbing alcohol.
- Allow a few minutes for the mixture to break down soap, oil, or dust.
- Perform a wipe down using a dry cloth.
Avoid ammonia-based glass cleaners as they leave a film that ruins suction.
Surface Drying Procedures
Stick installations immediately after cleaning are tempting, but STOP.
Allow the surface to air dry for 10-15 minutes or wipe with a dry, lint-free cloth. Even the tiniest water particles can greatly hinder suction and adhesive performance.
Surface Compatibility Testing
Before proceeding with installation, perform the following surface compatibility tests.
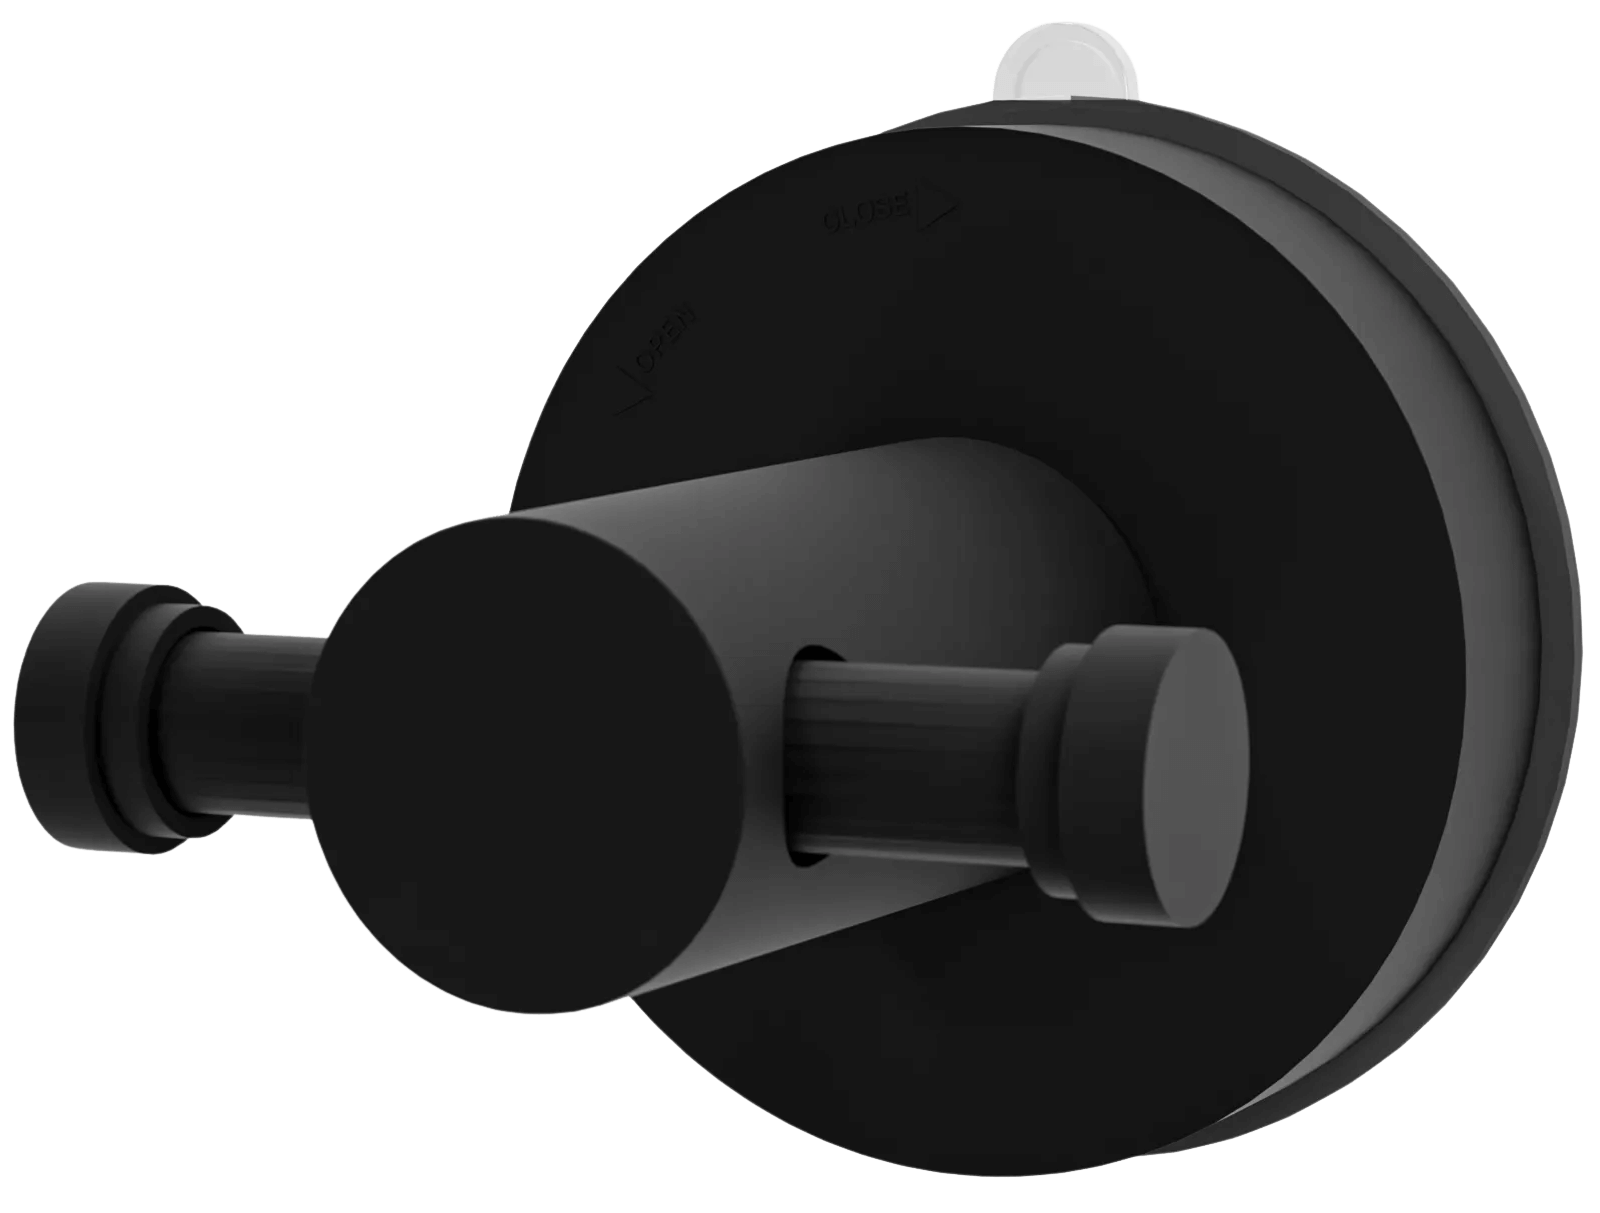
Conduct a suction test by sticking a suction cup on the surface and wait 24 hours. If it holds, congratulations, you passed.
With a sample strip of the adhesive, perform the adhesive test. Check for bond strength after 6-12 hours.
Conduct a Paint Durability Test by lightly pressing and peeling painter’s tape. If the tape takes off paint, the surface isn’t adhesive-friendly.
Tips for Surface Treatments in the Bathroom and Kitchen
Due to the promise of moisture, bathrooms and kitchens require special care:
- Make sure to wipe tiles dry despite their appearance
- Avoid placing devices/sinks directly above steam-diffusing areas (like directly above a stove or inside a shower)
- Invisible soap films can be removed with alcohol wipes
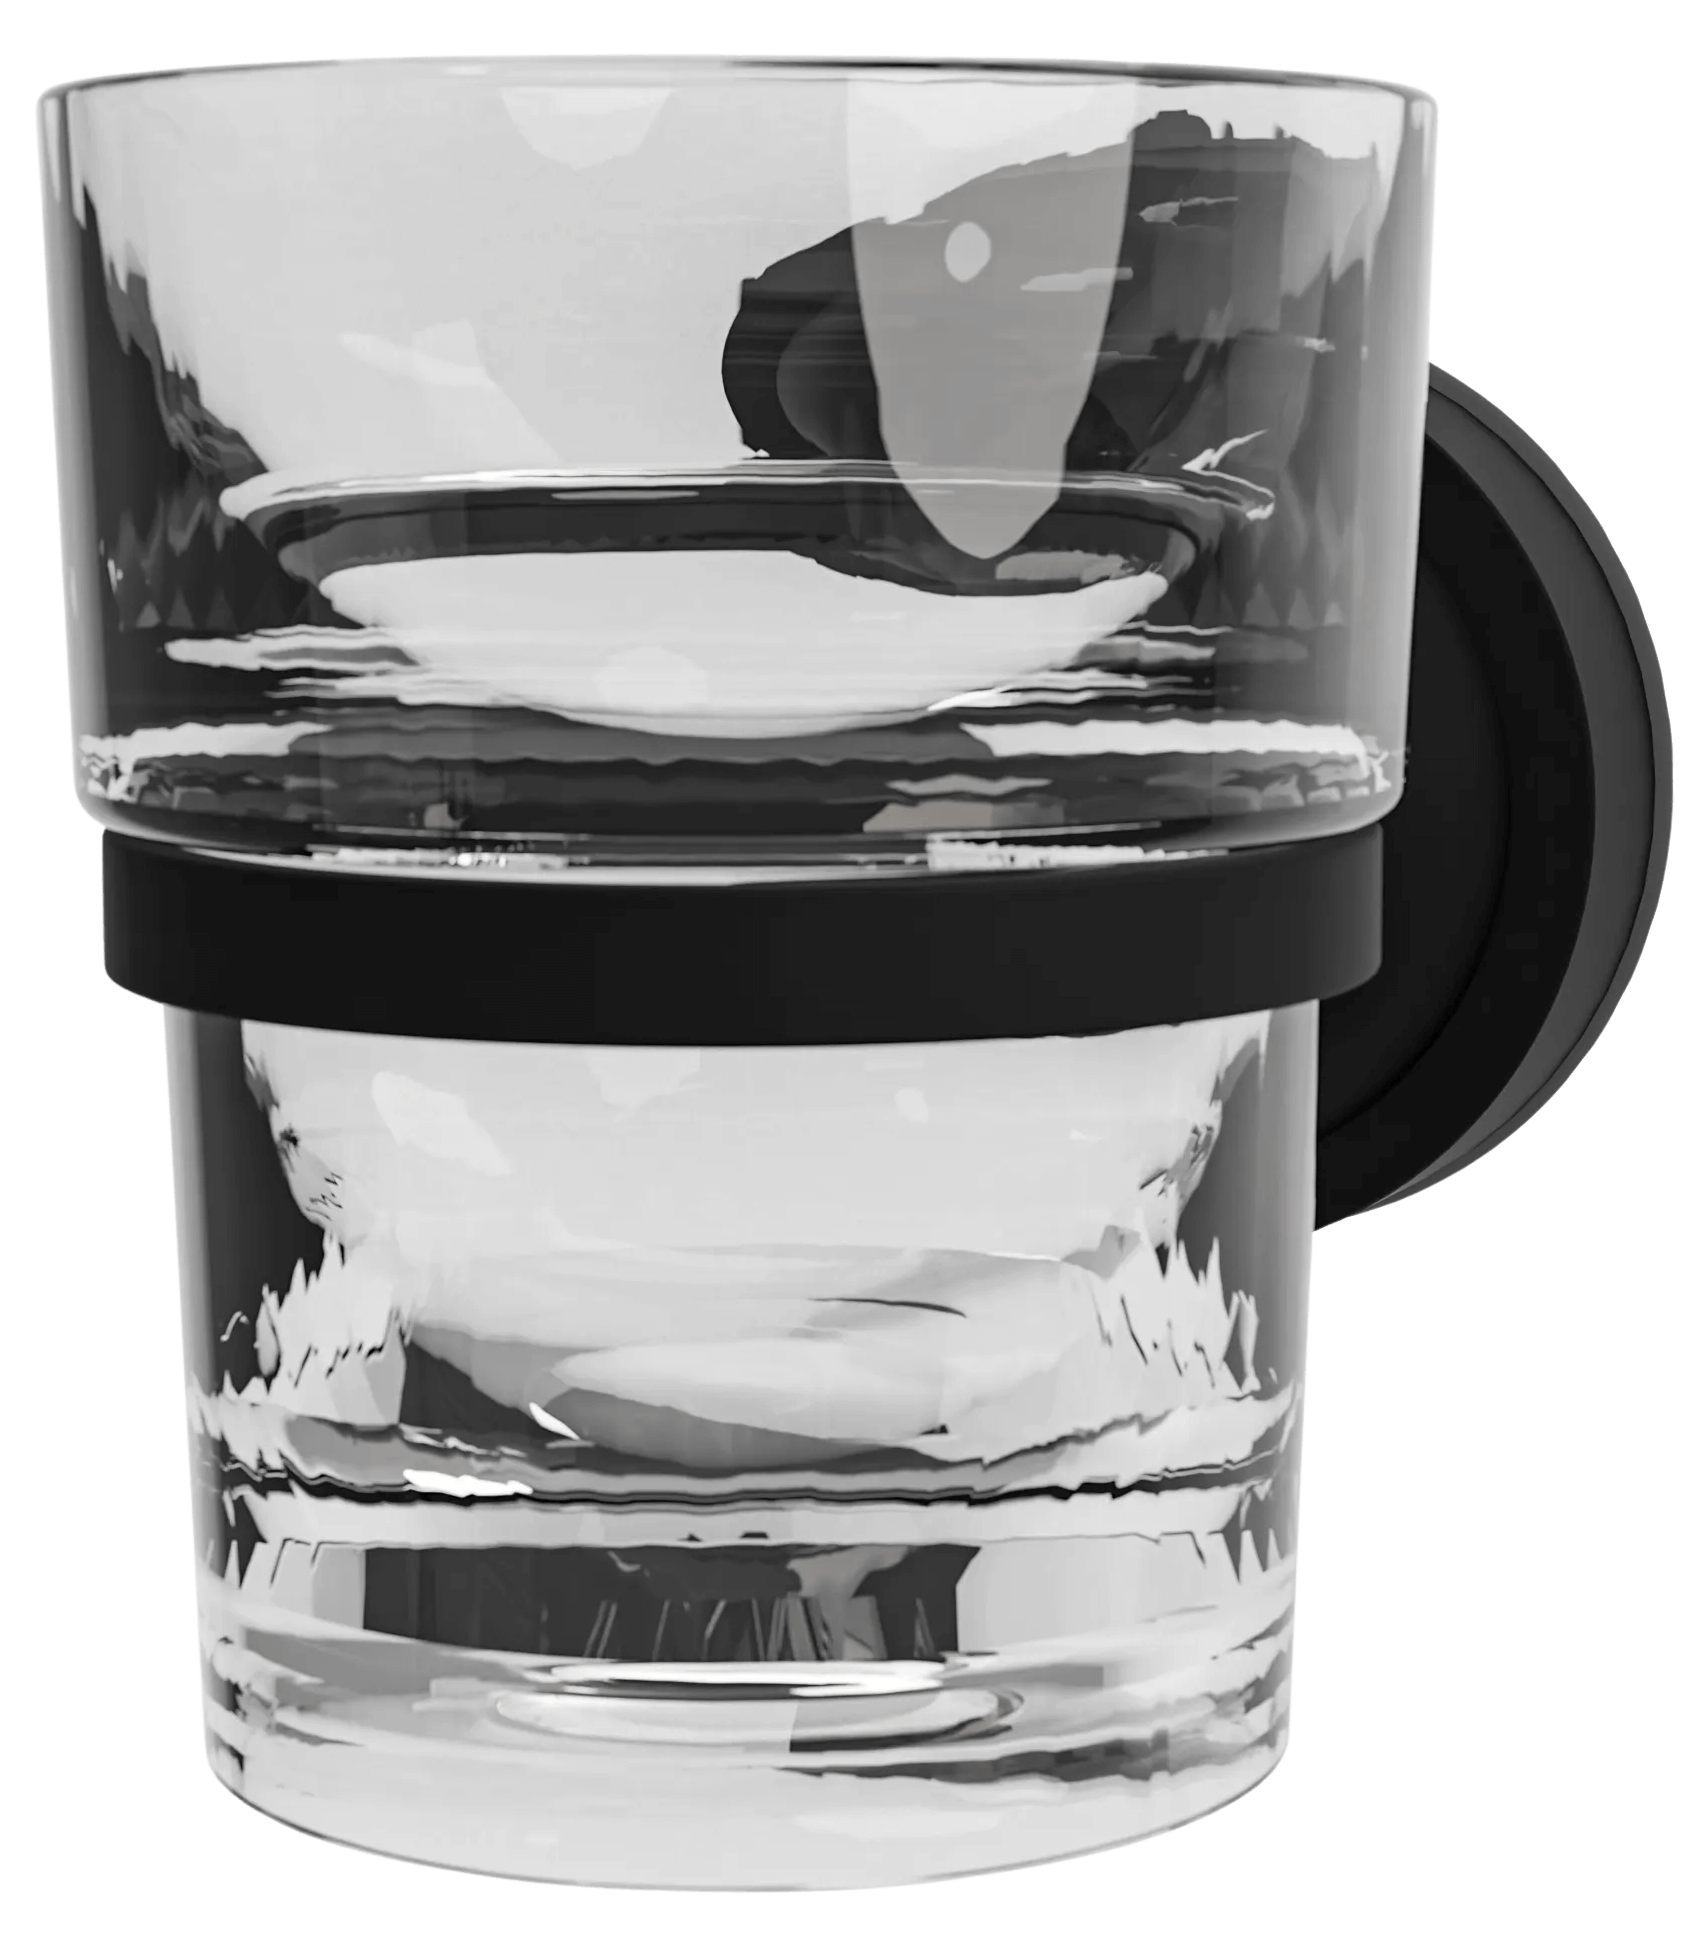
Preparing Metal, Ceramic, and Glass Surfaces
These are ready for the final inspection with minimal to no scratches and:
- No condensation
- No invisible oil or cleaning residue
- No invisib[Every tiny detail with no streak or scratches under custom lighting]
The glass surfaces should have no moisture at the time of mounting so they can be placed with full precision.
Preparing the Wooden and Painted Surfaces
The paint on the walls is likely to peel or bubble. You should not take chances.
- Avoid using suction and adhesive on poorly painted surfaces.
- Lightly sand and repaint as necessary.
- Conduct a test on a corner before proceeding with the full installation.
Marking and Measuring
Here’s a Suggestion checklist you may use.
- Mark and measure; precision is key!
- Align with a spirit level.
- Mark with a pencil instead of pen.
- For drill installations, use masking tape to avoid chipping walls.
Safety Precautions
Protect yourself, and the space you’re working in:
- While cleaning, wear gloves.
- Use plastic or cloths to cover the floor.
- Allow proper drying time.
- Avoid drilling around electrical wiring.
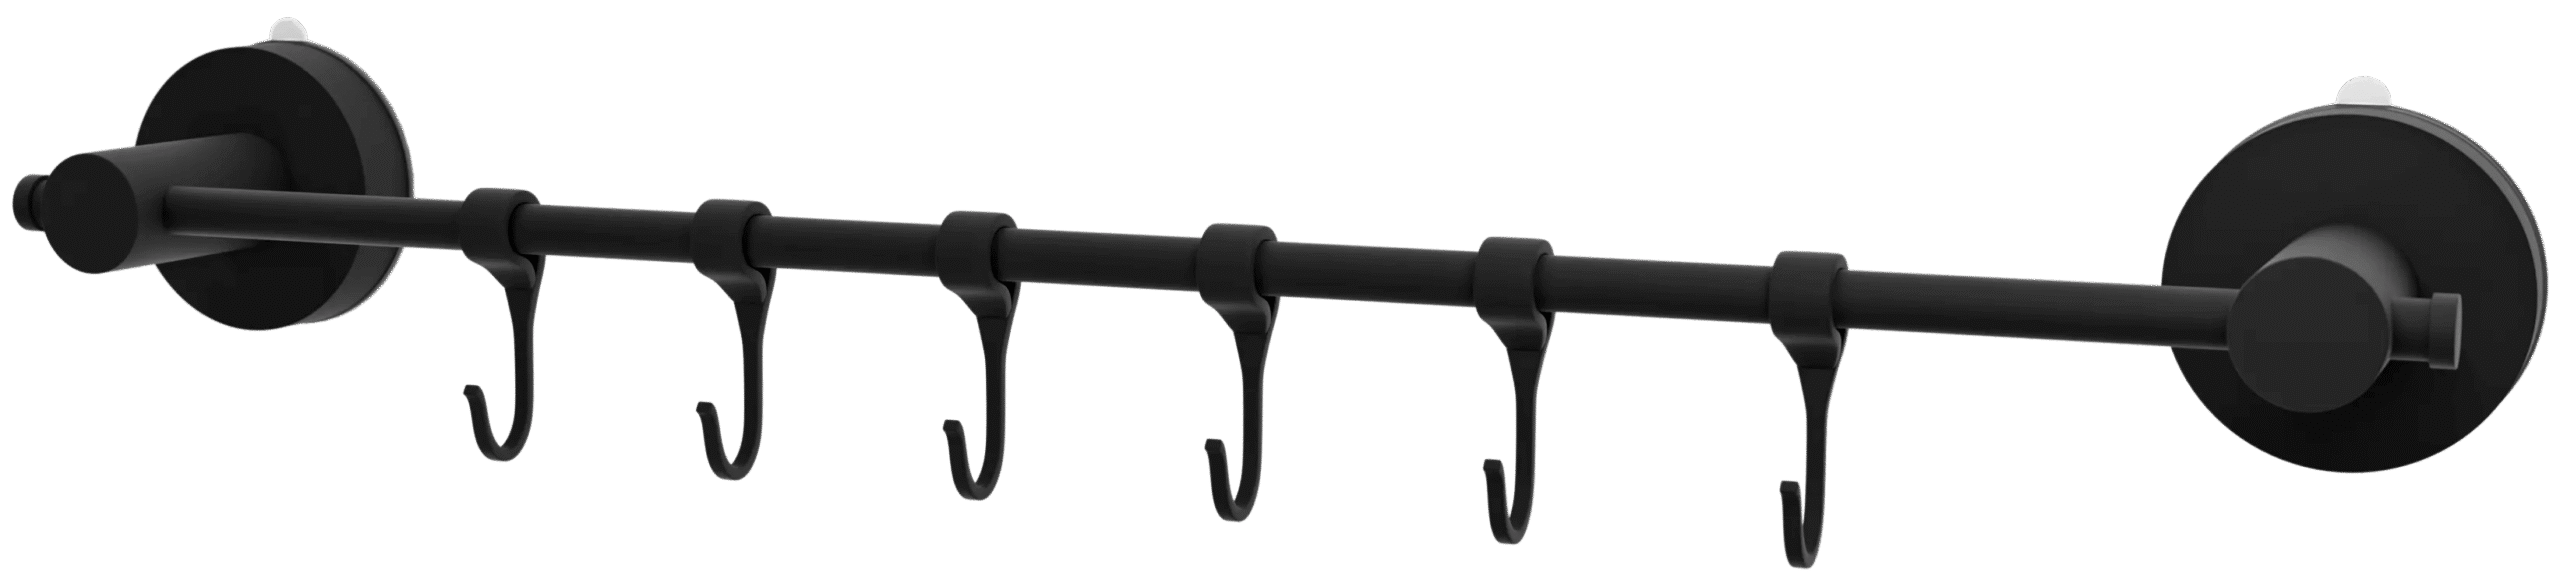
A step-by-step example: installing a suction cup rack
- Choose a tiled area and cleean with alcohol, making sure to dry.
- With a clean area, test with a suction cup, marking your desired placement.
- Press the suction rack down, and then leave for 24 hours before use.
Result? A clean installation with no cracks or holes.
What to Avoid During Prep
- Do not skip the drying step.
- Do not use oily cleaners.
- Do not assume a surface is clean just by visual inspection.
- Do not instantly overload the rack.
Post-Installation Tips
- Do not place any weight for 24 hours.
- Test with light objects first.
- Re-clean and reapply if it loosens over time.
- Twist and lift to remove, do not yank.
Conclusion
Preparation, not tools, are the first step to perfect installations. Properly prepping surfaces ensures rented spaces won’t suffer permanent damage, and accessories can be securely mounted without damage to walls. Cleaning, testing, and measuring requires a few minutes, but ultimately pays off.
FAQs
Q1: Can I install suction products on painted walls?
Suction requires non-porous surfaces like tiles or glass. Painted walls are usually a failure for this test.
Q2: How long should I wait after cleaning before installing?
At least 10 to 15 minutes.
Q3: What if my suction cup keeps falling off?
Clean the surface again with rubbing alcohol, then retry. If it still fails, the surface may be incompatible.
Q4: Are suction cups less effective than adhesives?
Both methods have their advantages and disadvantages, though adhesives provide a stronger, semi-permanent fixation and may remove paint when detached.
Q5: Can I do it on rainy or very moist days?
I recommend staying away from those days. Humid air affects surface dryness, especially in the case of bathrooms.
