


Introduction
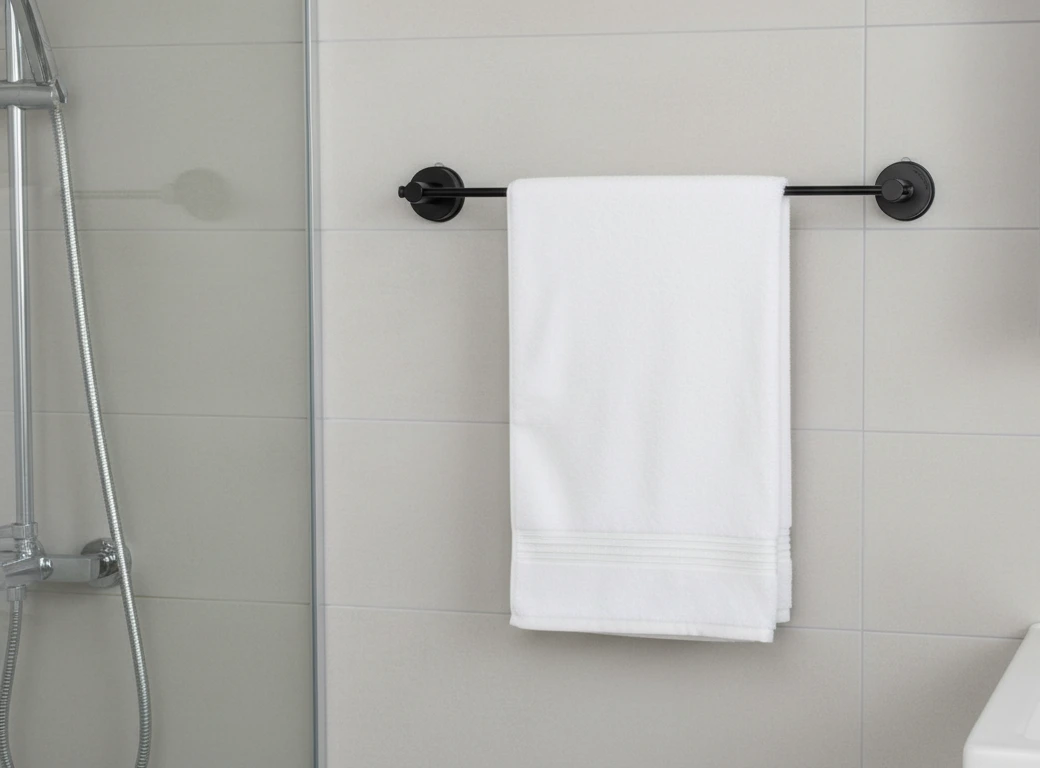
Want to upgrade your bathroom without damaging the walls? Learning how to install a towel bar without drilling is one of the best ways to add functionality without the mess, noise, or permanent marks. Whether you’re renting, living in a temporary space, or simply avoiding the hassle of drilling, no-drill towel bars are the perfect solution.
They’re easy to use, sturdy when installed correctly, and look just as stylish as traditional models.
Understanding No-Drill Towel Bars
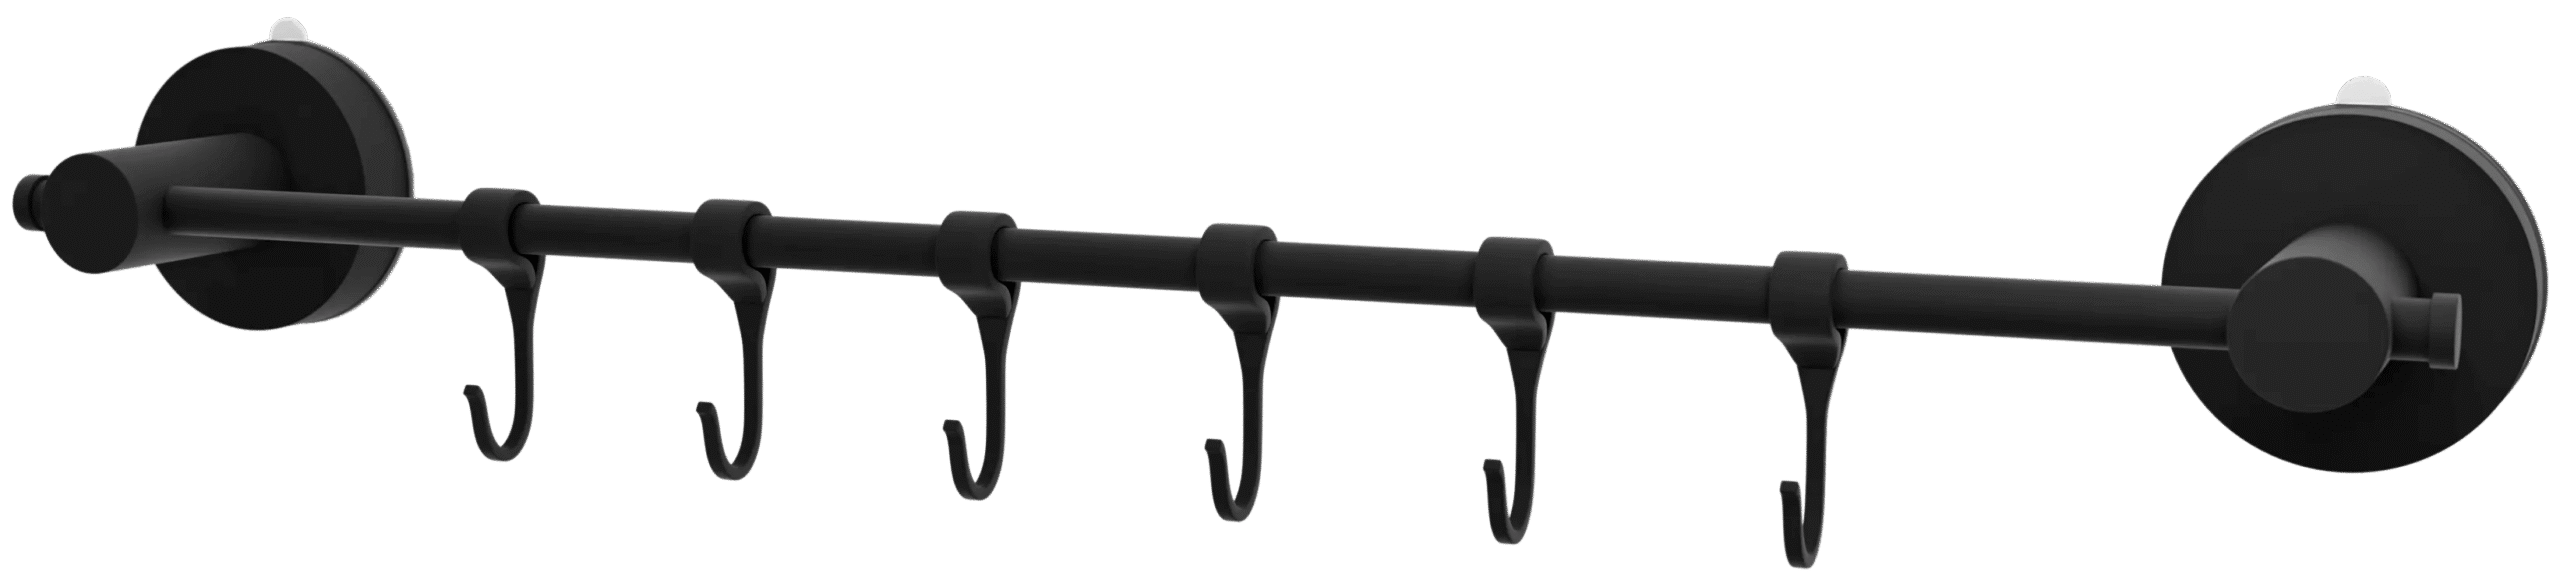
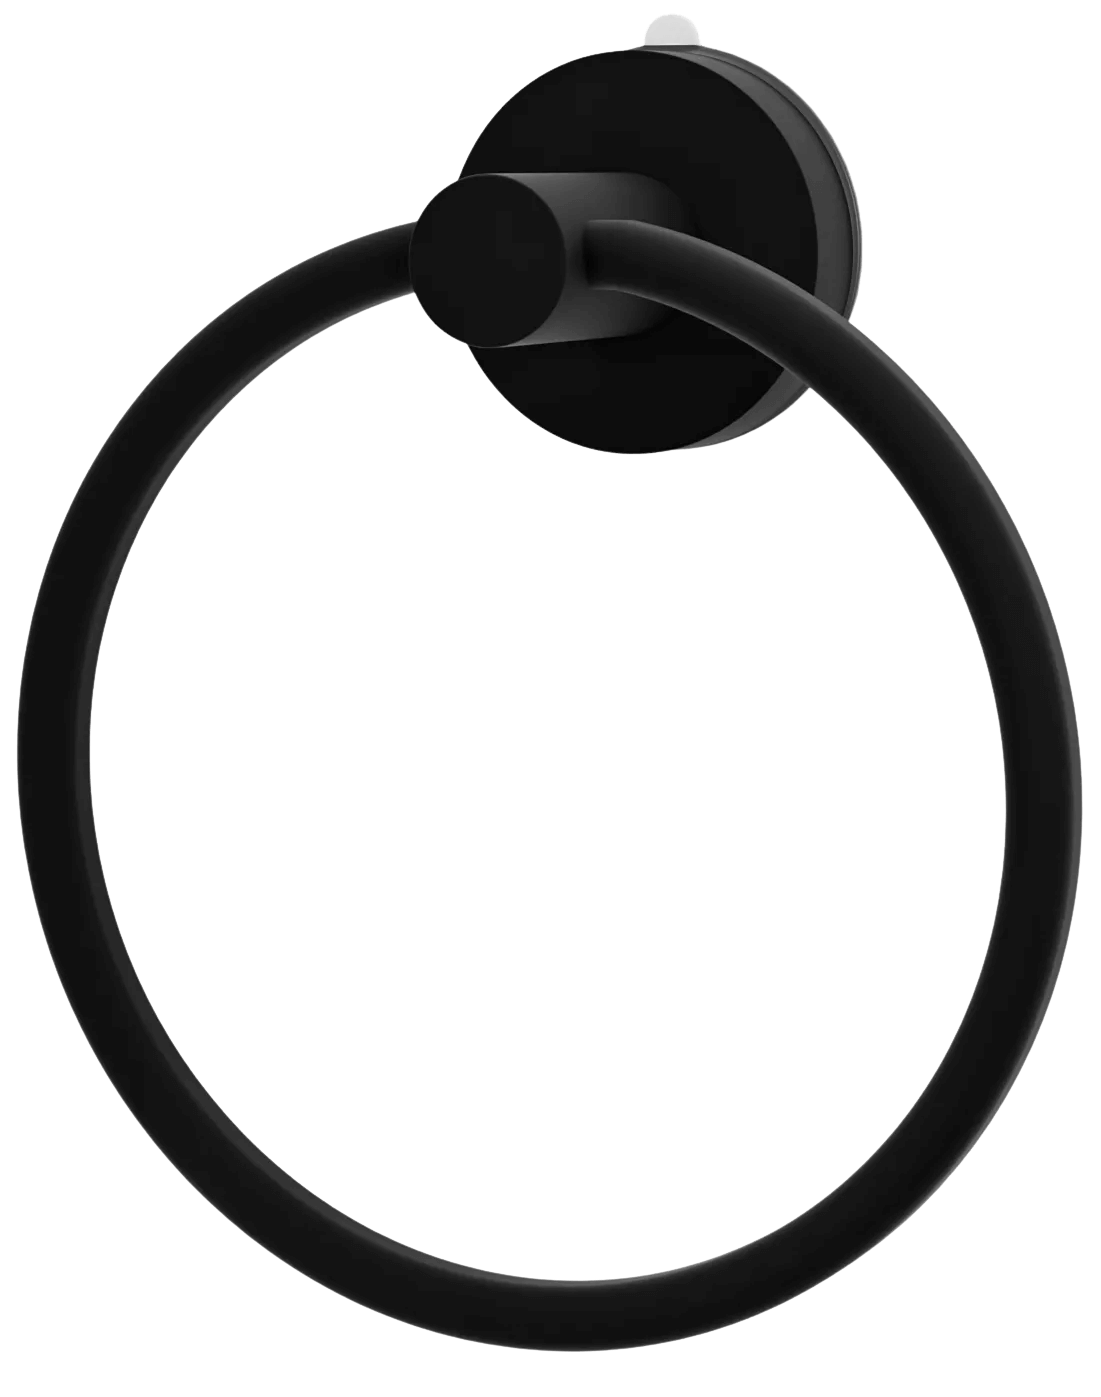
No-drill towel bars come in several styles, each designed to offer secure mounting without screws or power tools.
Types of No-Drill Towel Bars
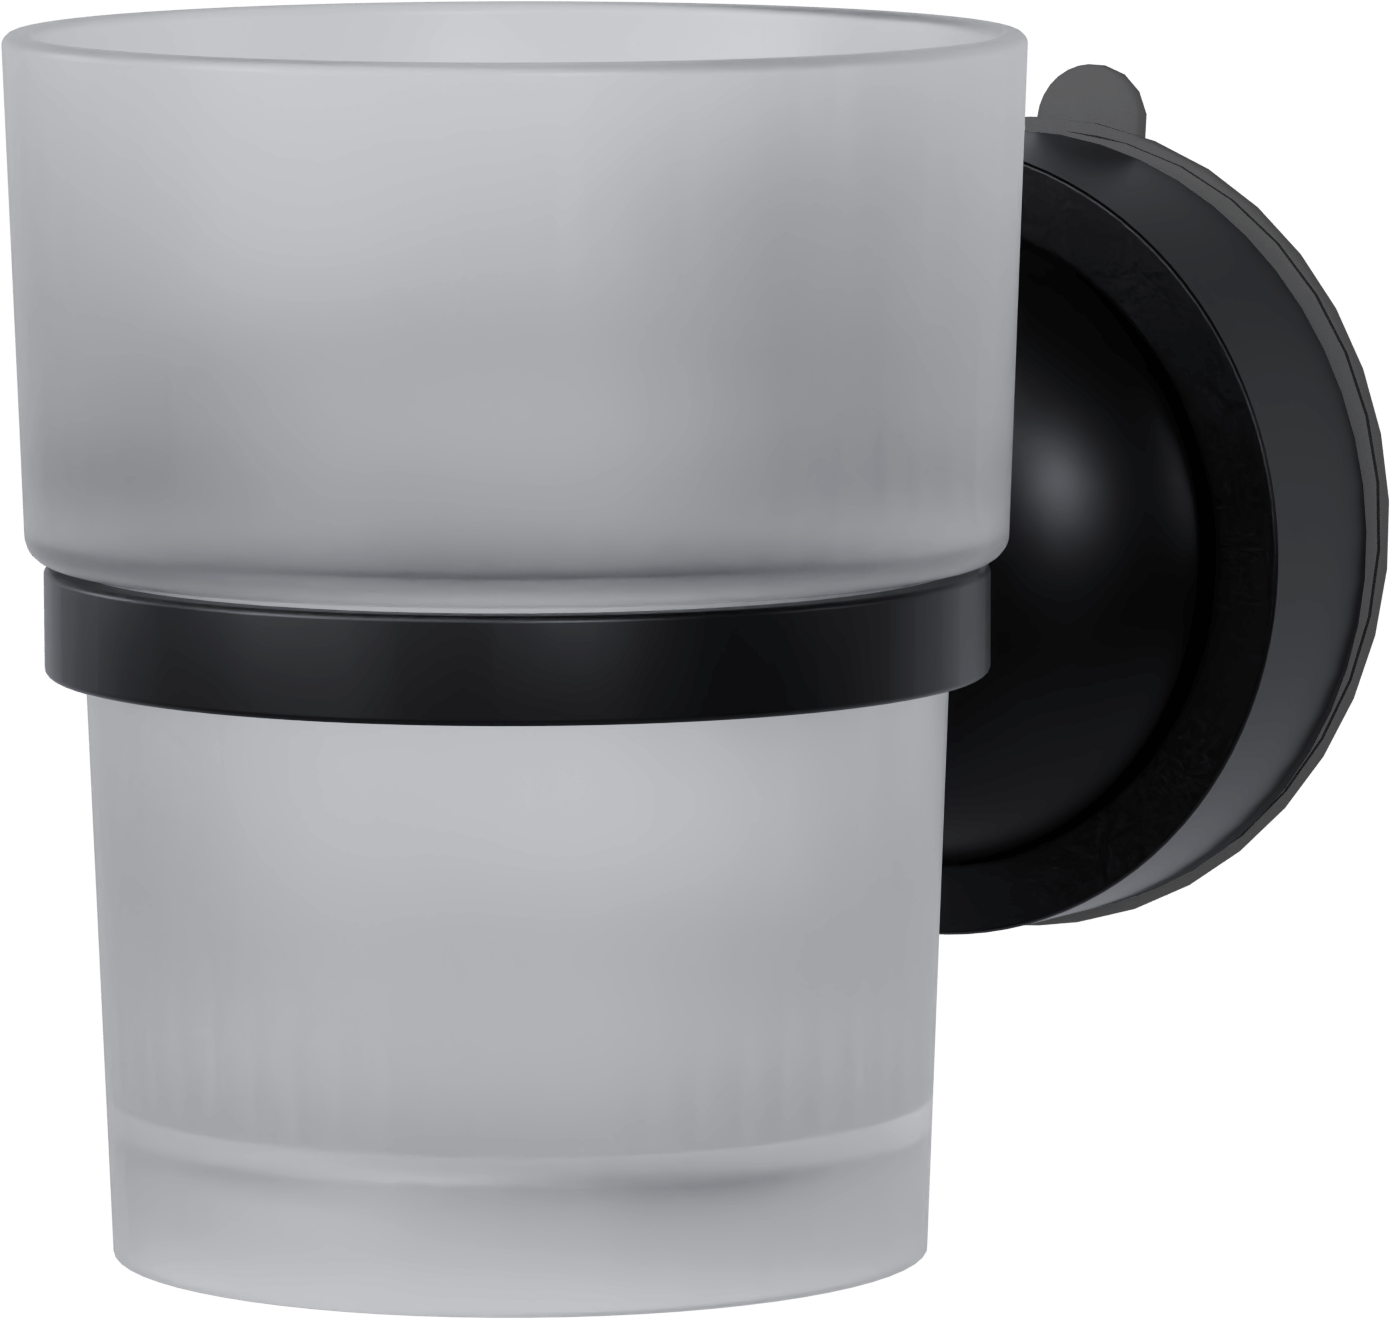
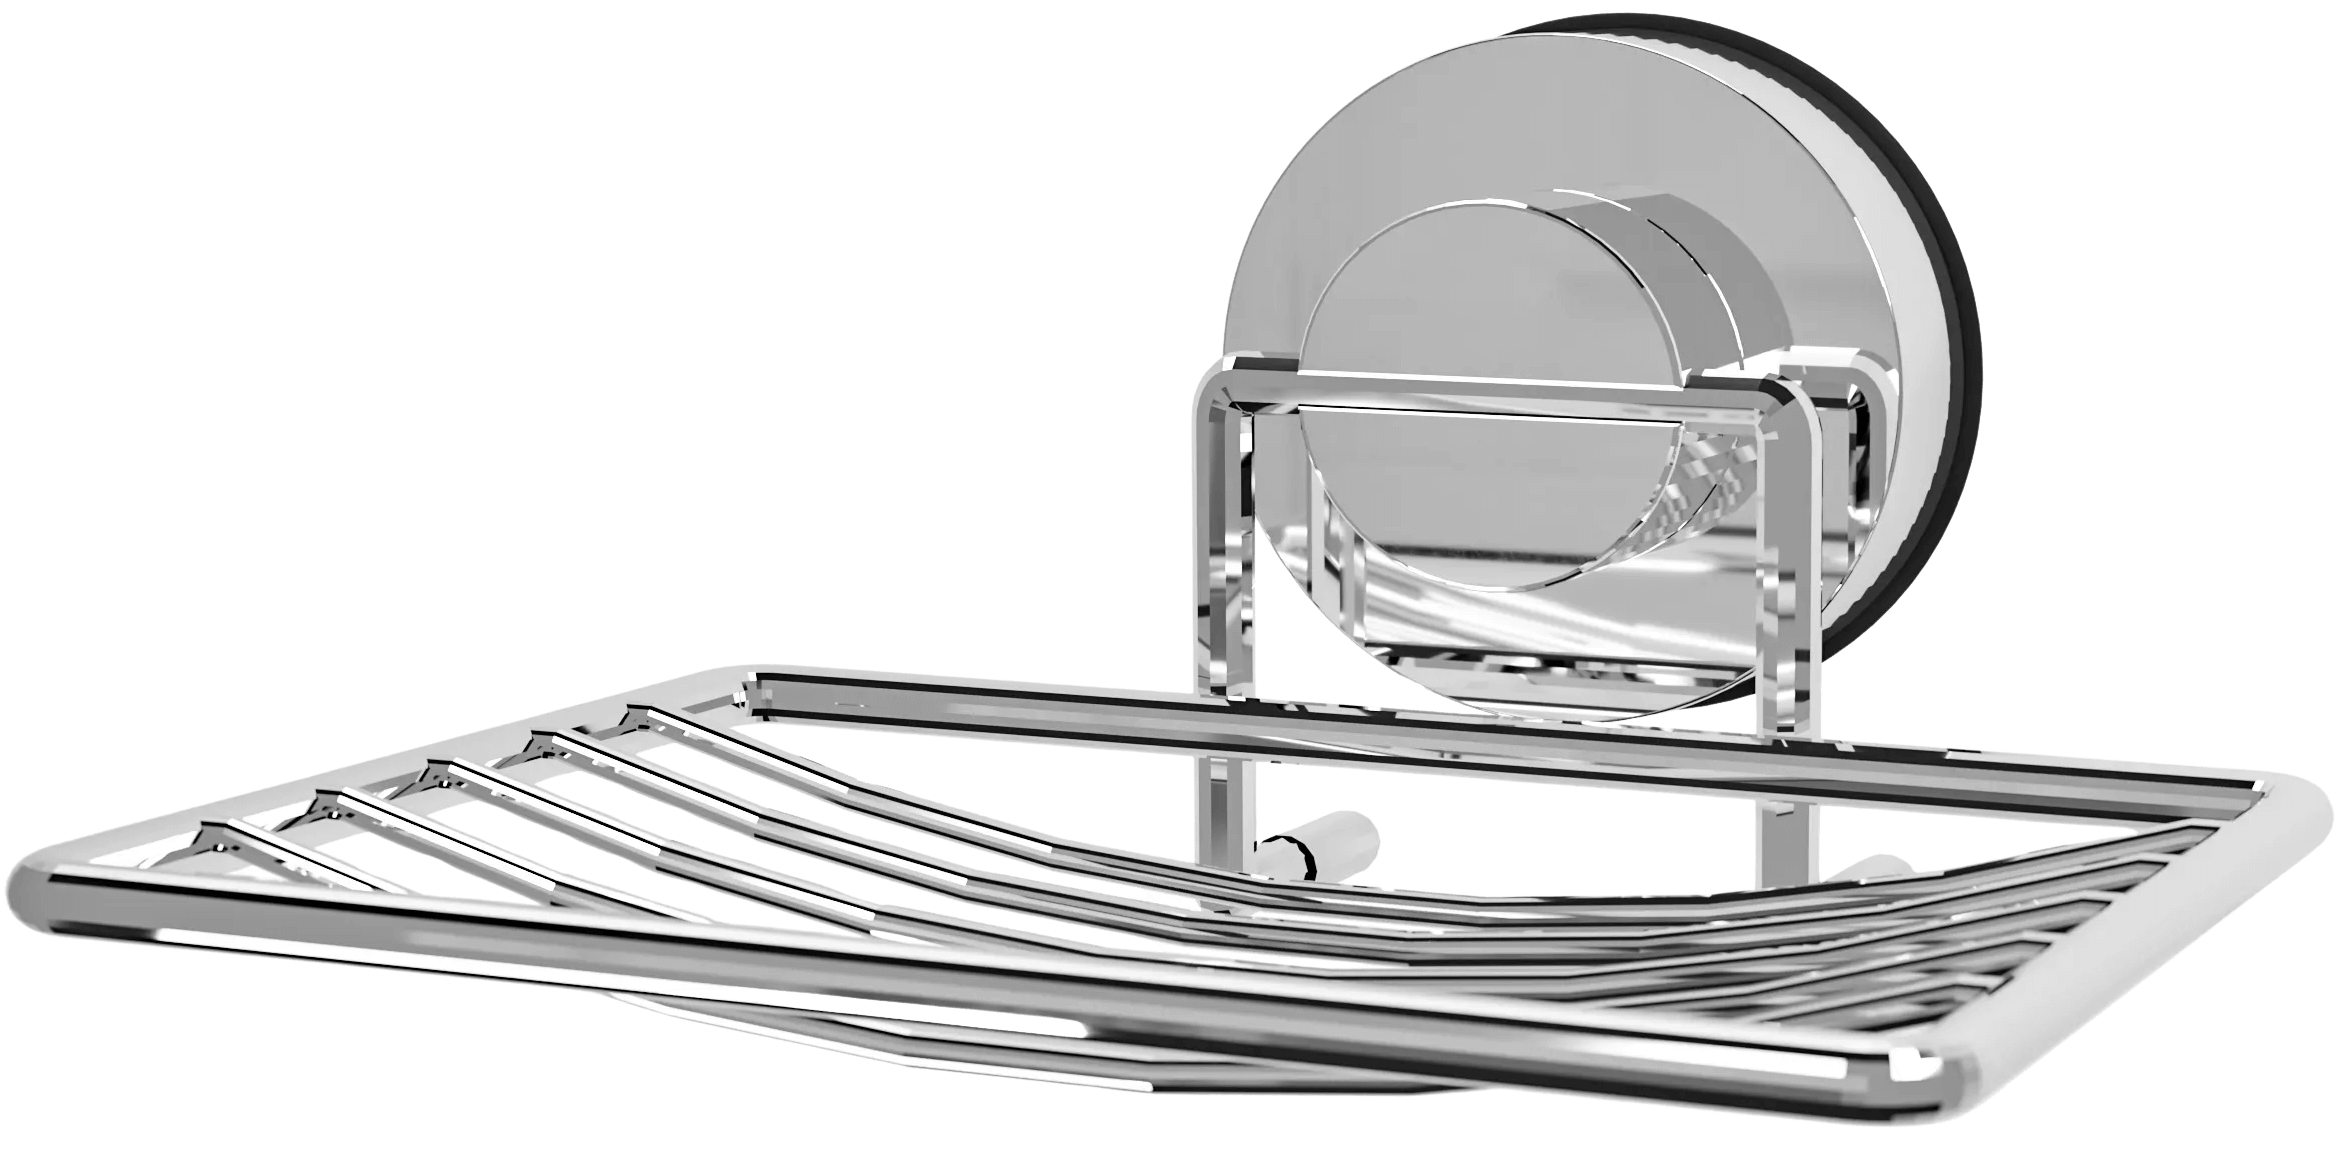
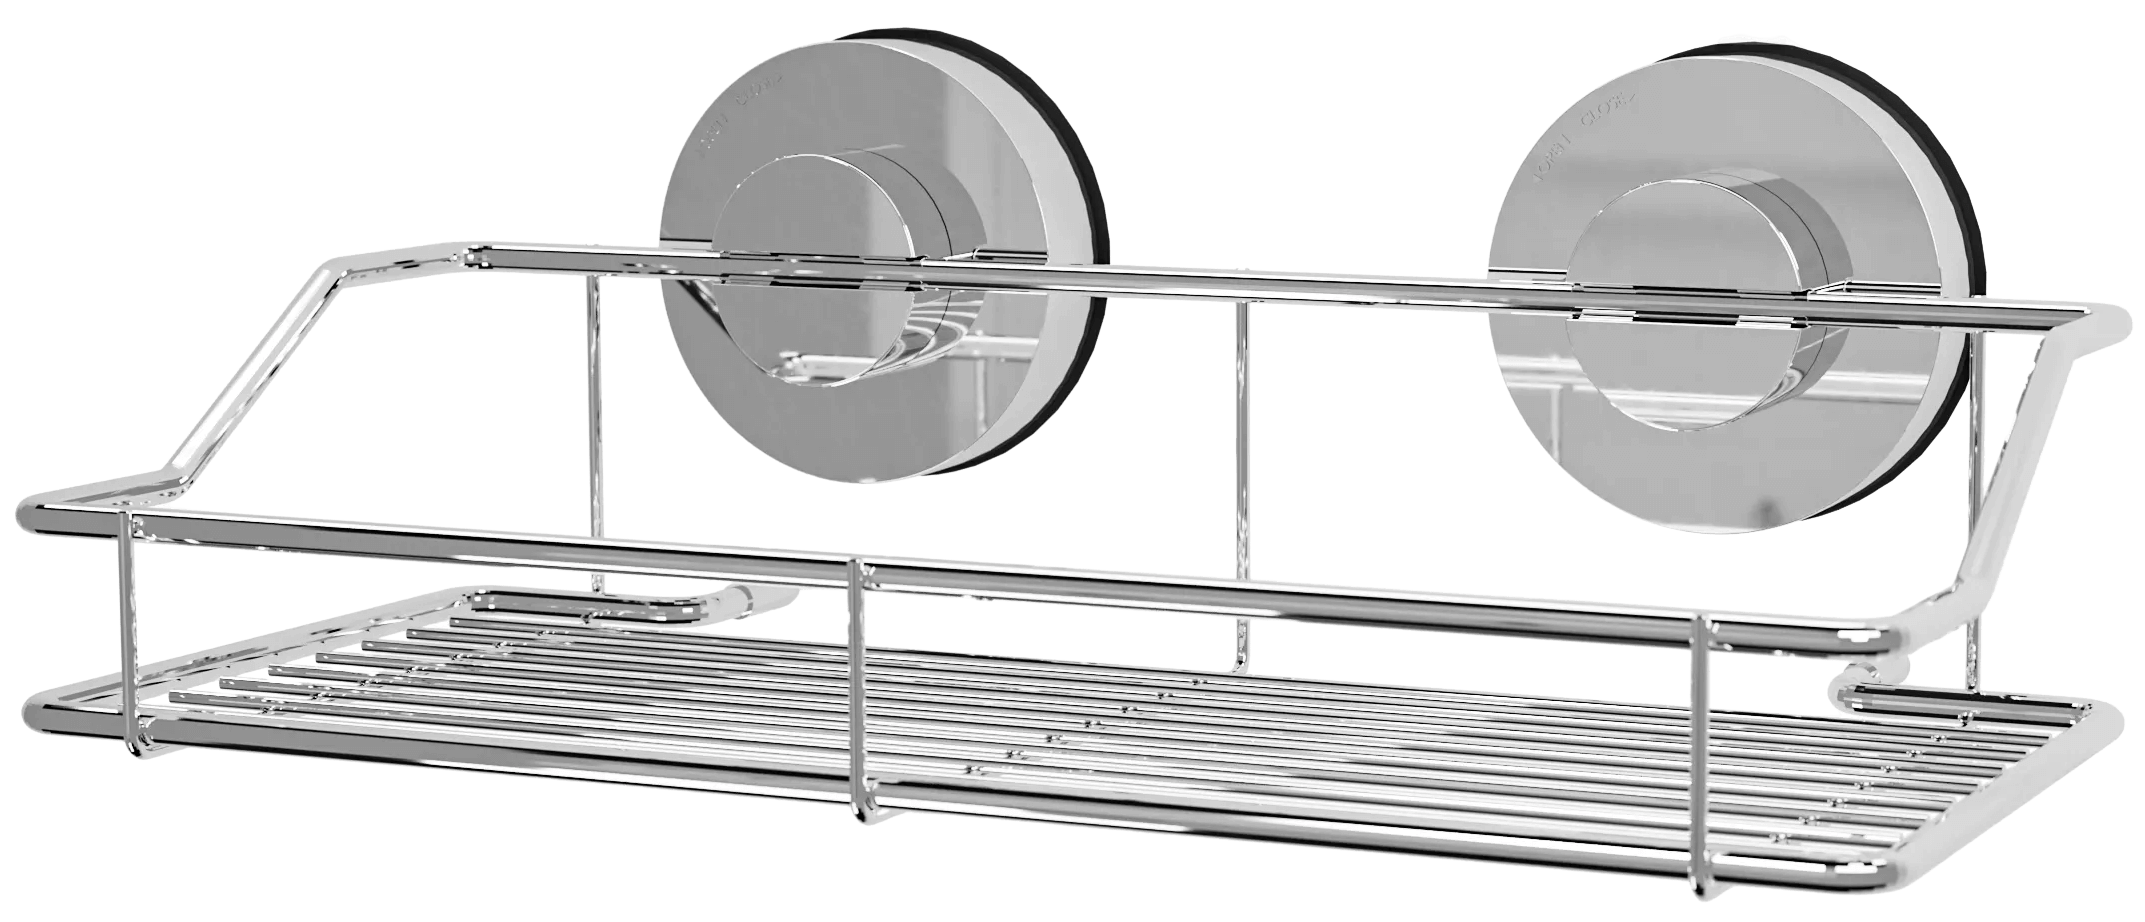
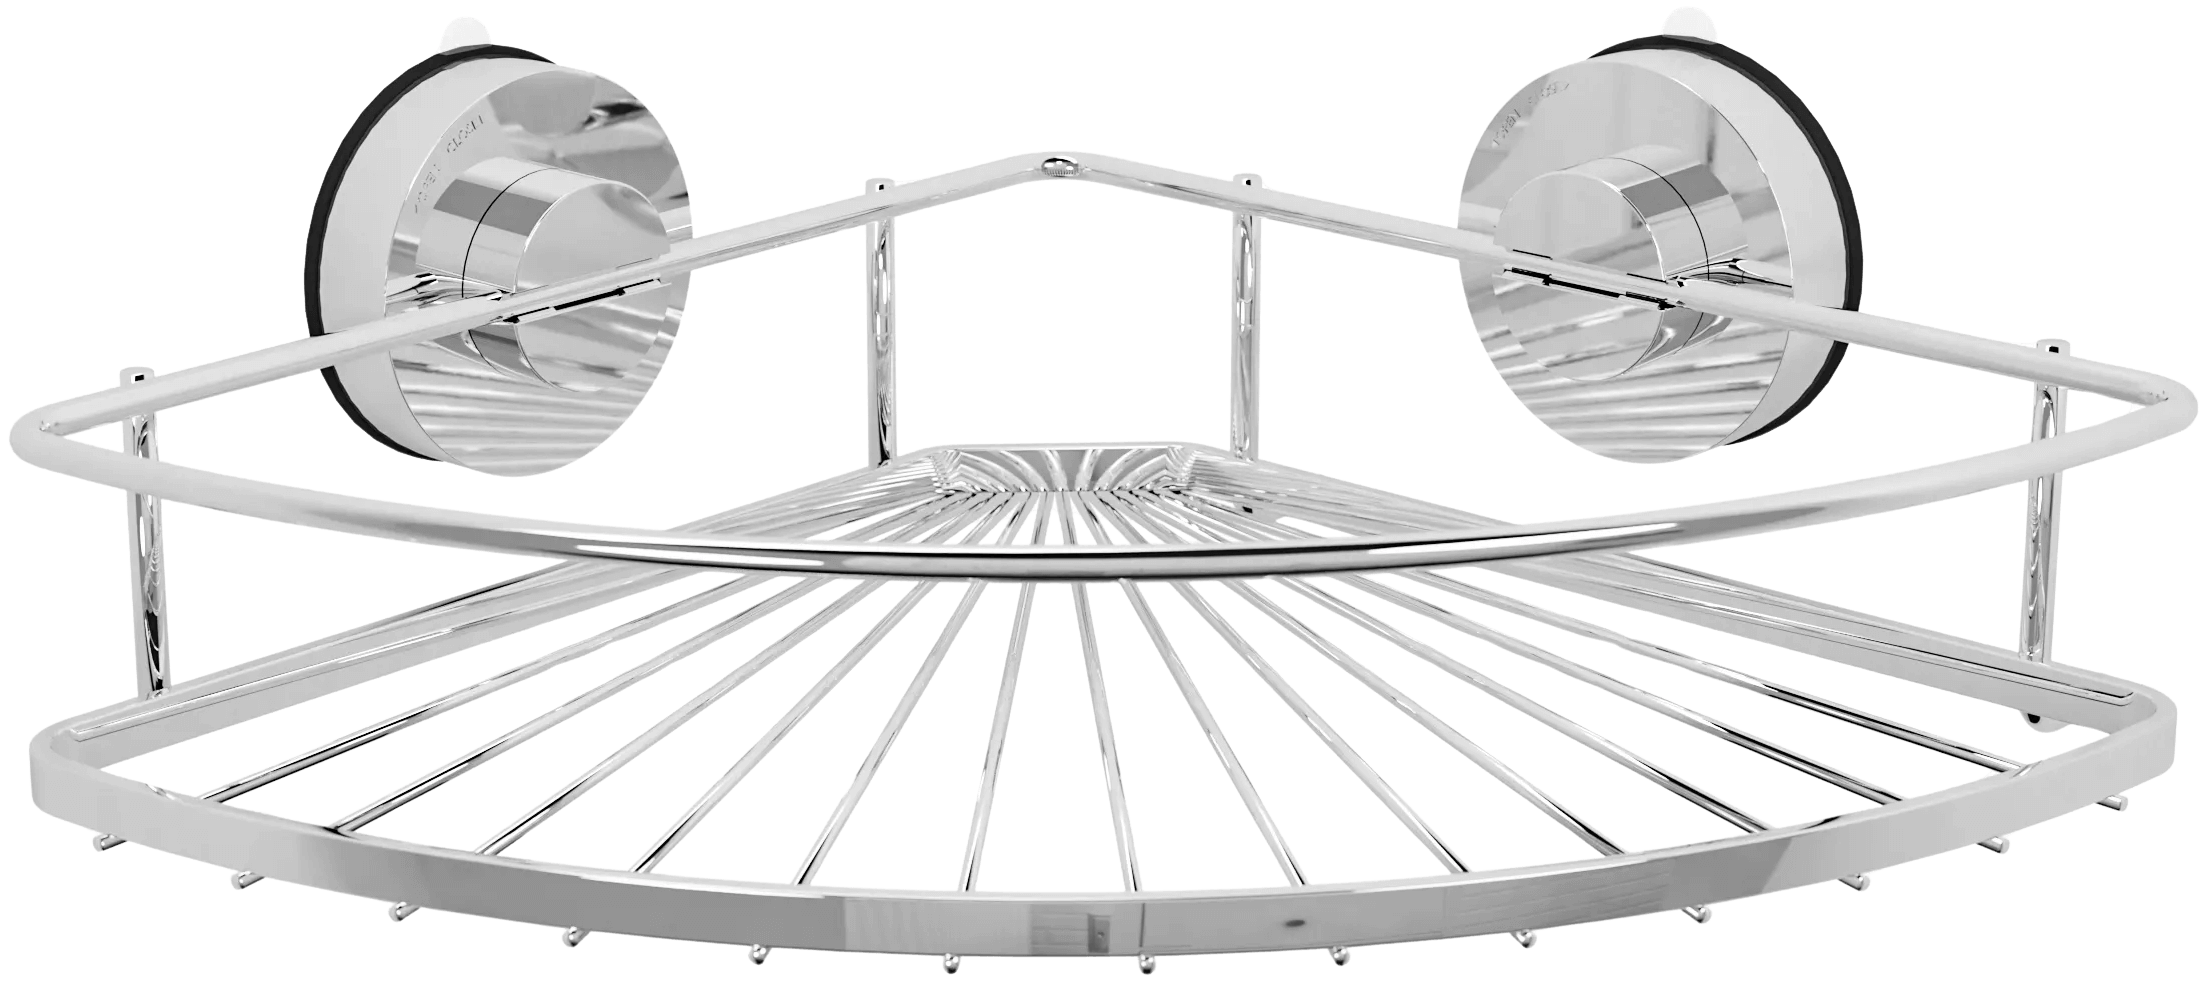
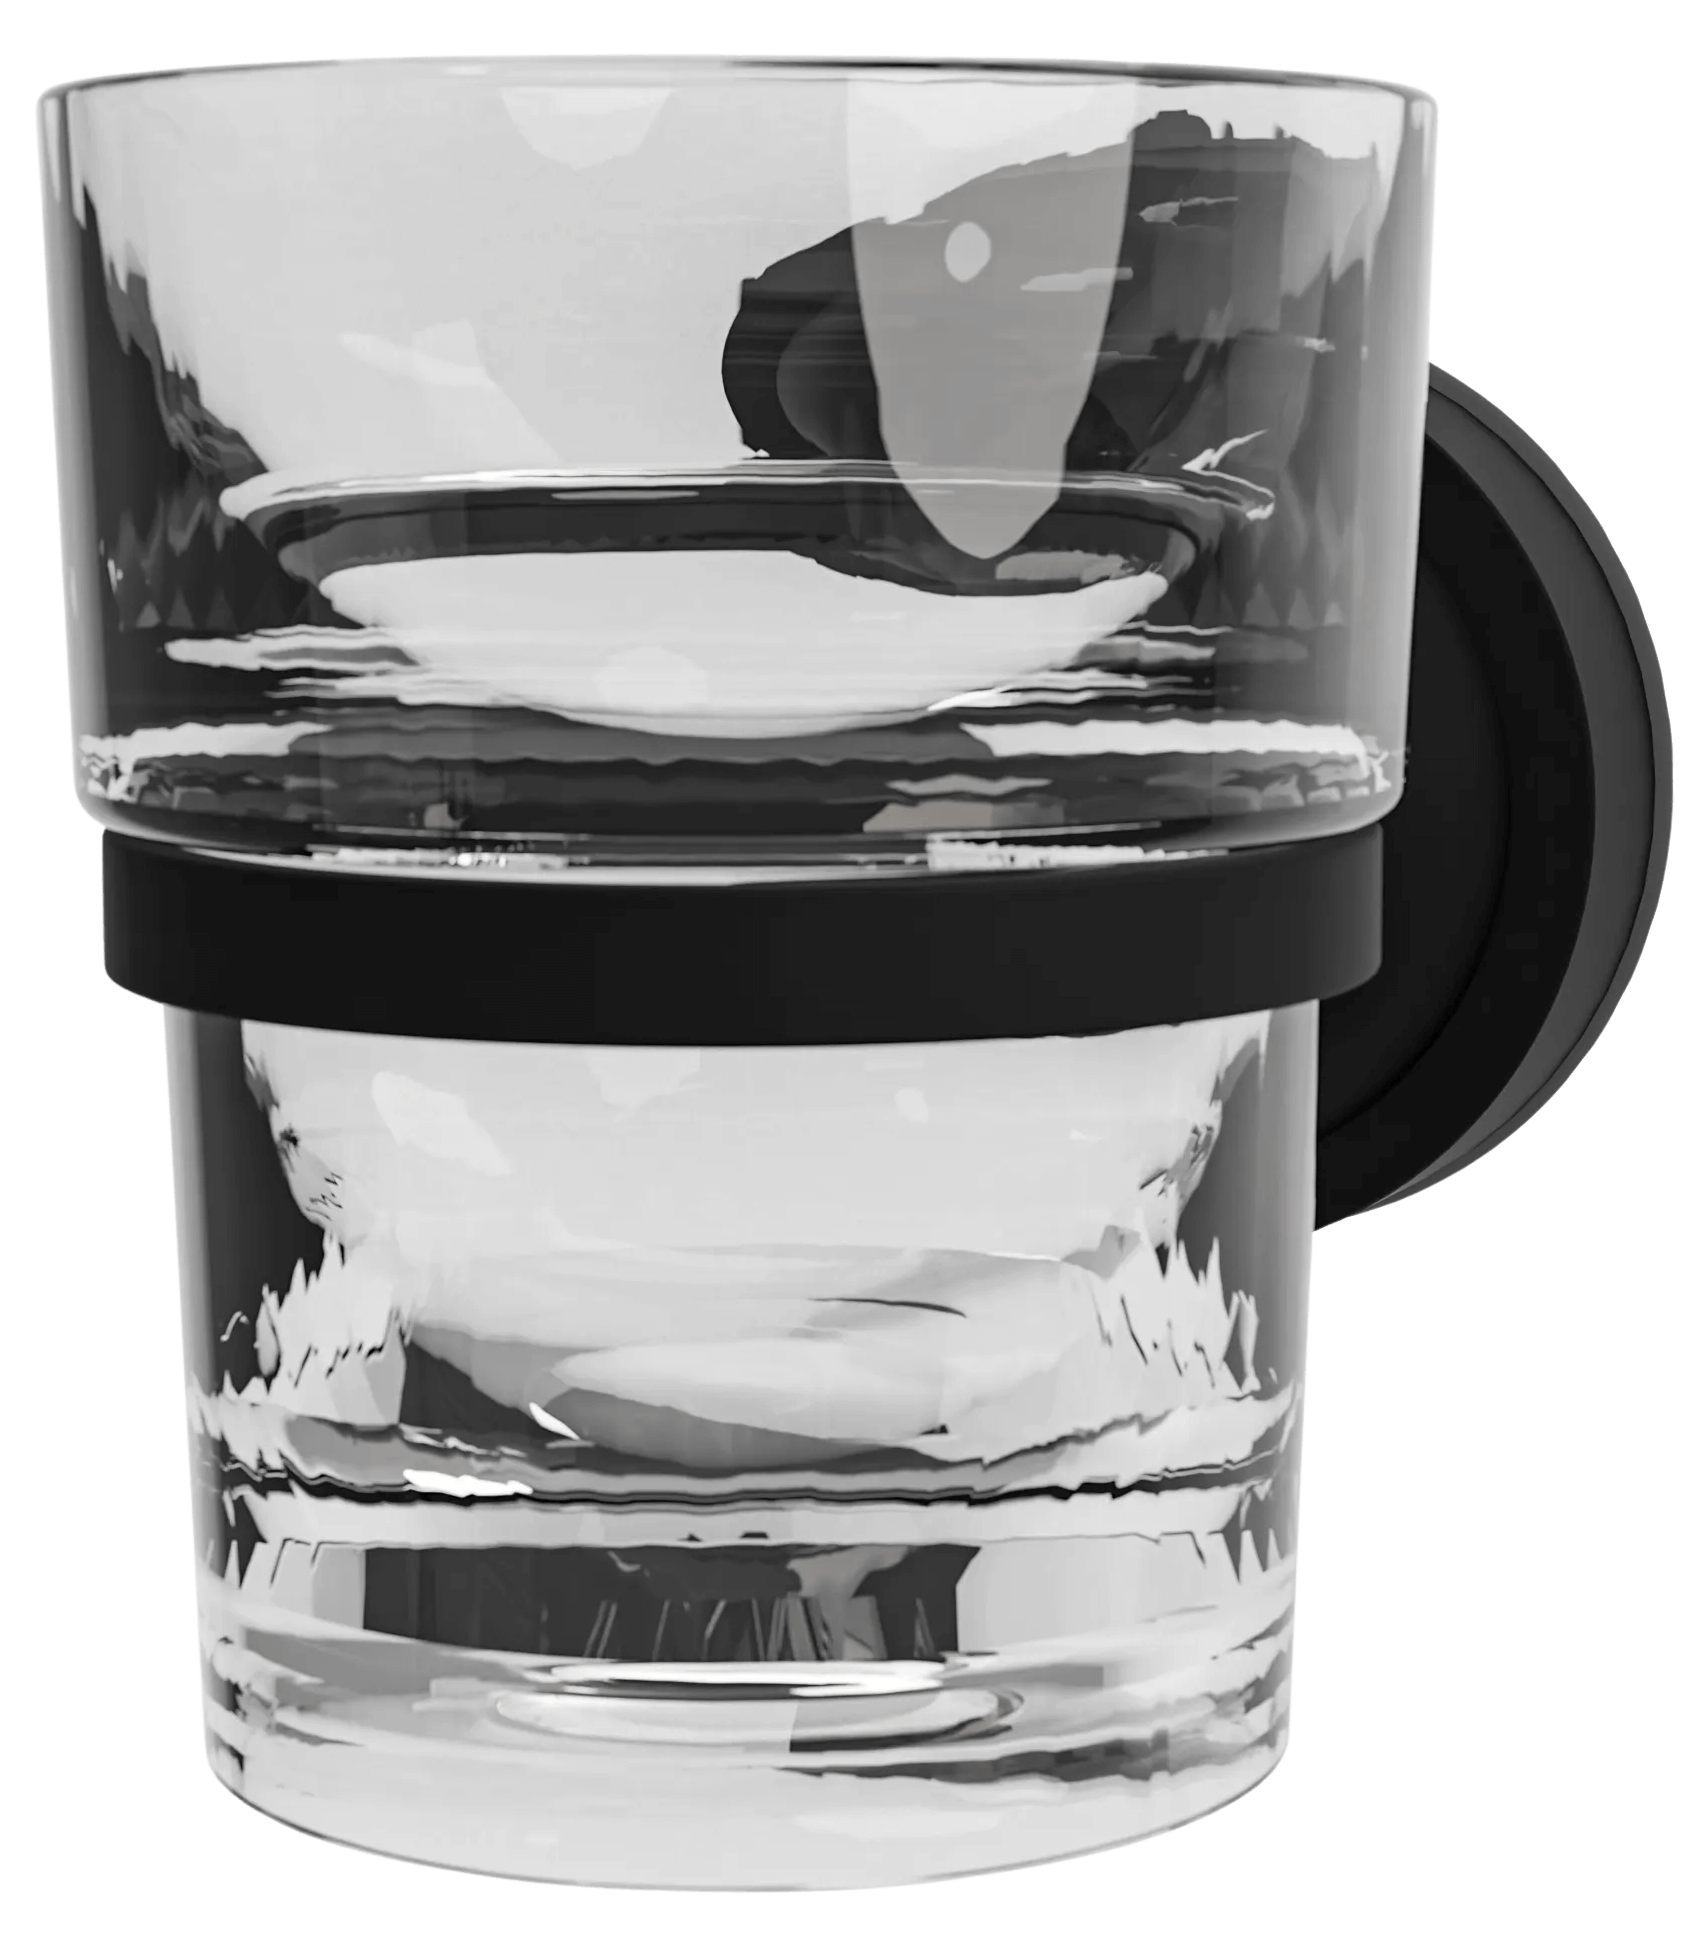
- Adhesive-based towel bars – Use strong glue pads or mounting adhesive.
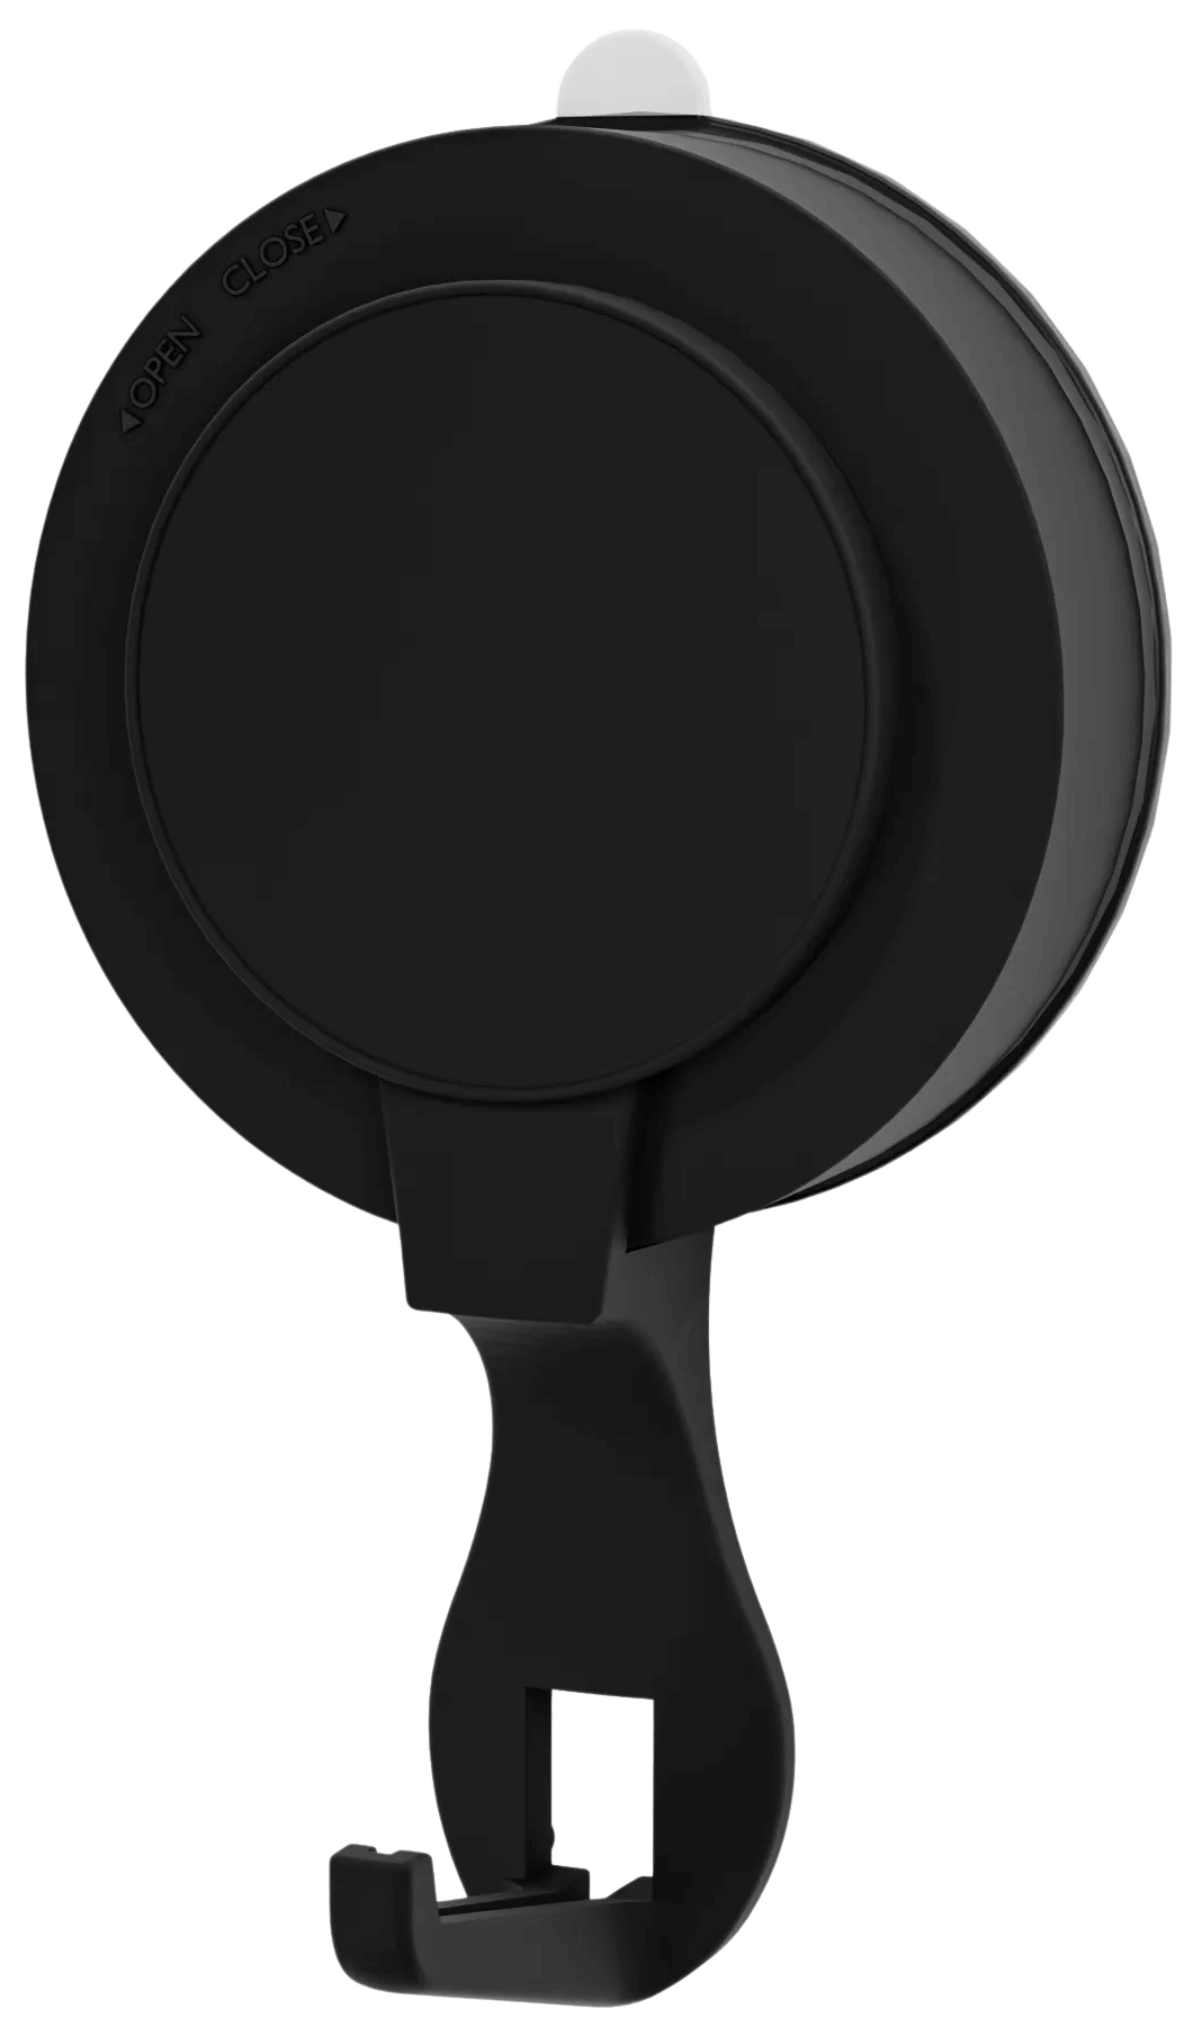
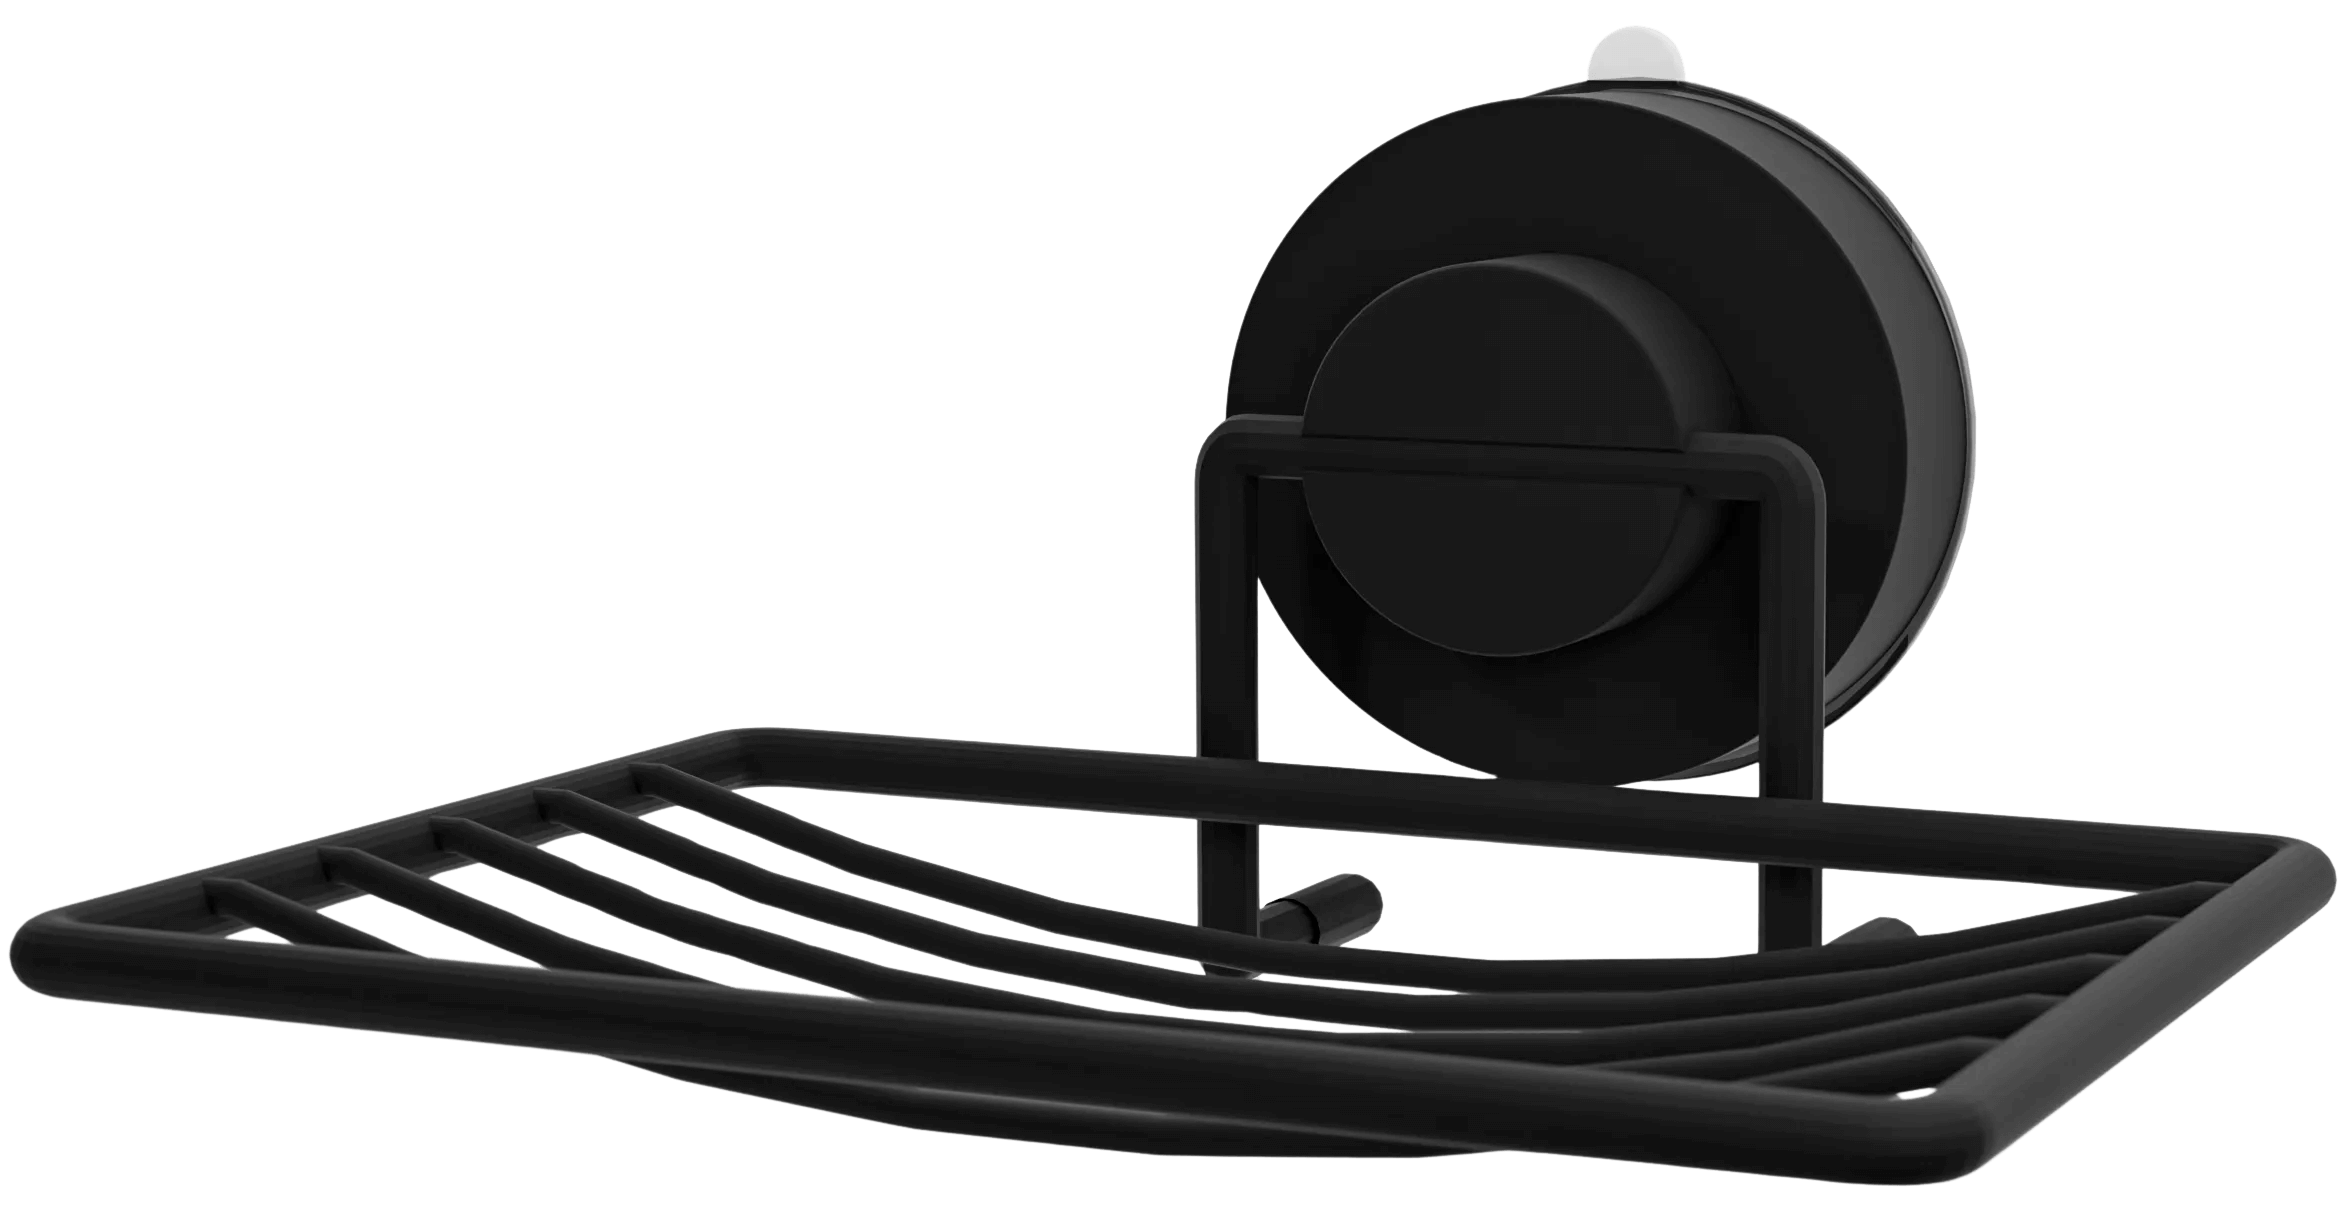
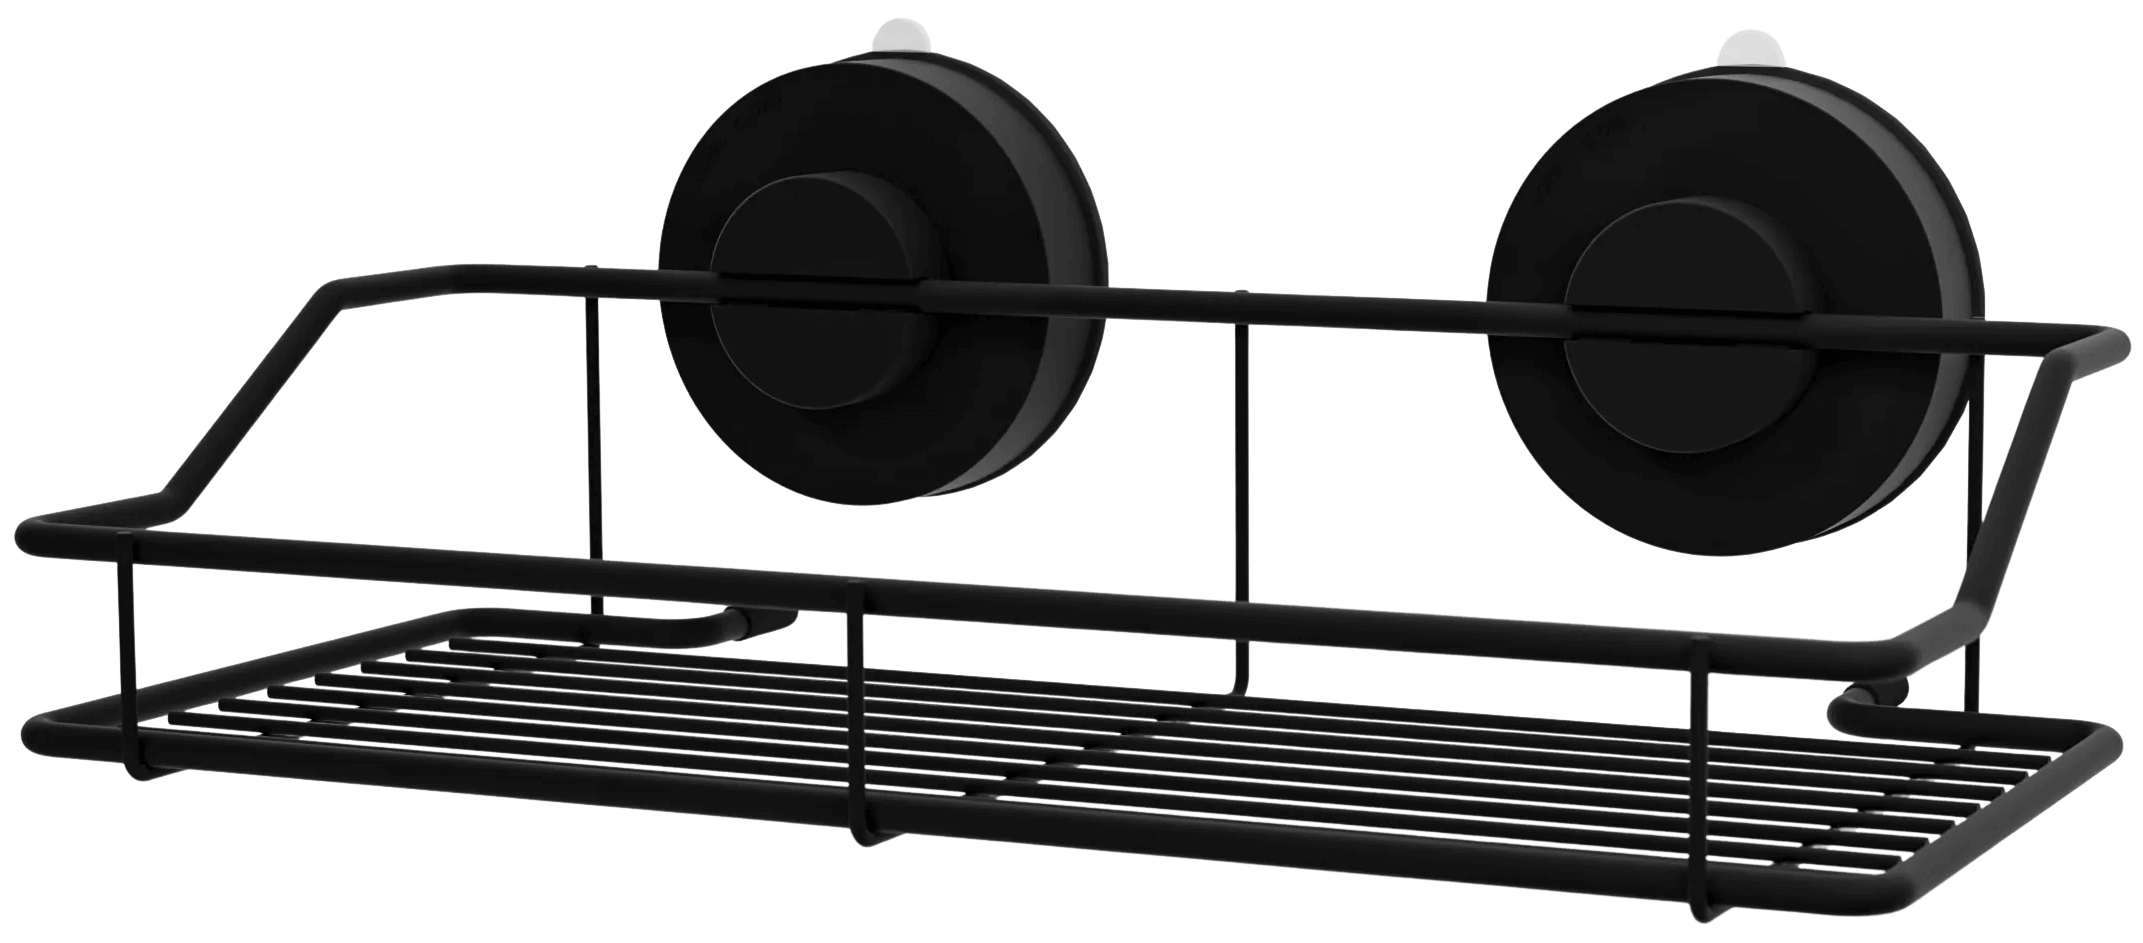
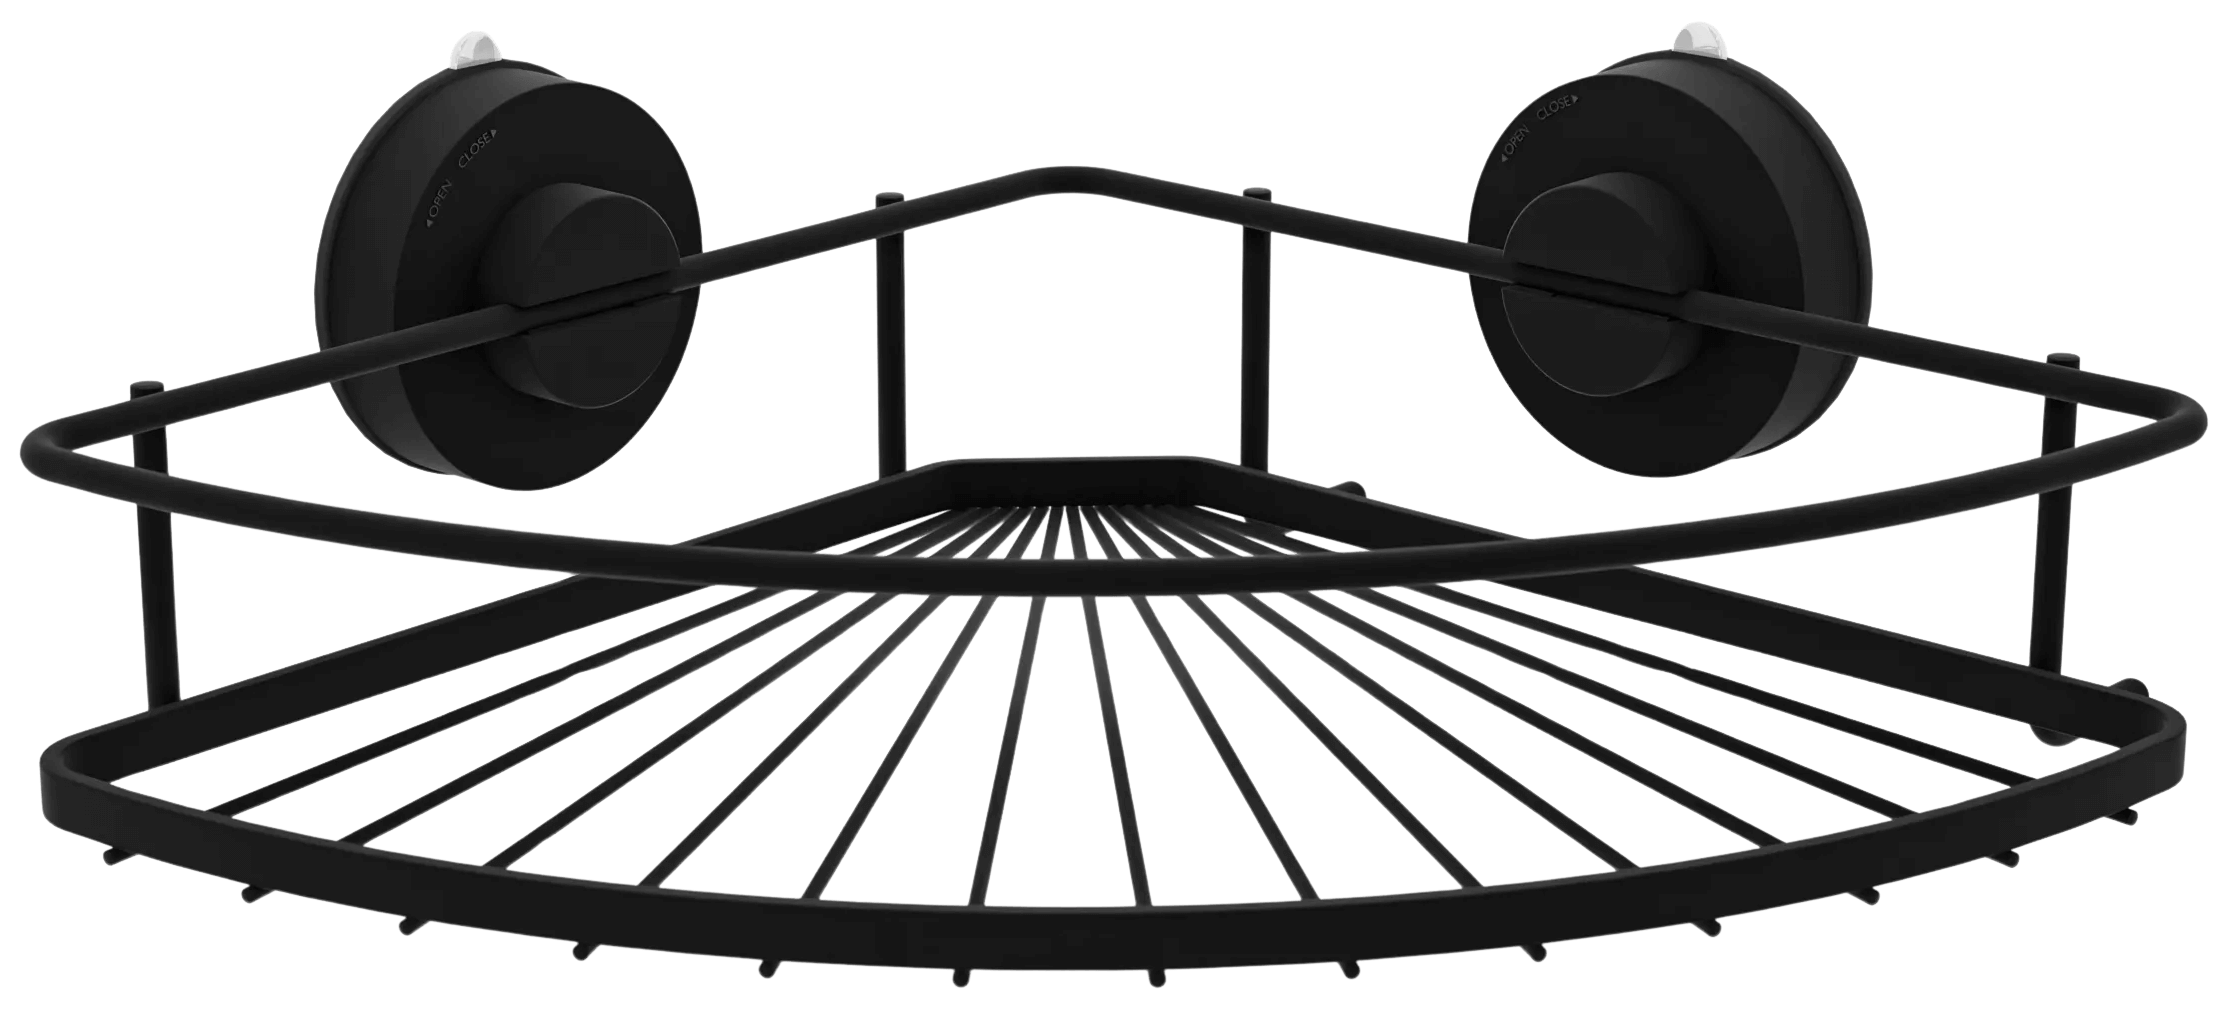
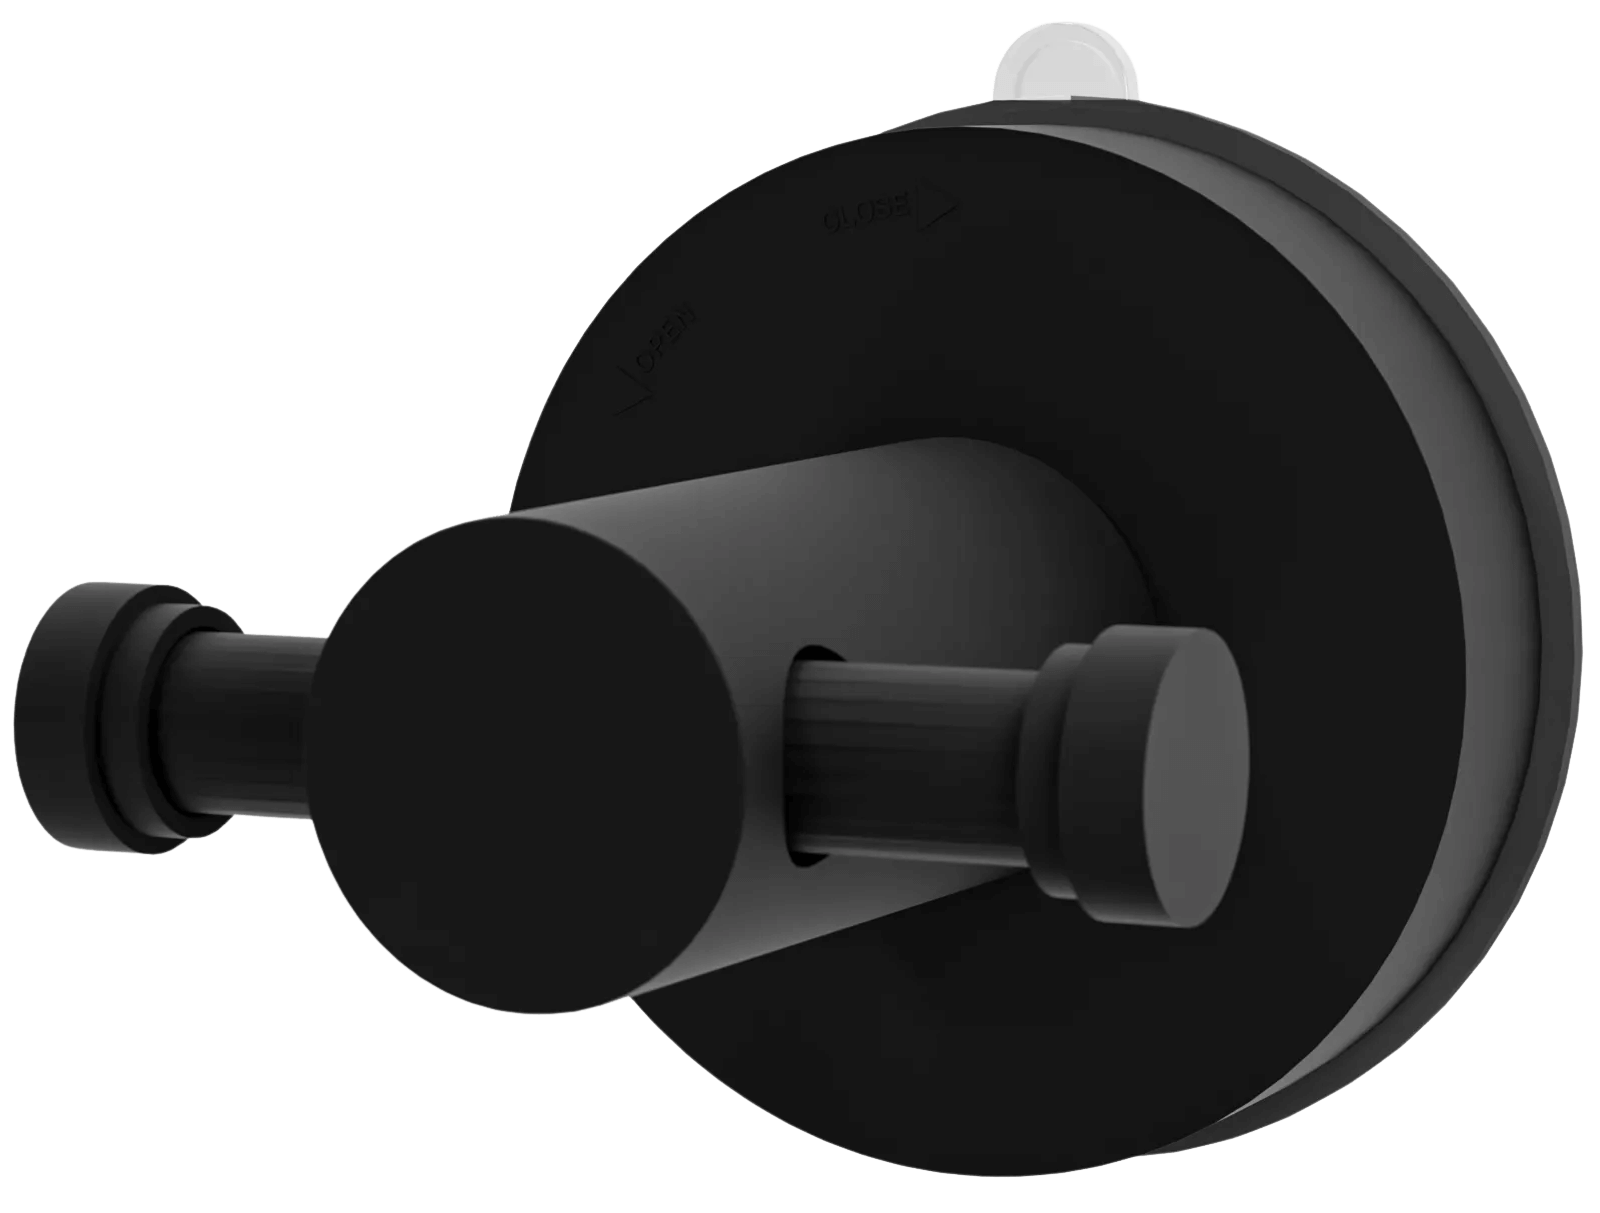
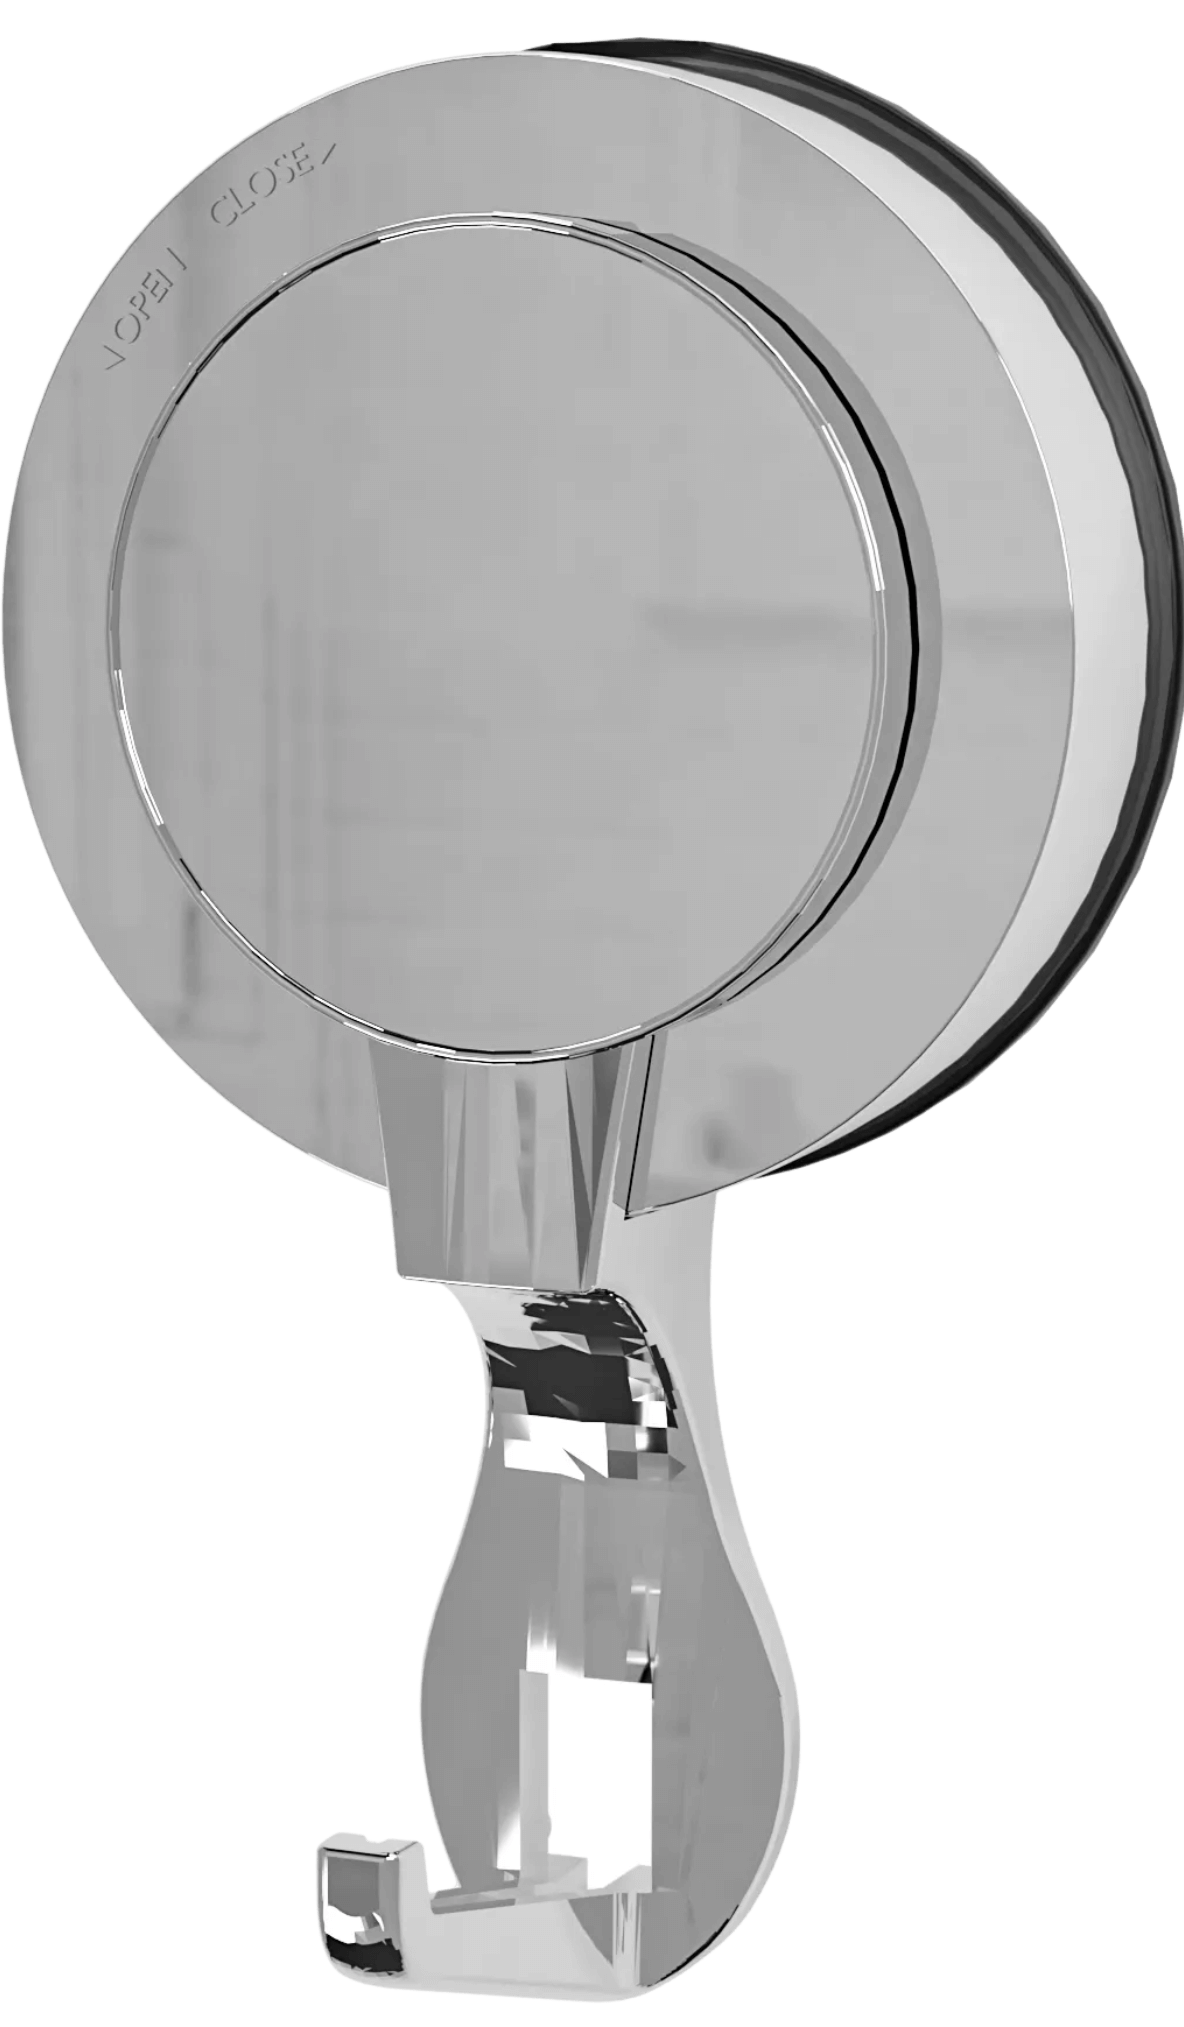
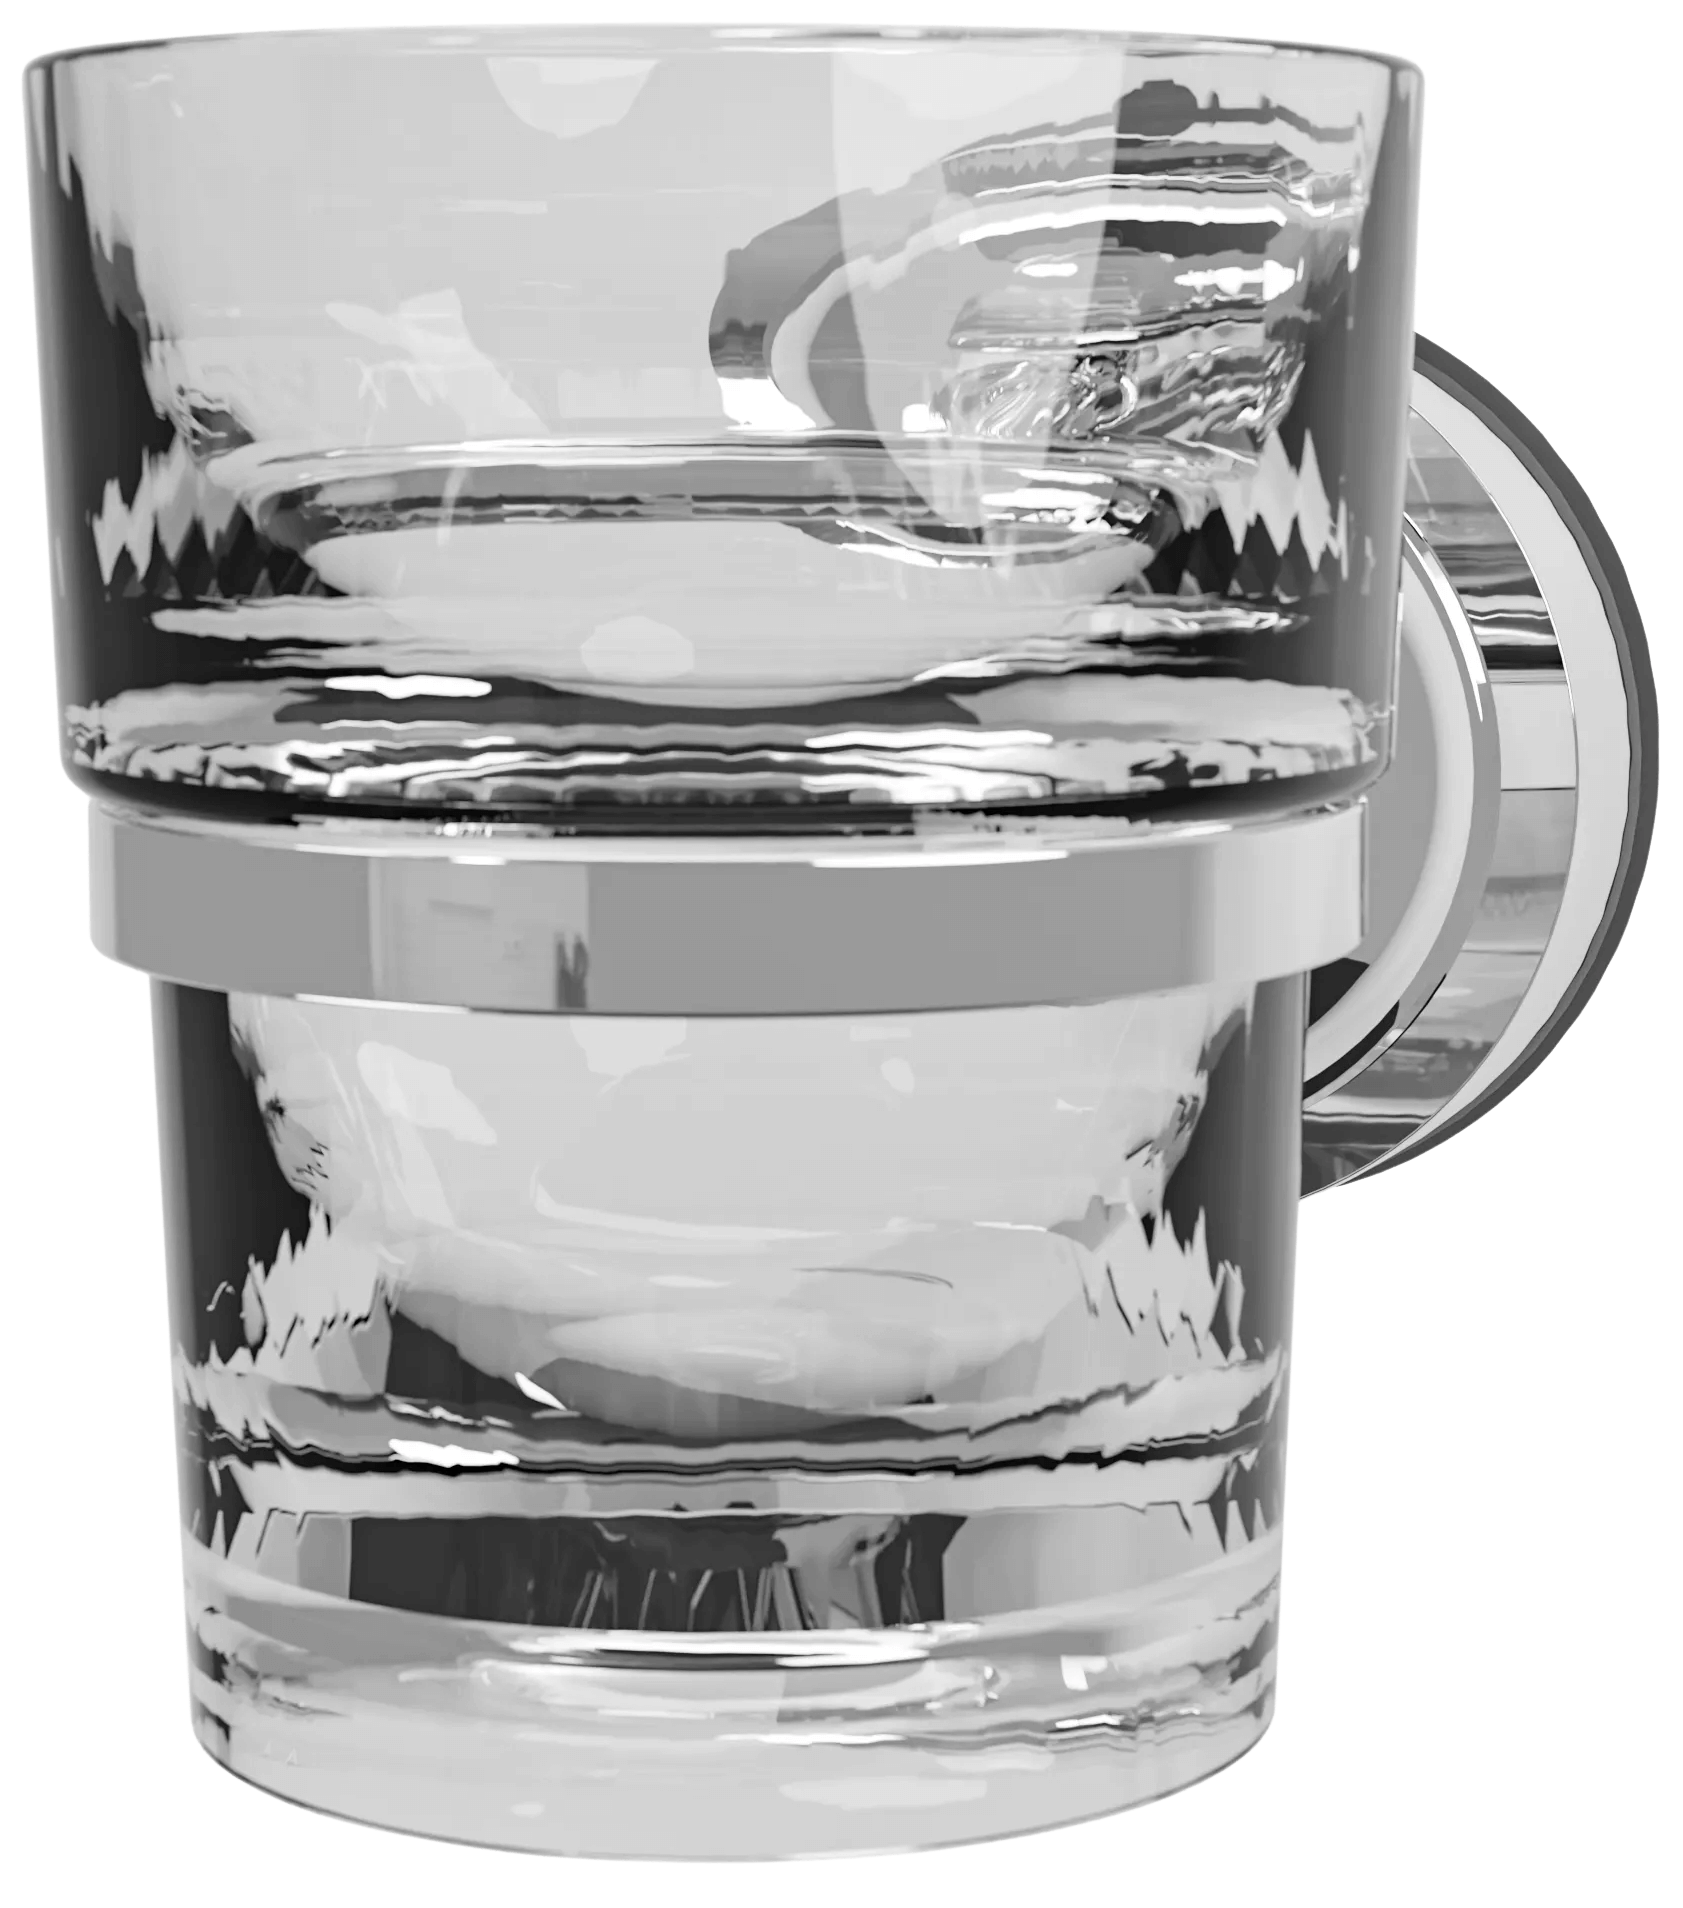
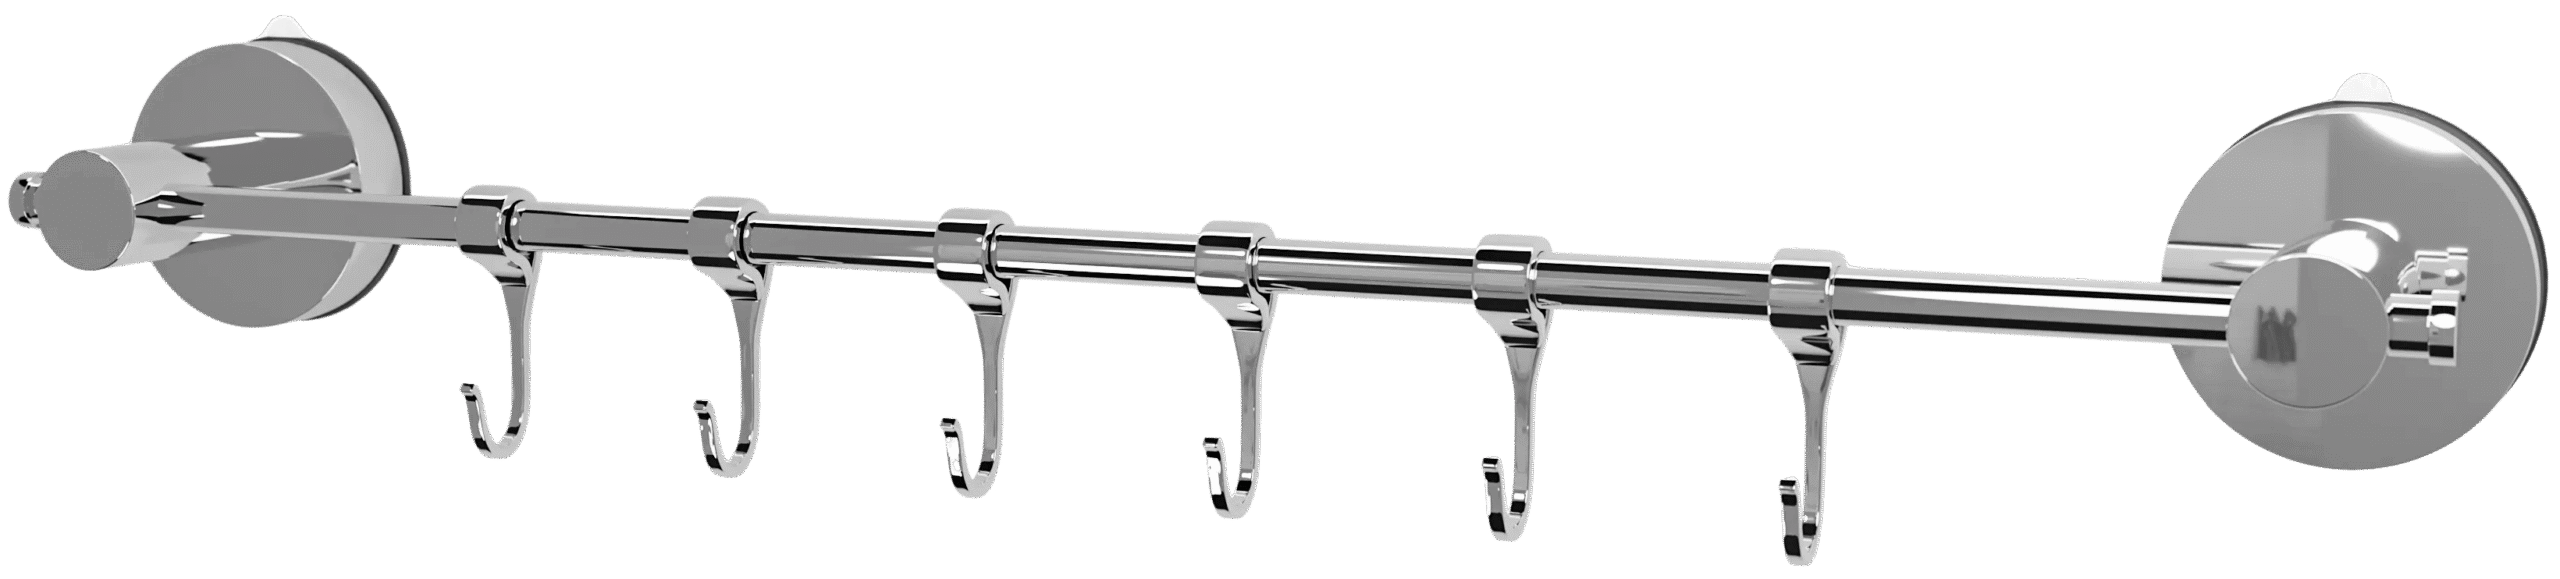
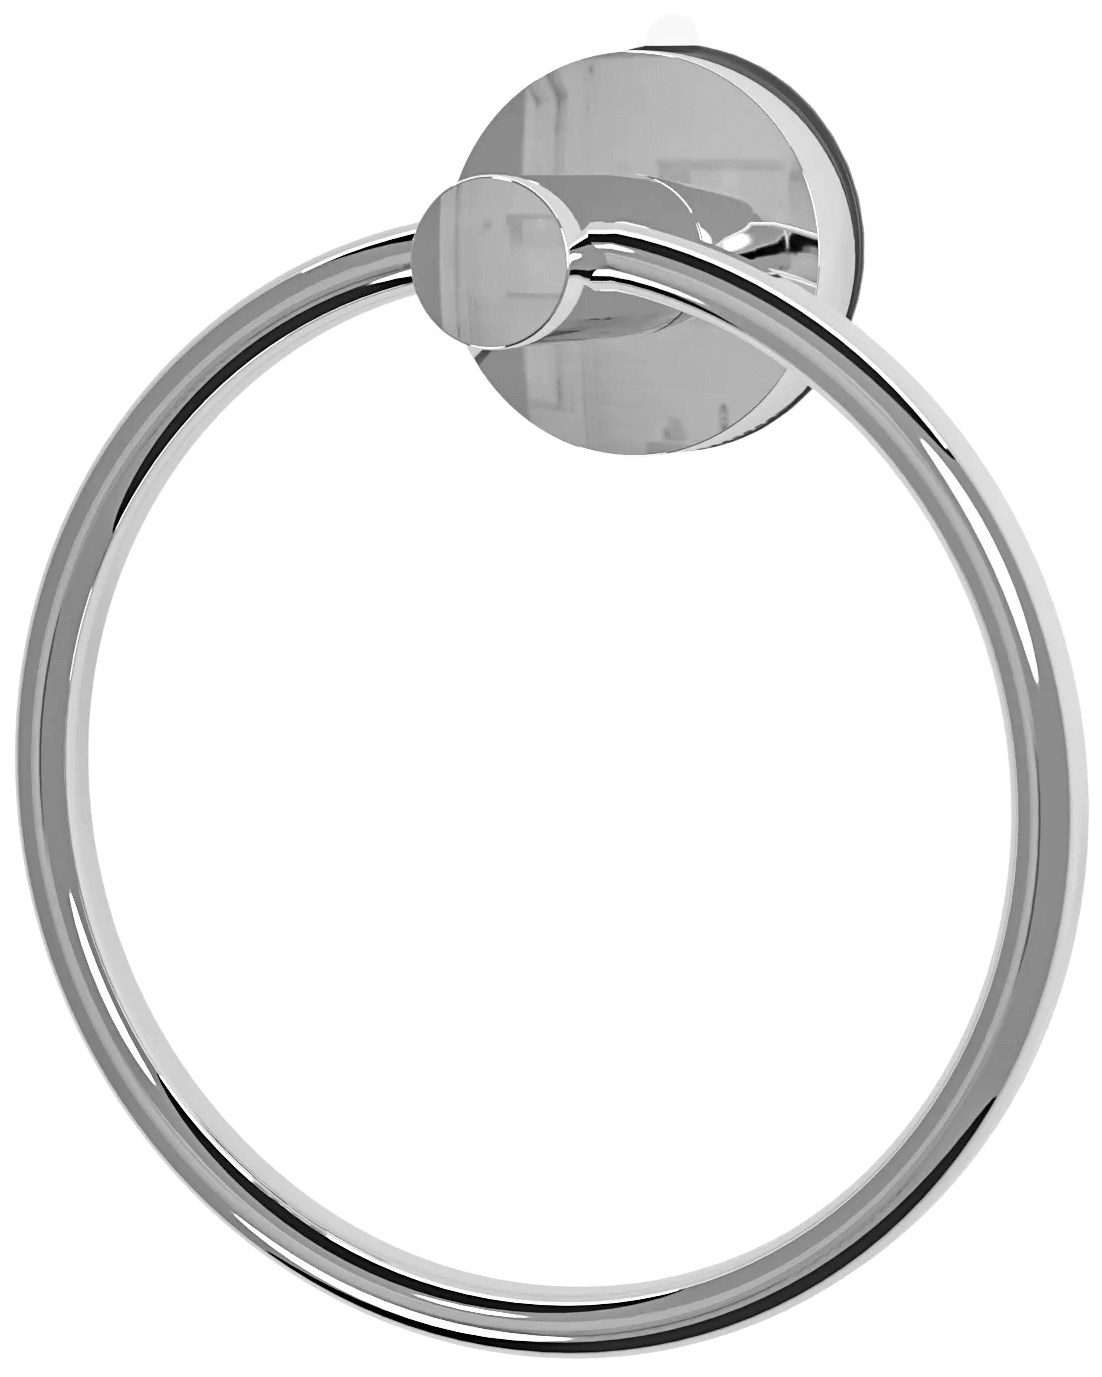
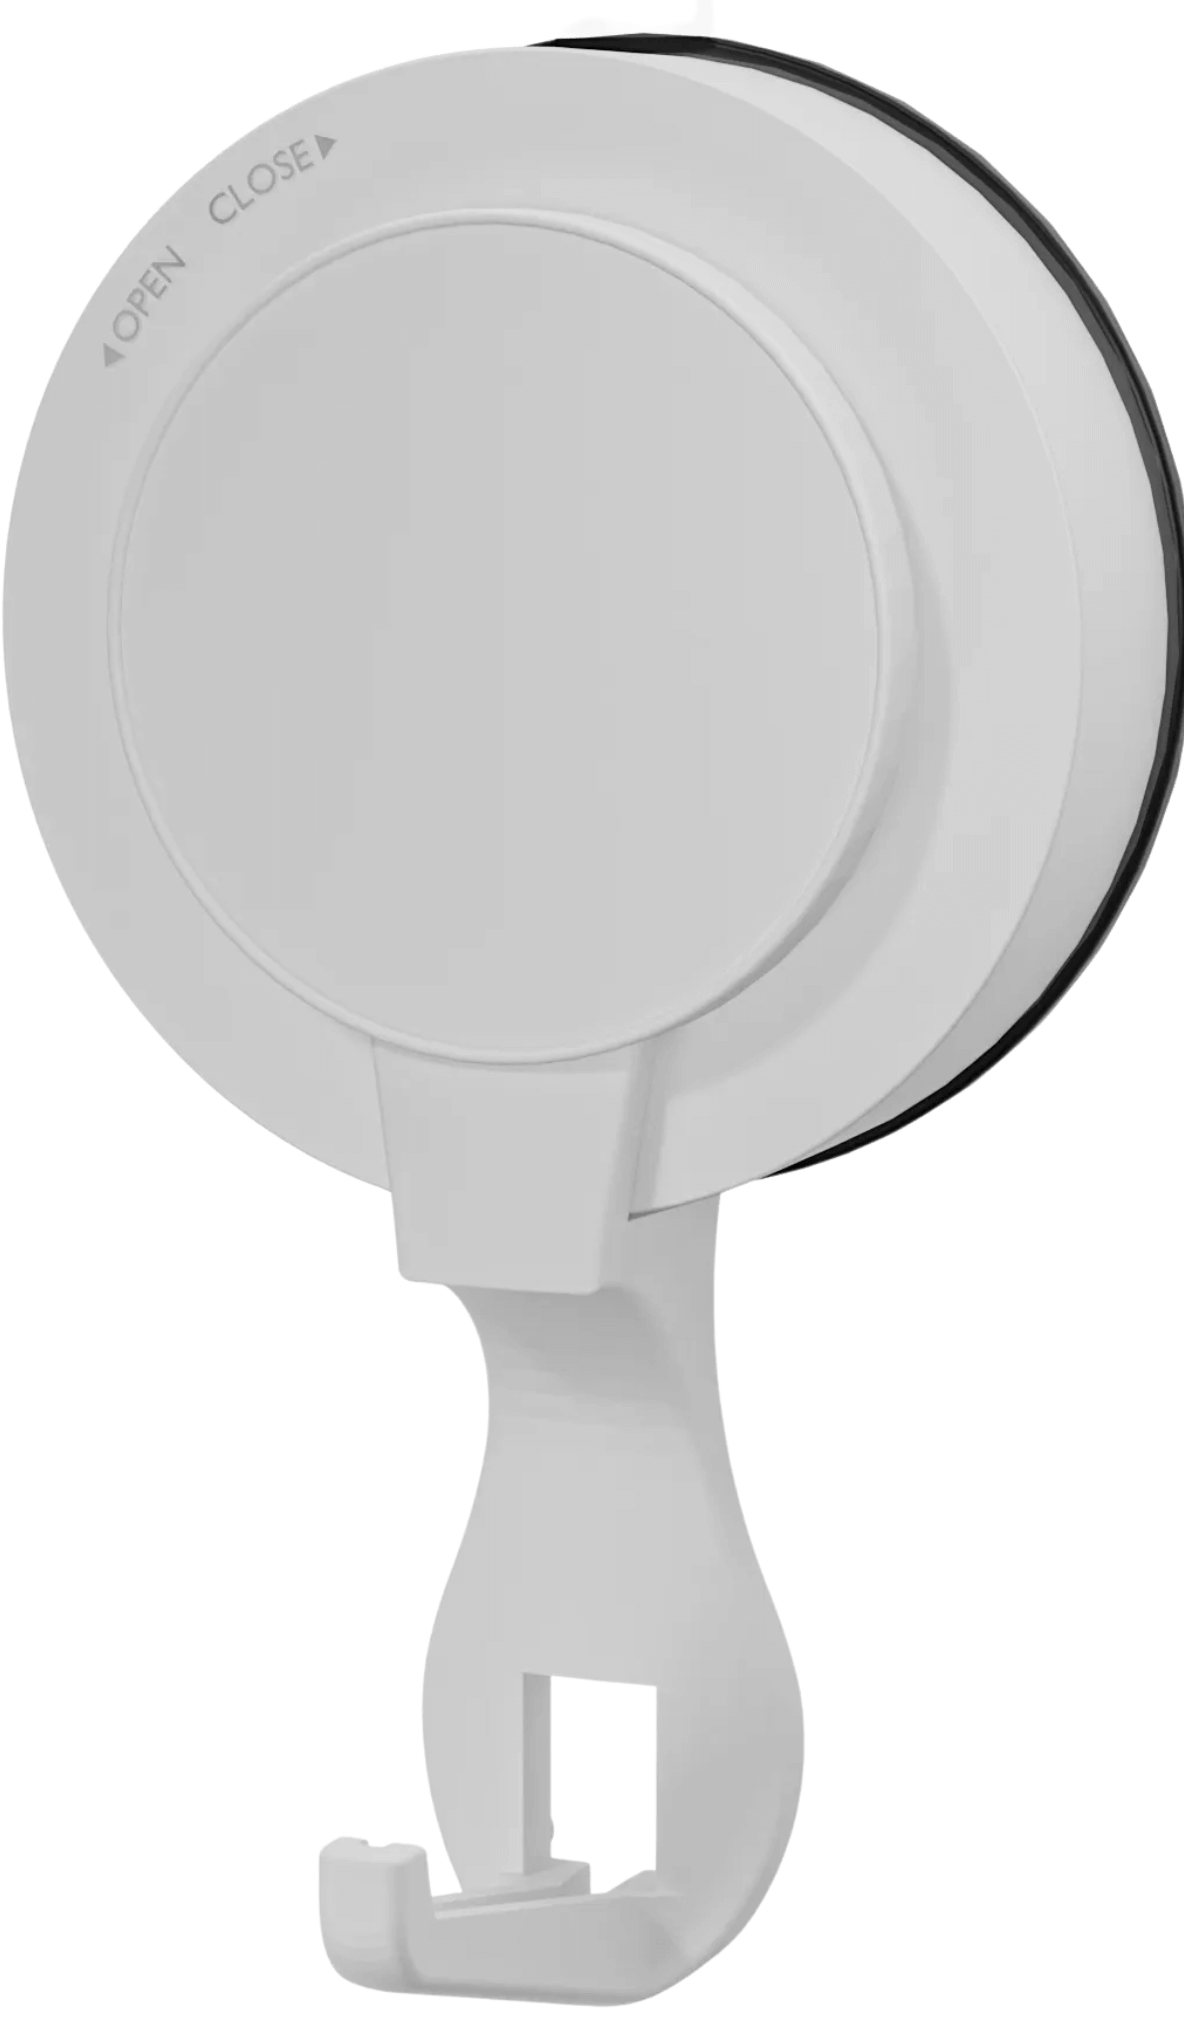
- Suction-based towel bars – Ideal for smooth and glossy surfaces.
- Clamp-style towel bars – Grip onto partitions or doors.
Each type has its own advantages, and the right choice depends on your bathroom’s surface and your personal preferences.
Tools and Materials You Will Need
Before you start, gather:
- A no-drill towel bar (adhesive, suction, or clamp-style)
- Cleaning cloth
- Alcohol wipes
- Measuring tape
- Pencil or masking tape for marking
Having everything ready makes installation smoother and quicker.
Step-by-Step Guide to Installing a No-Drill Towel Bar
Step 1 – Choose the Right Spot
Pick a place that’s easy to reach and makes sense for daily use. Consider:
- Standard towel bar height (around 48 inches from the floor)
- Space near your shower or sink
- Ensuring the surface is smooth and glossy for best results
Step 2 – Clean the Surface Properly
A clean surface is key for strong adhesion. Use:
- Warm soapy water to remove grime
- Alcohol wipes to remove oils
- A dry cloth to wipe the area clean
Avoid touching the cleaned surface to prevent transferring oils from your fingers.
Step 3 – Measure and Mark the Placement
Measure twice, stick once! Use a measuring tape to:
- Mark both ends of the towel bar
- Ensure the bar is level
- Use masking tape if you want a temporary visual guide
This helps prevent crooked placement.

Step 4 – Apply the Adhesive or Mount
Your method depends on the type of no-drill towel bar:
Adhesive Towel Bar
- Remove the adhesive backing
- Apply mounting glue if required
- Press firmly for 30–60 seconds
Suction Towel Bar
- Press the suction cups firmly against the surface
- Ensure no air bubbles are trapped
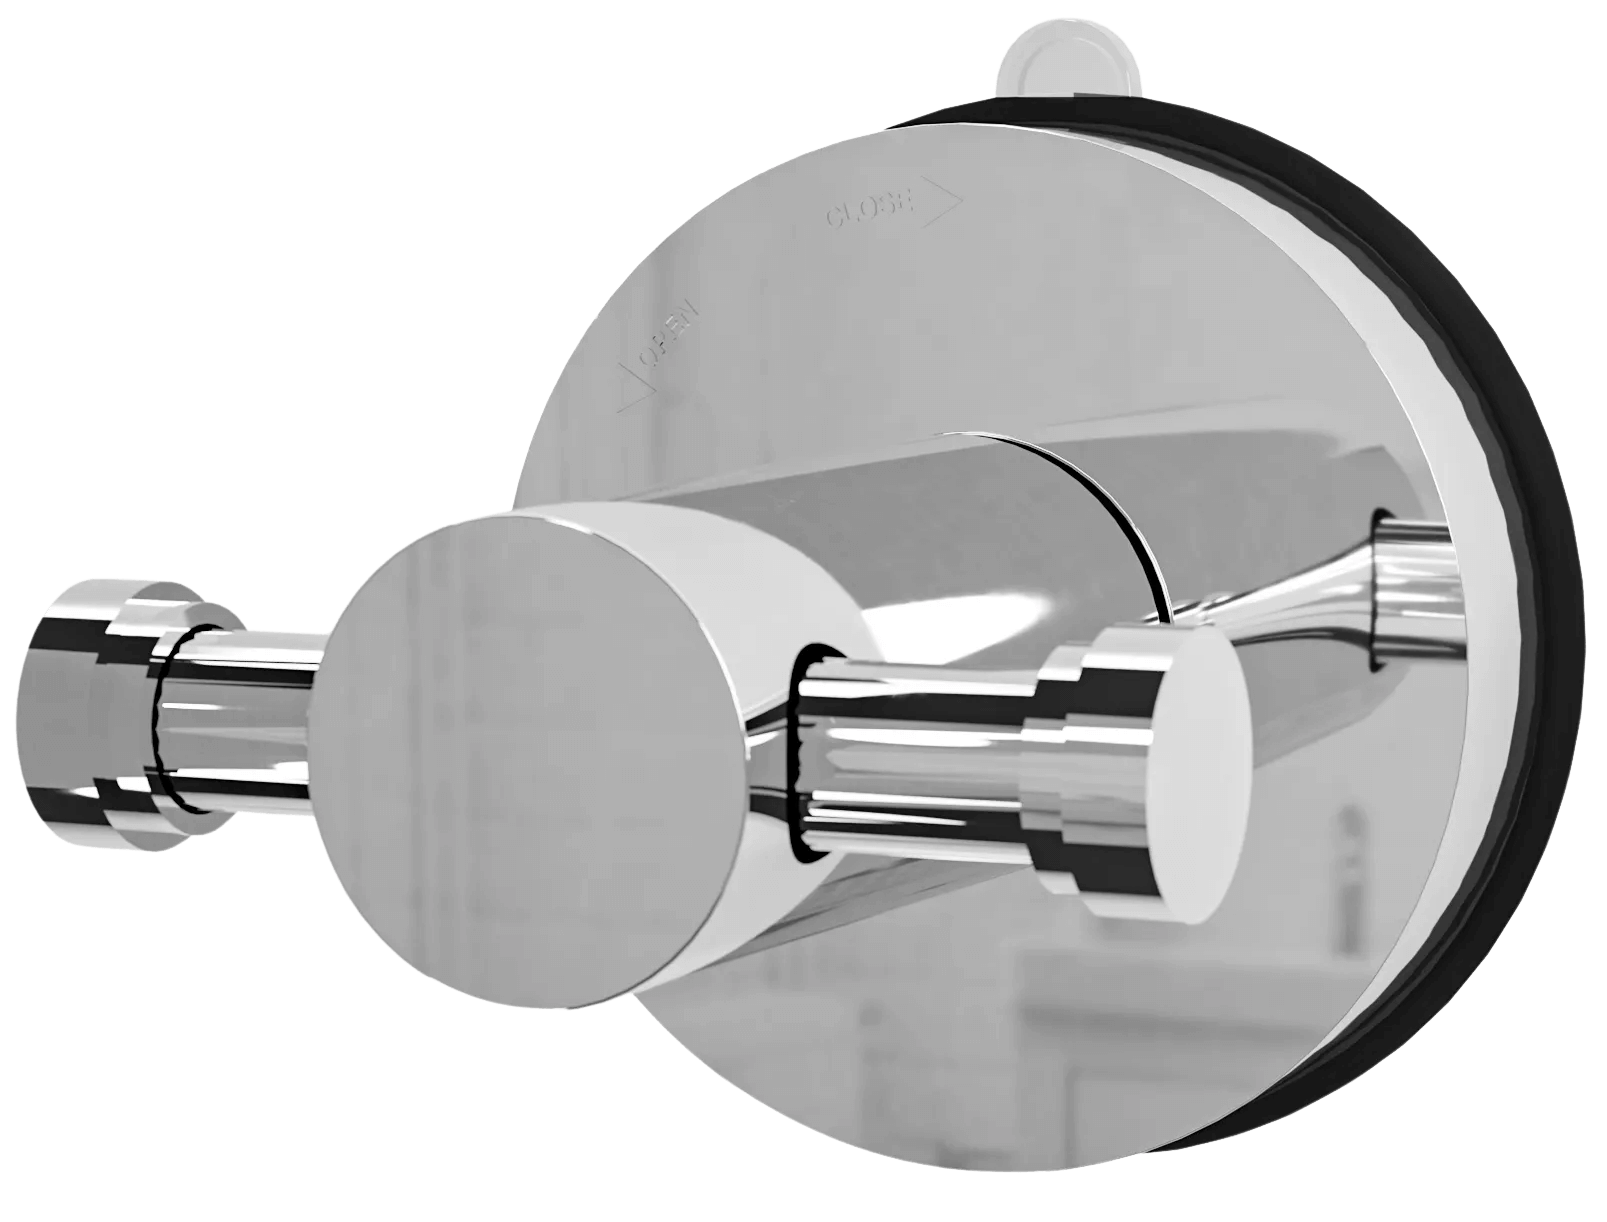
- Twist-lock if your model uses a locking mechanism
Clamp-Style Bar
- Adjust the clamp width
- Place it over the shower partition or cabinet
- Tighten until secure
Step 5 – Mount the Towel Bar
Once the adhesive or mounting method is set, attach the actual towel bar:
- Slide it onto the mounts
- Ensure both sides are level
- Apply gentle pressure to secure it
Step 6 – Allow Adequate Curing Time
This is crucial for durability.
- Adhesive bars need 24–48 hours curing time
- Suction bars may be used immediately, but heavier towels should wait
- Avoid splashing water on freshly installed adhesive bars
Tips for Strong and Long-Lasting Installation
To keep your towel bar firmly in place:
- Don’t overload it immediately
- Keep the bathroom ventilated during curing
- Re-tighten suction cups periodically
- Use only lightweight towels at first
Common Mistakes to Avoid
Even a good towel bar can fail if installed incorrectly. Avoid:
- Installing on rough or uneven surfaces
- Skipping the cleaning step
- Using heavy bath towels before curing is done
- Not checking alignment

Best Surfaces for No-Drill Towel Bars
These surfaces work best:
- Ceramic tiles
- Tempered glass
- Smooth metal
- Acrylic panels
Their non-porous nature ensures strong adhesion or suction.
Surfaces to Avoid
Avoid installing on:
- Textured or matte tiles
- Wallpapers
- Raw concrete
- Painted drywall (adhesive may pull off paint)
These surfaces don’t support strong adhesion.
How to Remove a No-Drill Towel Bar Safely
If you ever want to reposition or remove the bar:
- Use a hairdryer to heat adhesive pads
- Peel gently from one side
- Remove residue with adhesive remover or rubbing alcohol
Suction cups simply twist off with no residue.
Maintenance Tips
Keep your towel bar in top shape:
- Wipe it down regularly
- Check suction cups every few weeks
- Don’t hang overly heavy items
Pros and Cons of No-Drill Towel Bars
Pros
- No damage to walls
- Quick installation
- Perfect for renters
- Affordable
Cons
- Lower weight capacity than drilled bars
- Not suitable for all surfaces
- Adhesive may weaken over time
When You Should Consider Drilled Installation Instead
A drilled towel bar may be better if:
- You need to hang heavy, wet towels
- Your bathroom gets extremely humid
- You want a permanent installation
Conclusion
Installing a towel bar without drilling is easier than most people think. With the right tools, the correct placement, and a quality no-drill towel bar, you can transform your bathroom without damaging a single tile. Whether you choose adhesive, suction, or clamp-style bars, this guide ensures a safe, strong, and long-lasting installation.
FAQs
1. How long will a no-drill towel bar last?
With proper installation and maintenance, it can last several years.
2. Can I install a no-drill towel bar on painted walls?
It’s not recommended because adhesive may damage paint when removed.
3. Do suction towel bars fall easily?
They can if installed on porous or textured surfaces. Use smooth tiles or glass for best results.
4. Can the bar hold heavy bath towels?
Adhesive bars hold 3–5 kg, but check the manufacturer’s instructions.
5. What if the adhesive weakens over time?
You can replace the adhesive pads or reapply a fresh mounting tape.
