


Introduction: Transform Your Space Without the Wall Damage Headache
You want to hang that beautiful photo frame or organize your cluttered entryway, but you’re terrified of drilling holes into your walls. Whether you’re renting an apartment, own your home, or simply want to protect your investment, sticky wall hooks have become the game-changing solution for anyone who values both aesthetics and wall integrity.
The global home organization products market is booming, expected to reach $21.65 billion by 2035, and sticky wall hooks are leading this revolution. The reality? According to 82% of marketers, their strategies focused on convenience and damage-free solutions have proven remarkably effective and the same principle applies to how homeowners think about wall organization today.
Think of sticky wall hooks as the bridge between your vision of a perfectly organized home and the practical reality of not wanting to damage your rental or your walls. They’re not just hooks; they’re your ticket to clutter-free living without the deposit-destroying consequences. In this comprehensive guide, we’ll explore everything you need to know about selecting, installing, and maximizing sticky wall hooks for your home.
Understanding Sticky Wall Hooks: What Are They Really?
The Basic Science Behind the Adhesion
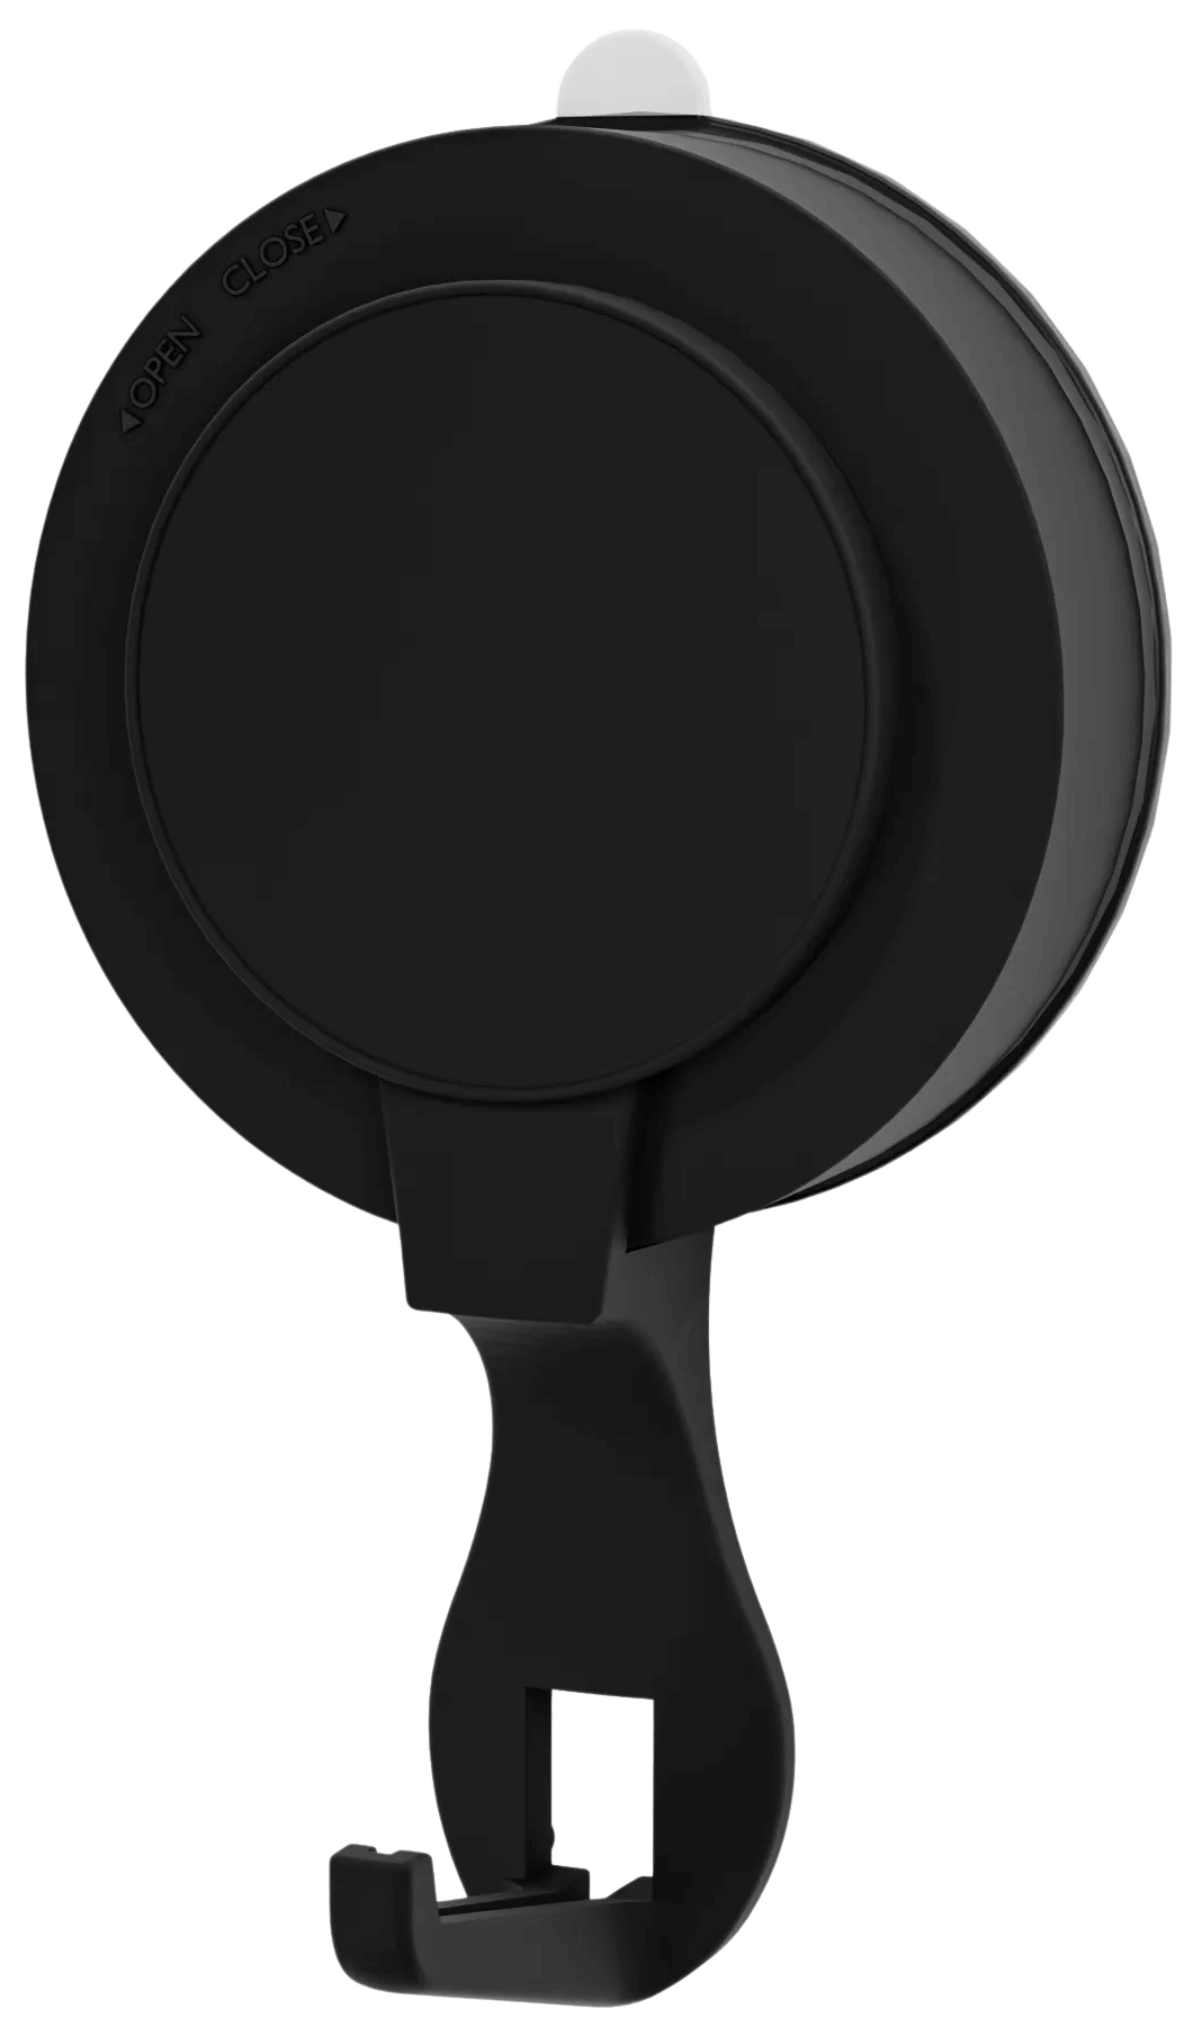
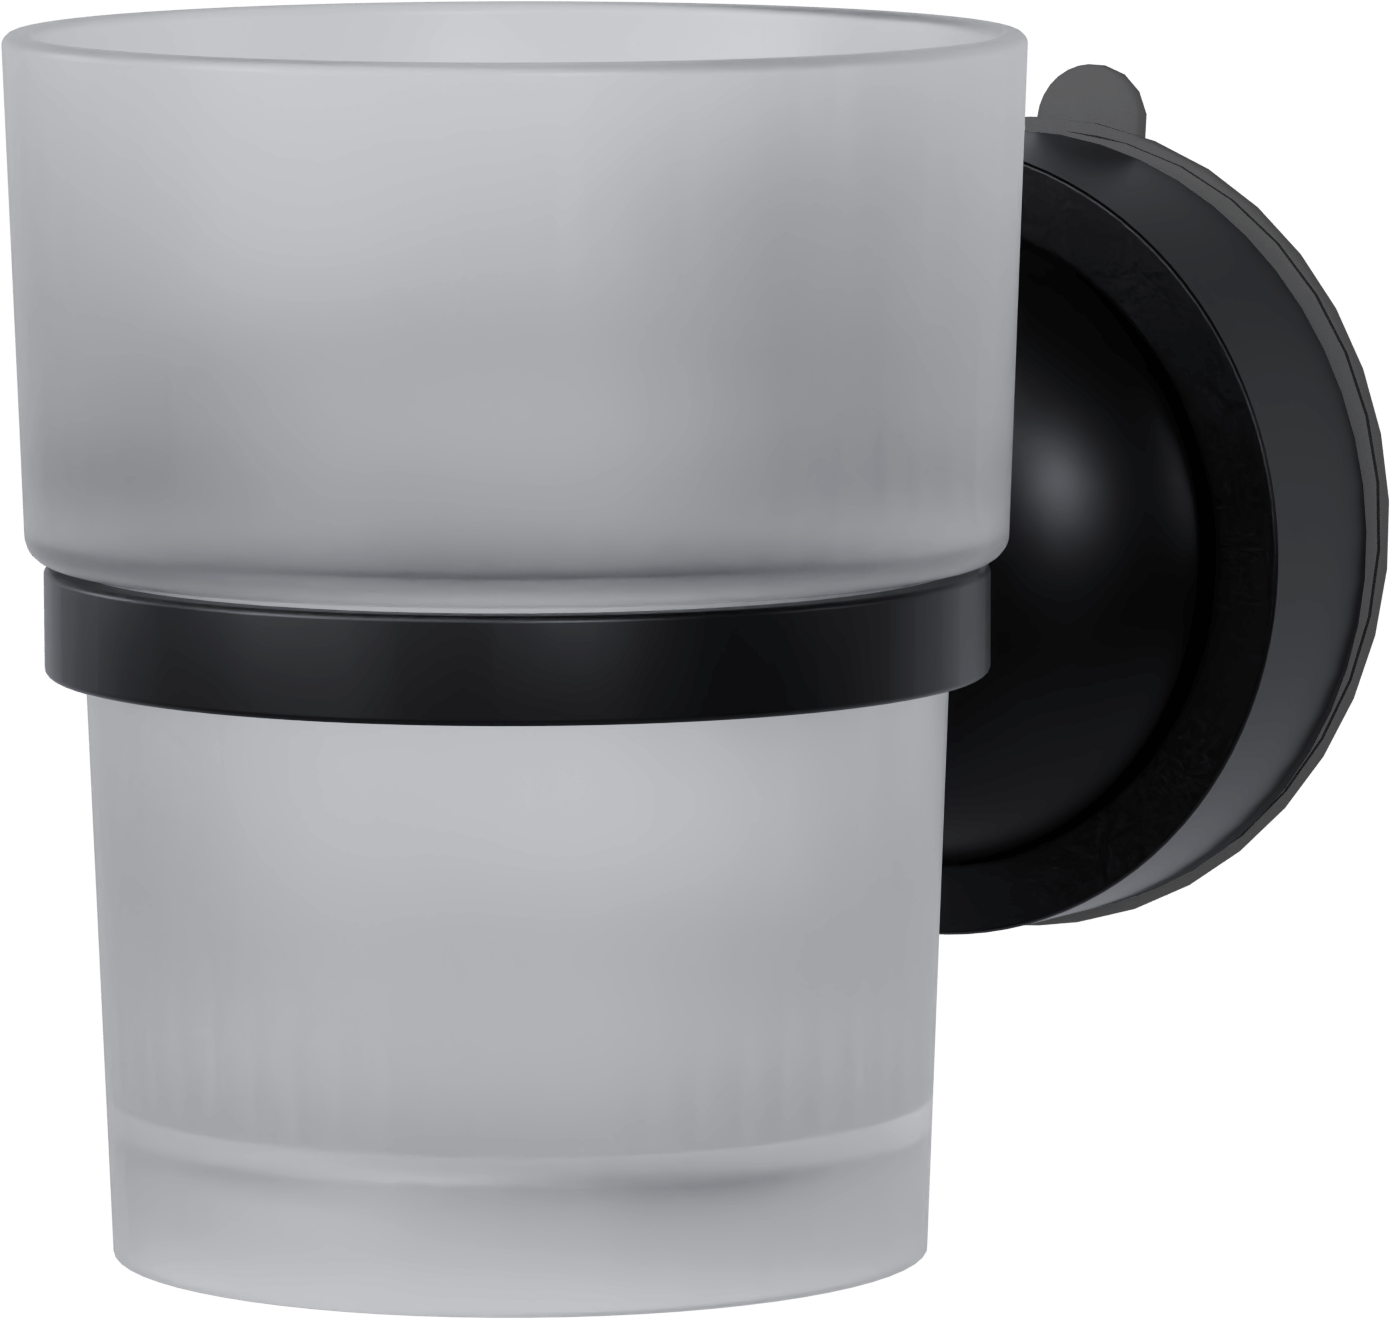
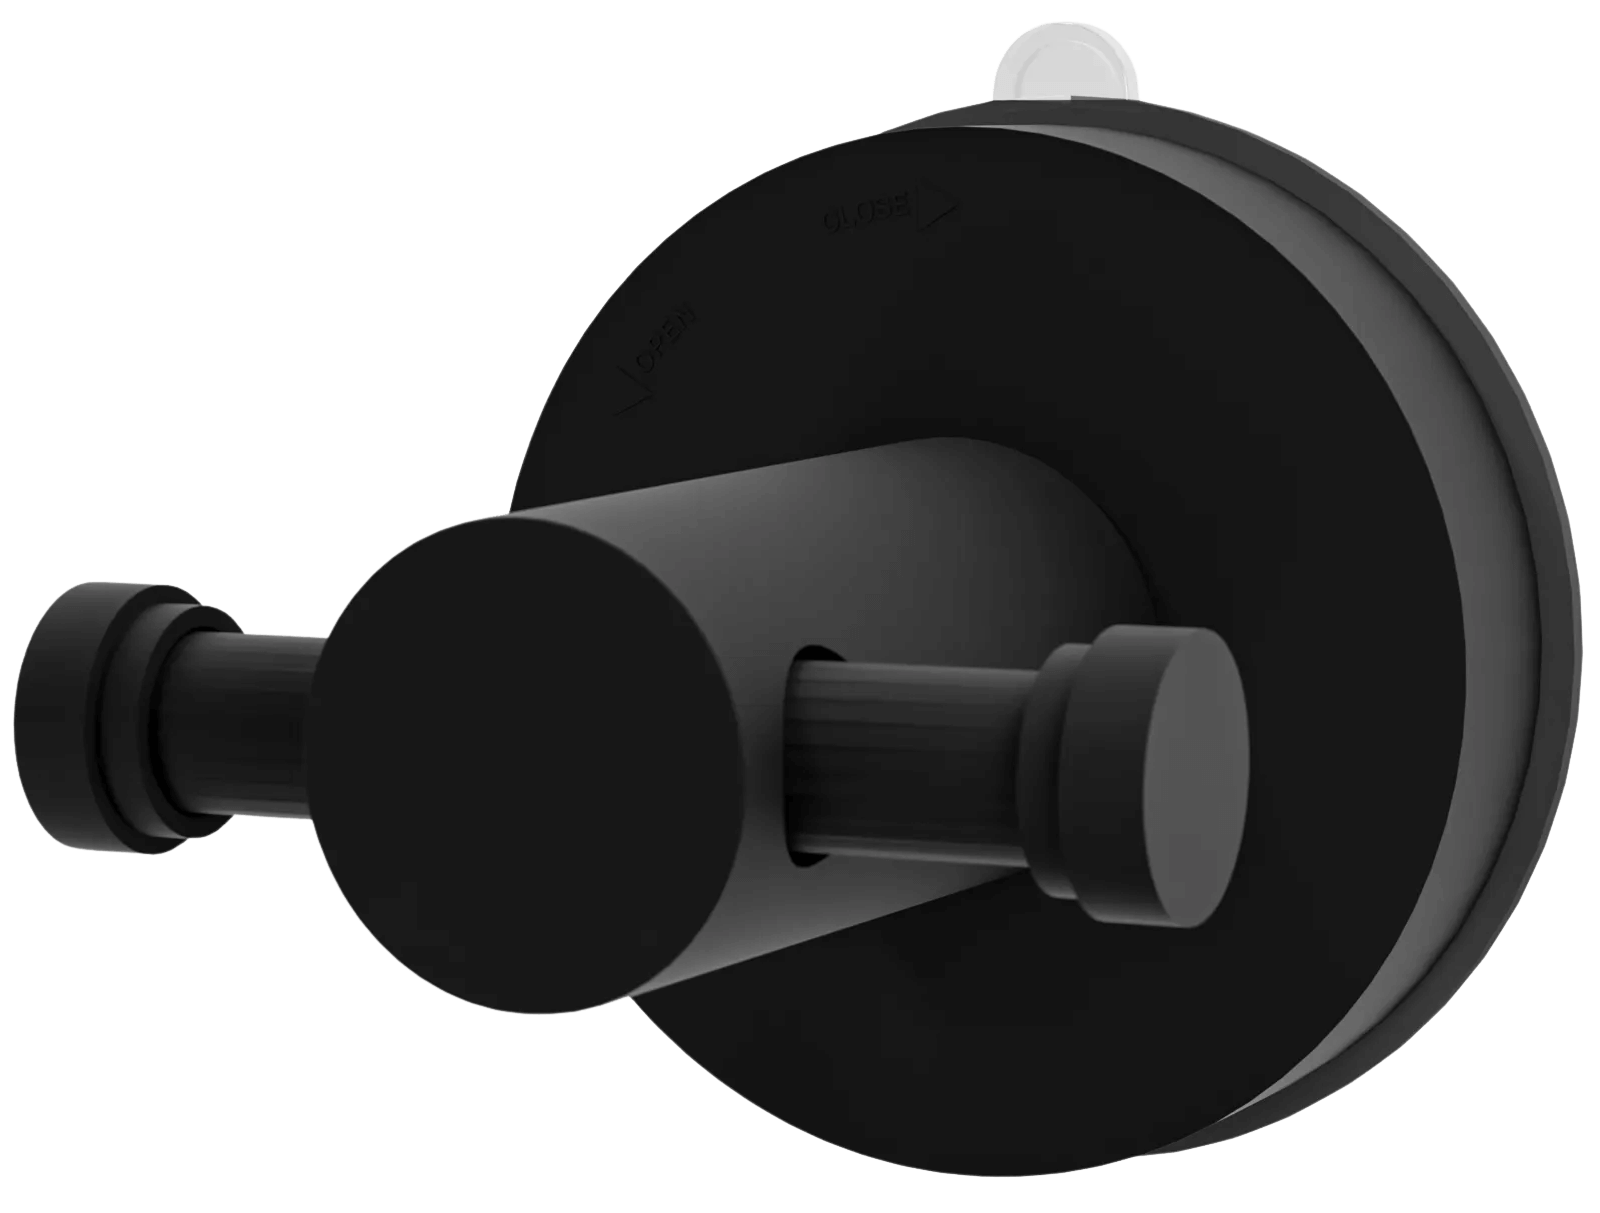
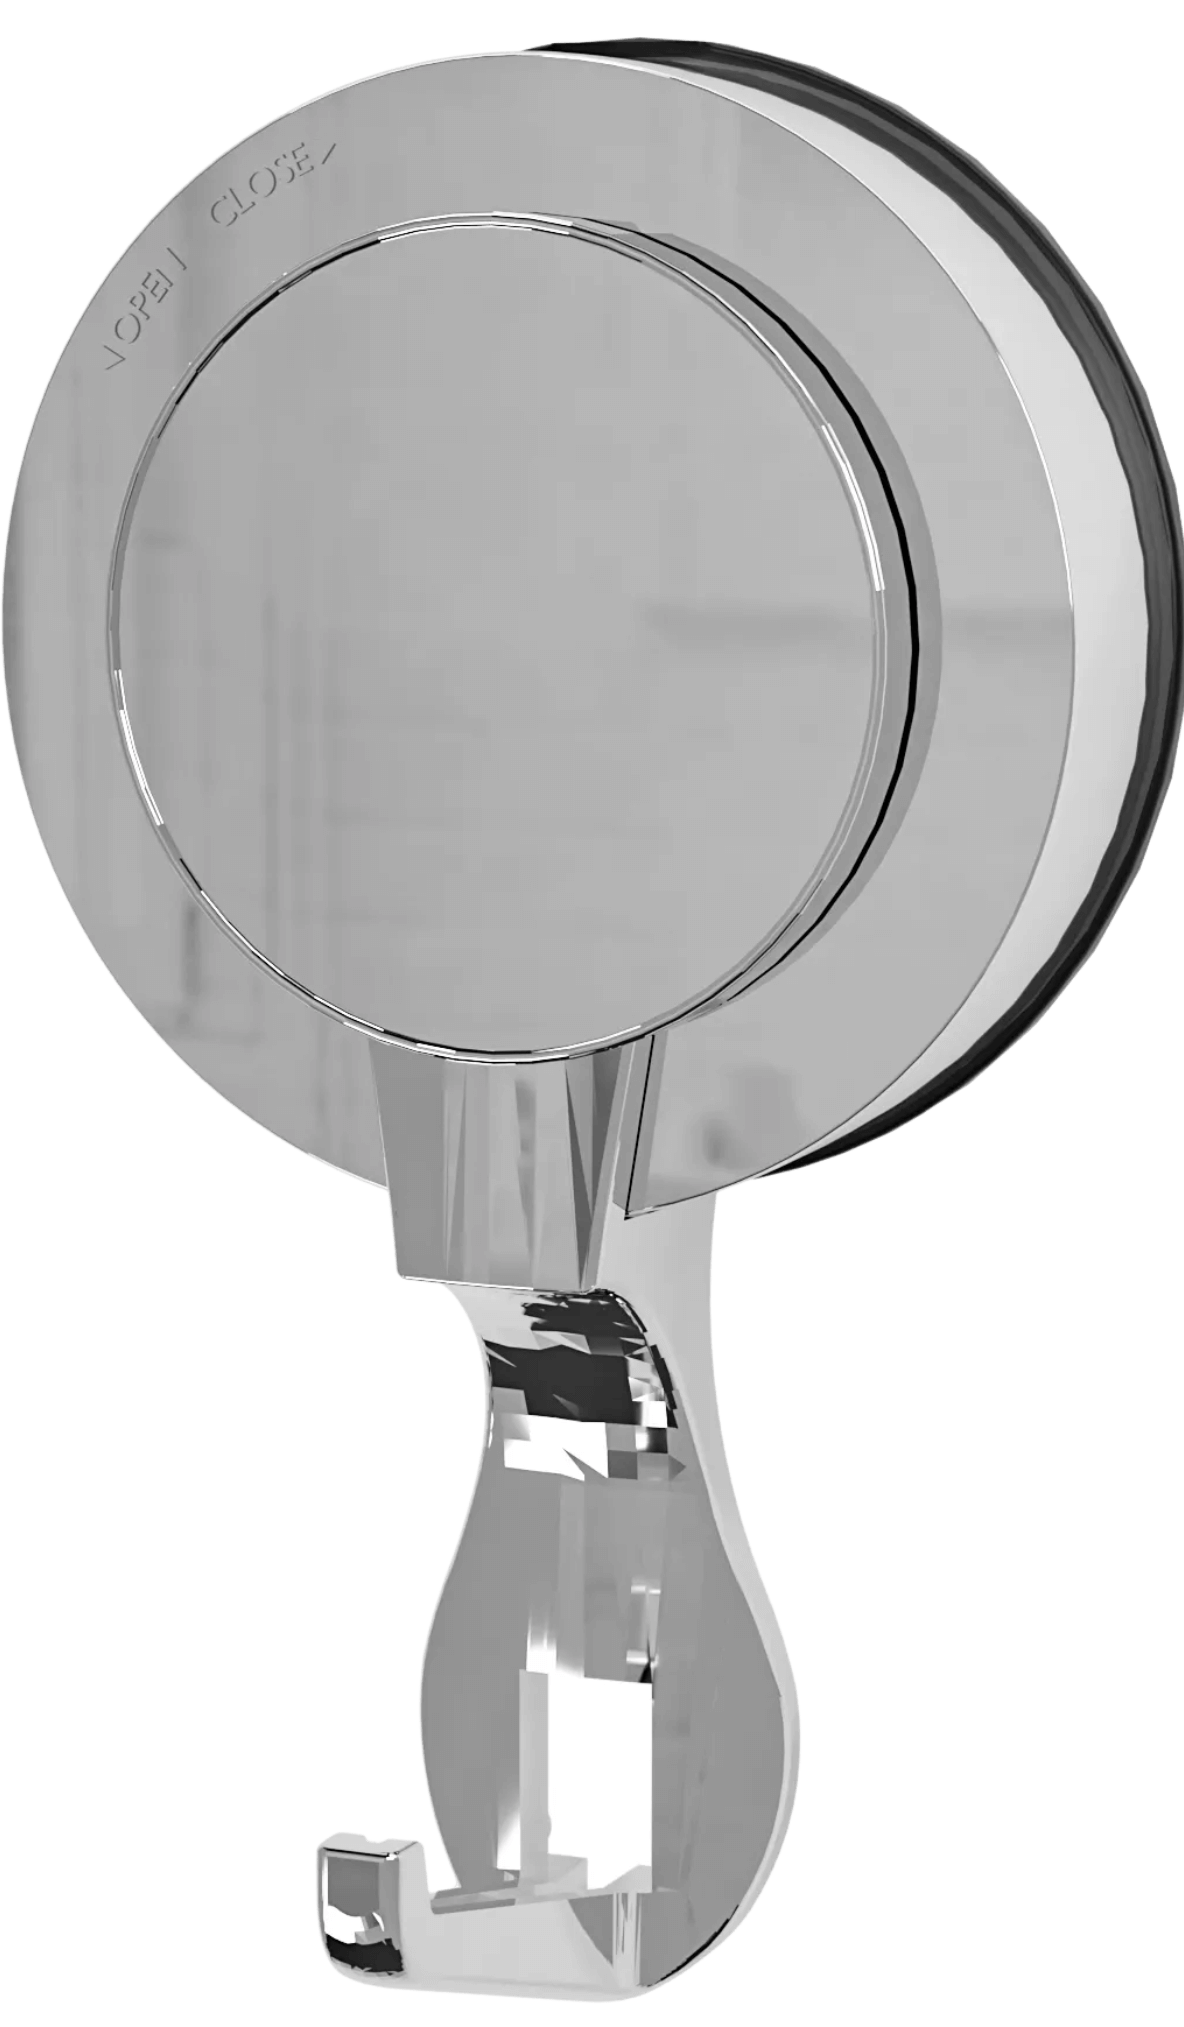
Sticky wall hooks, also called adhesive hooks or self-adhesive wall hangers, utilize advanced adhesive technology primarily developed by companies like 3M to create a strong, removable bond with wall surfaces. Unlike traditional nails or screws, these hooks rely on special double-sided adhesive strips that bond through a stretch-release mechanism.
Here’s how it works: the adhesive contains a unique molecular structure that grips firmly when applied but releases cleanly when stretched. Think of it as a partnership between stickiness and flexibility—strong enough to hold your items, yet forgiving enough to remove without leaving marks. The most popular variants on the market today are:
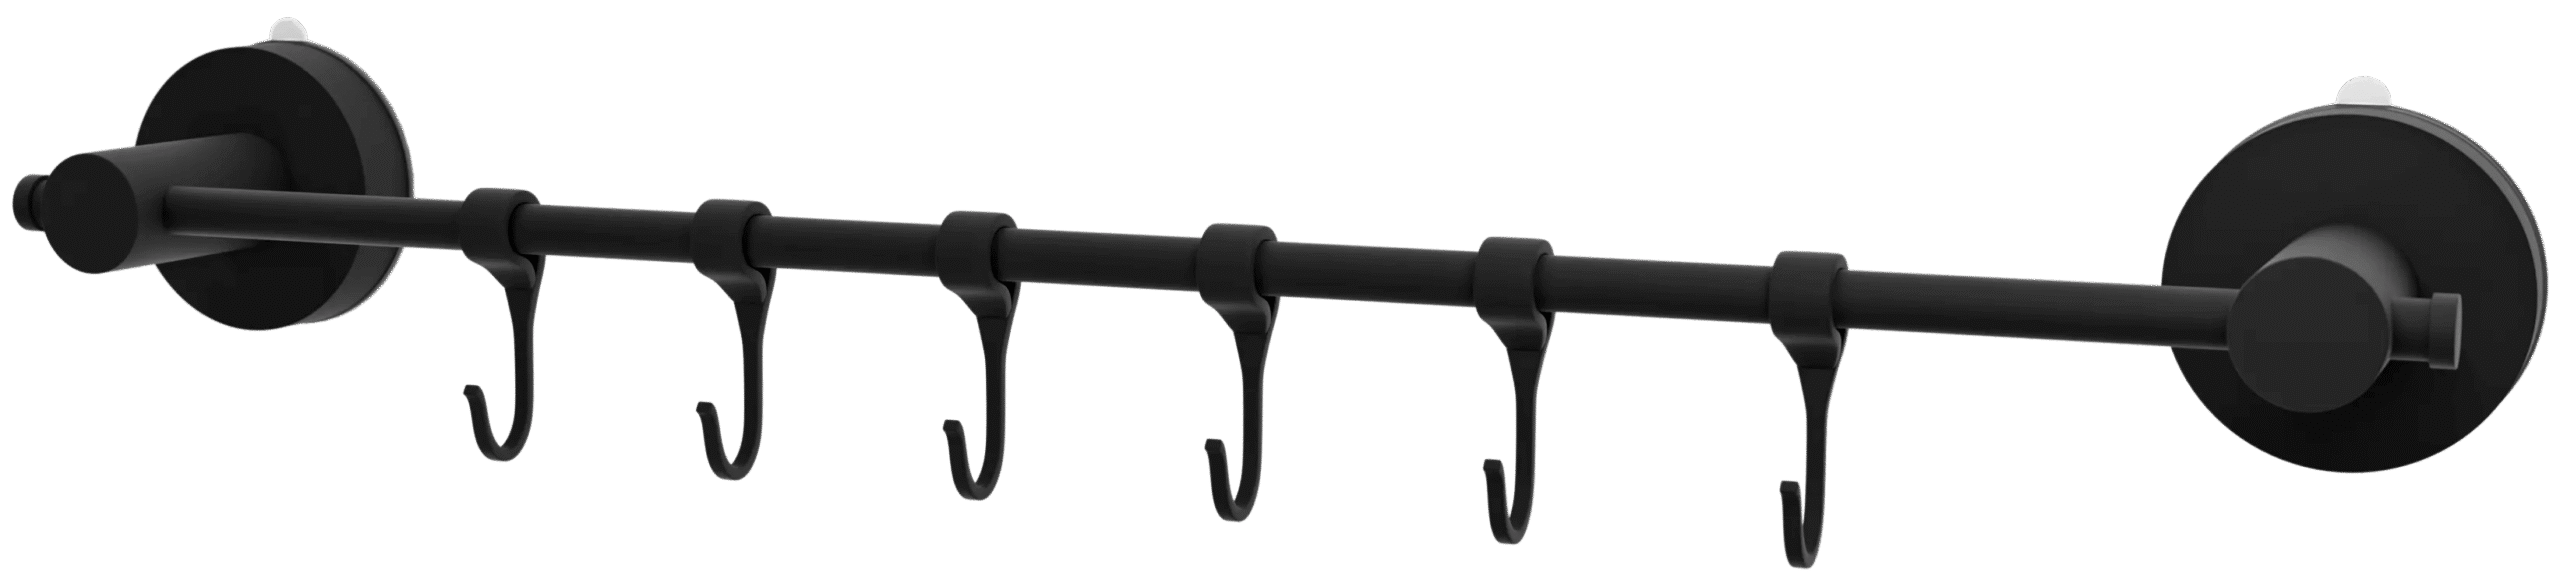
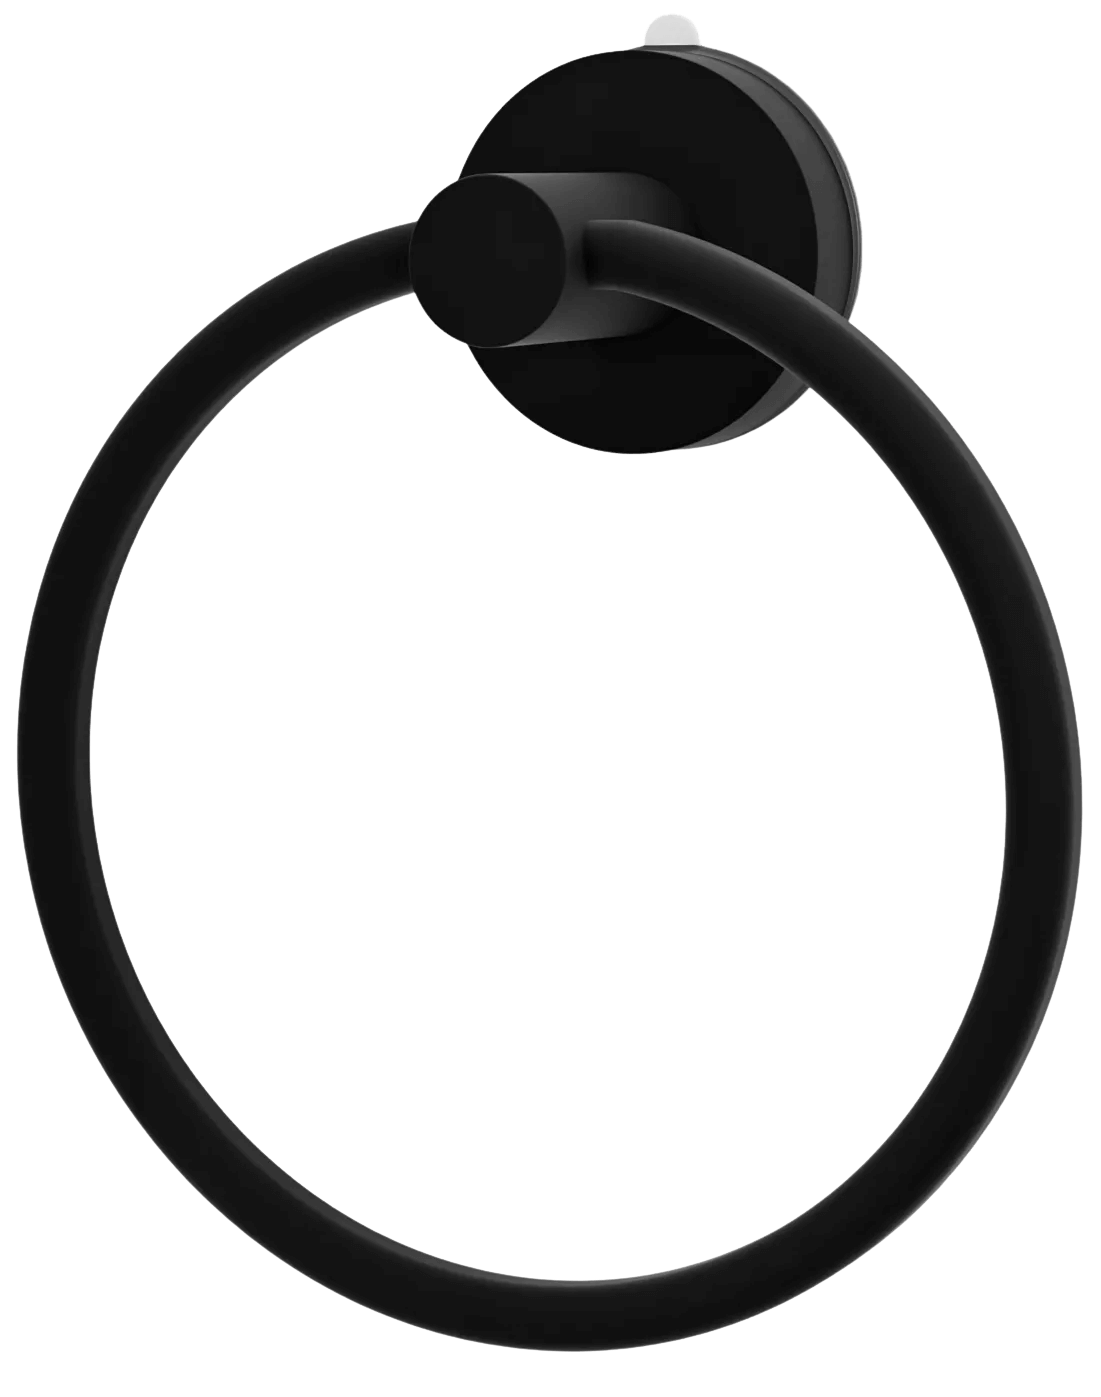
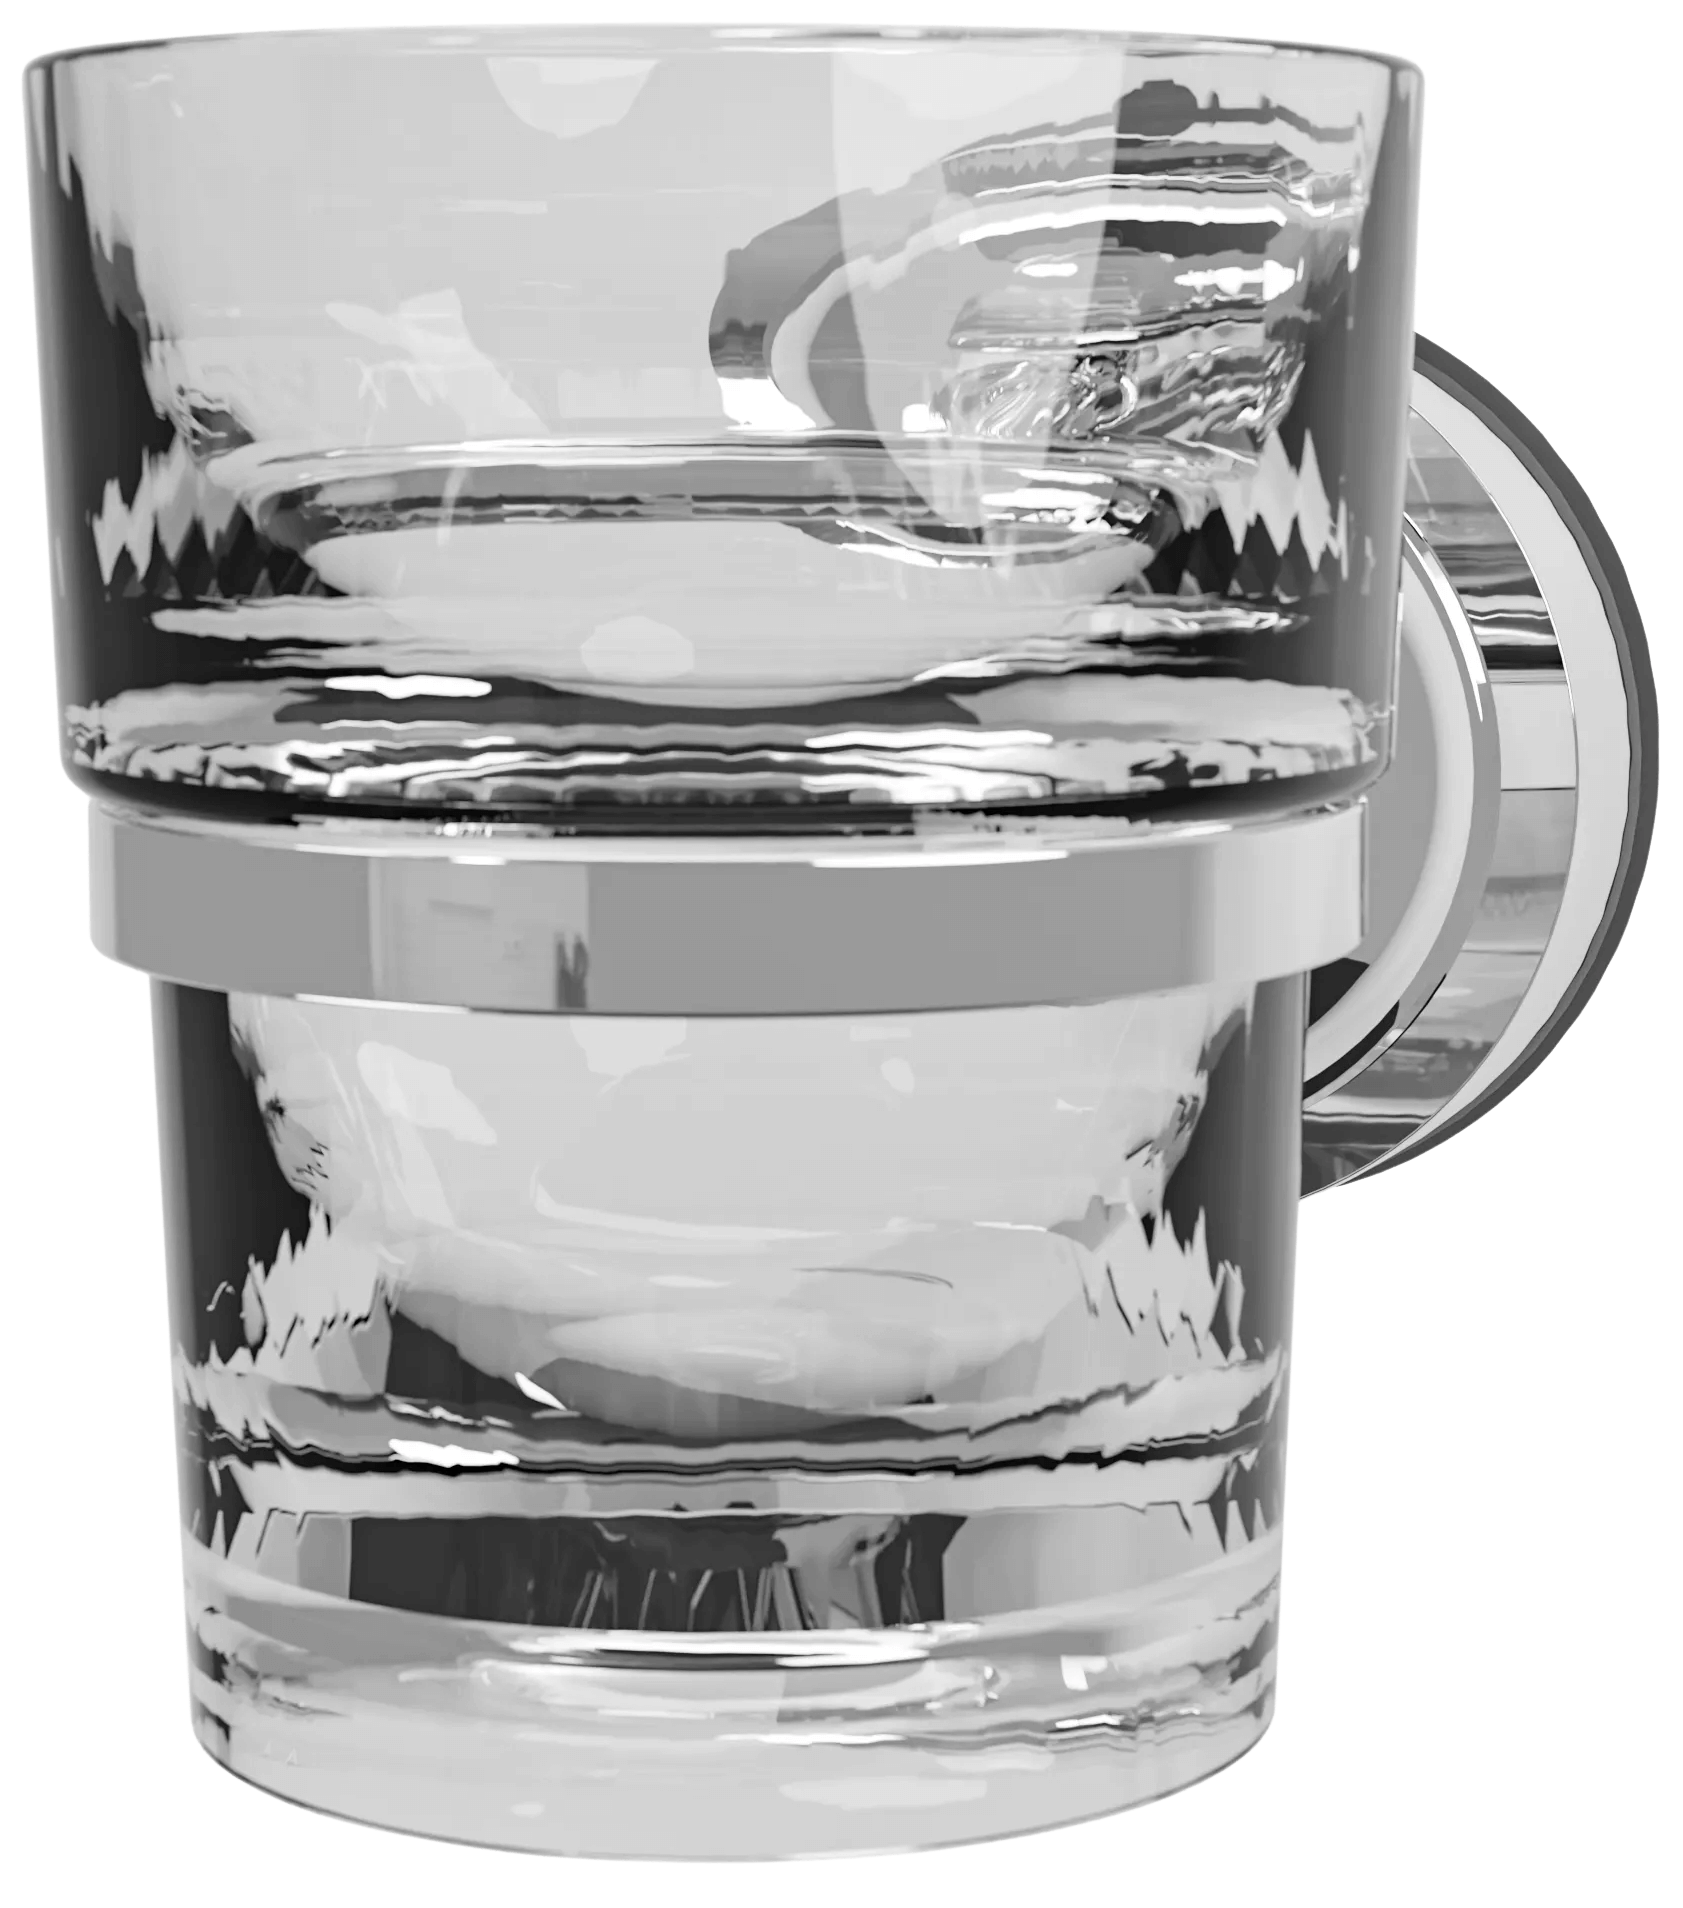
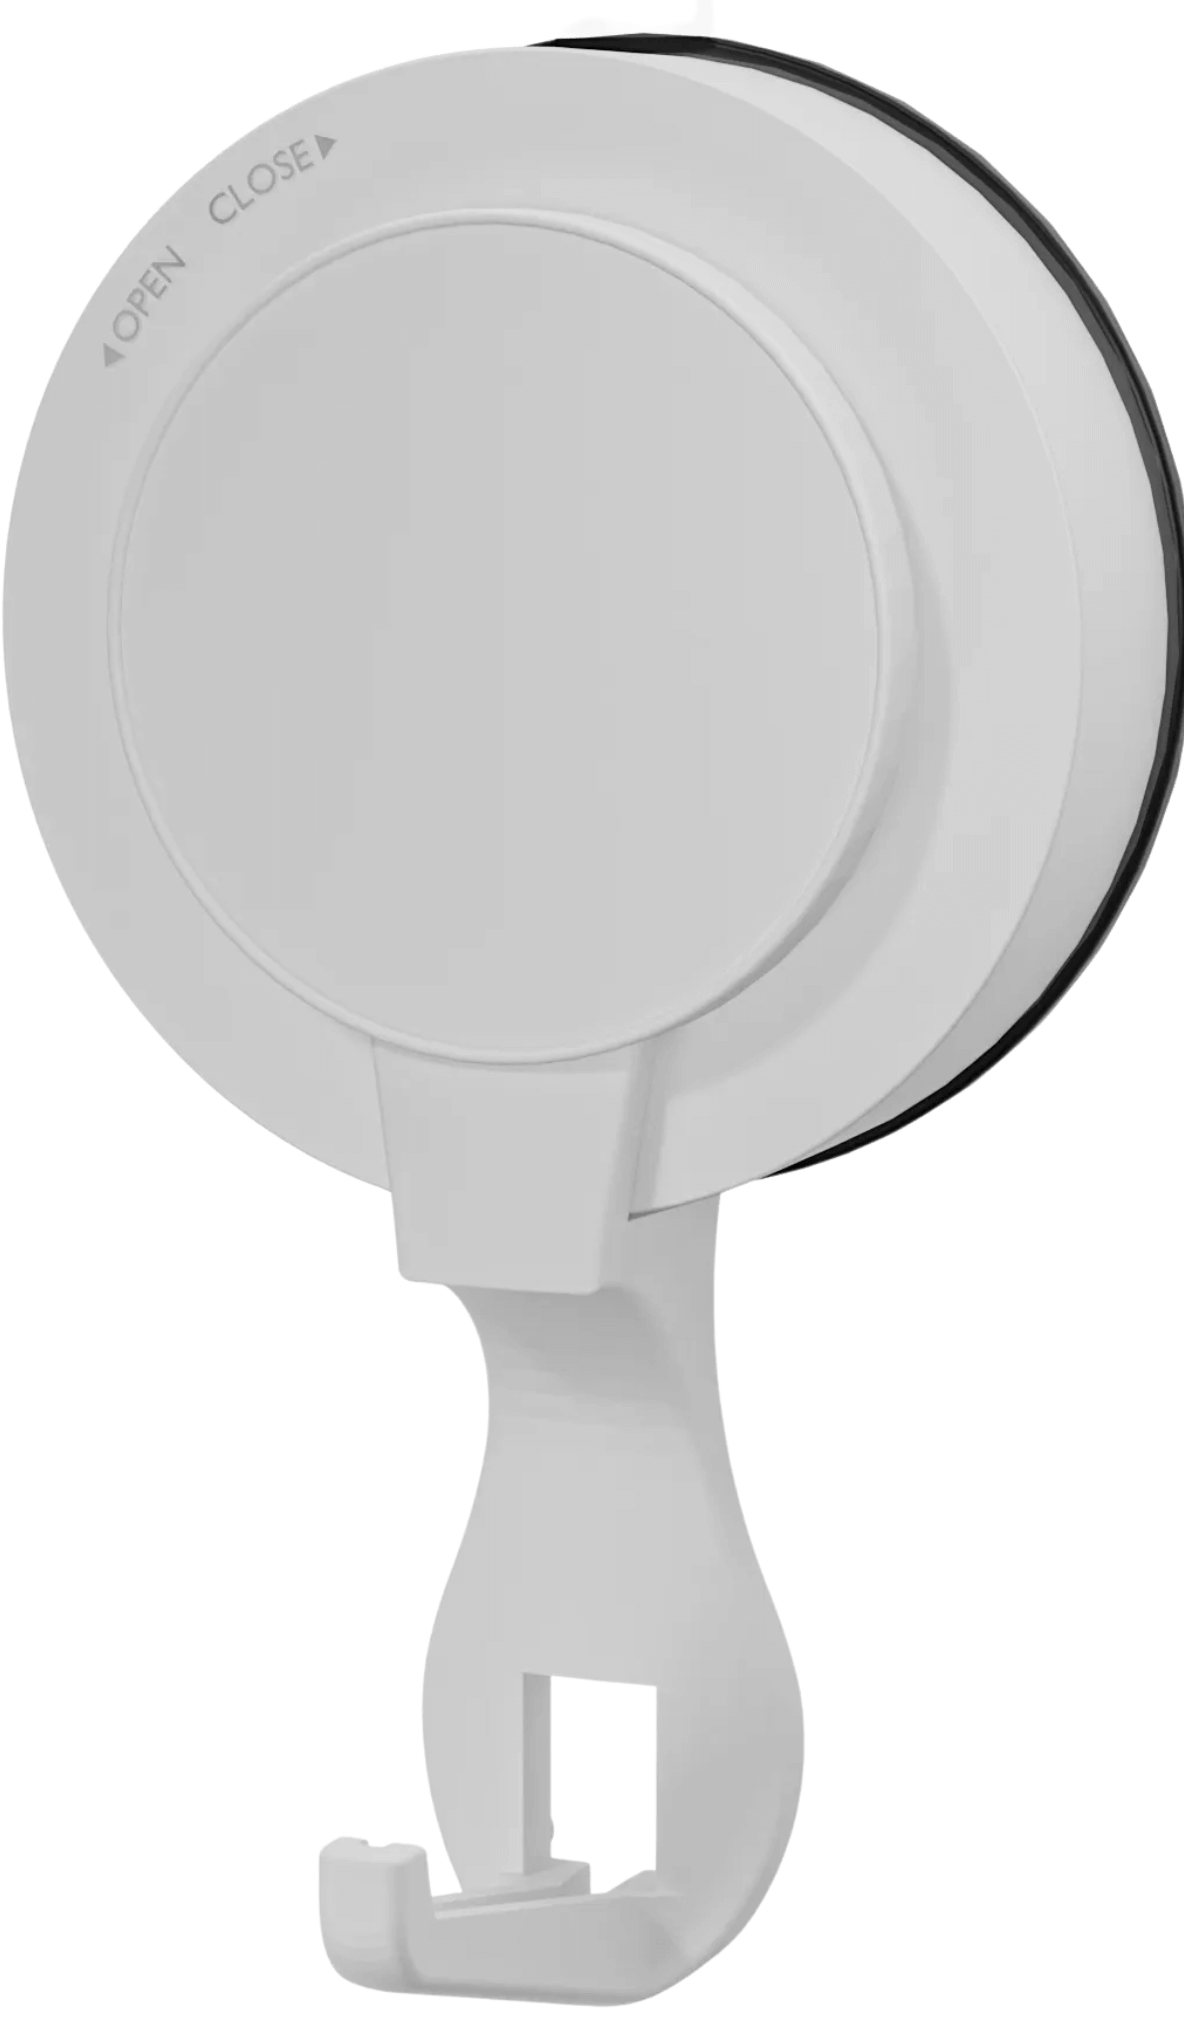
- Two-piece hooks: Feature a base plate that stays on the wall and a hook that slides on
- One-piece hooks: A complete unit with integrated adhesive backing
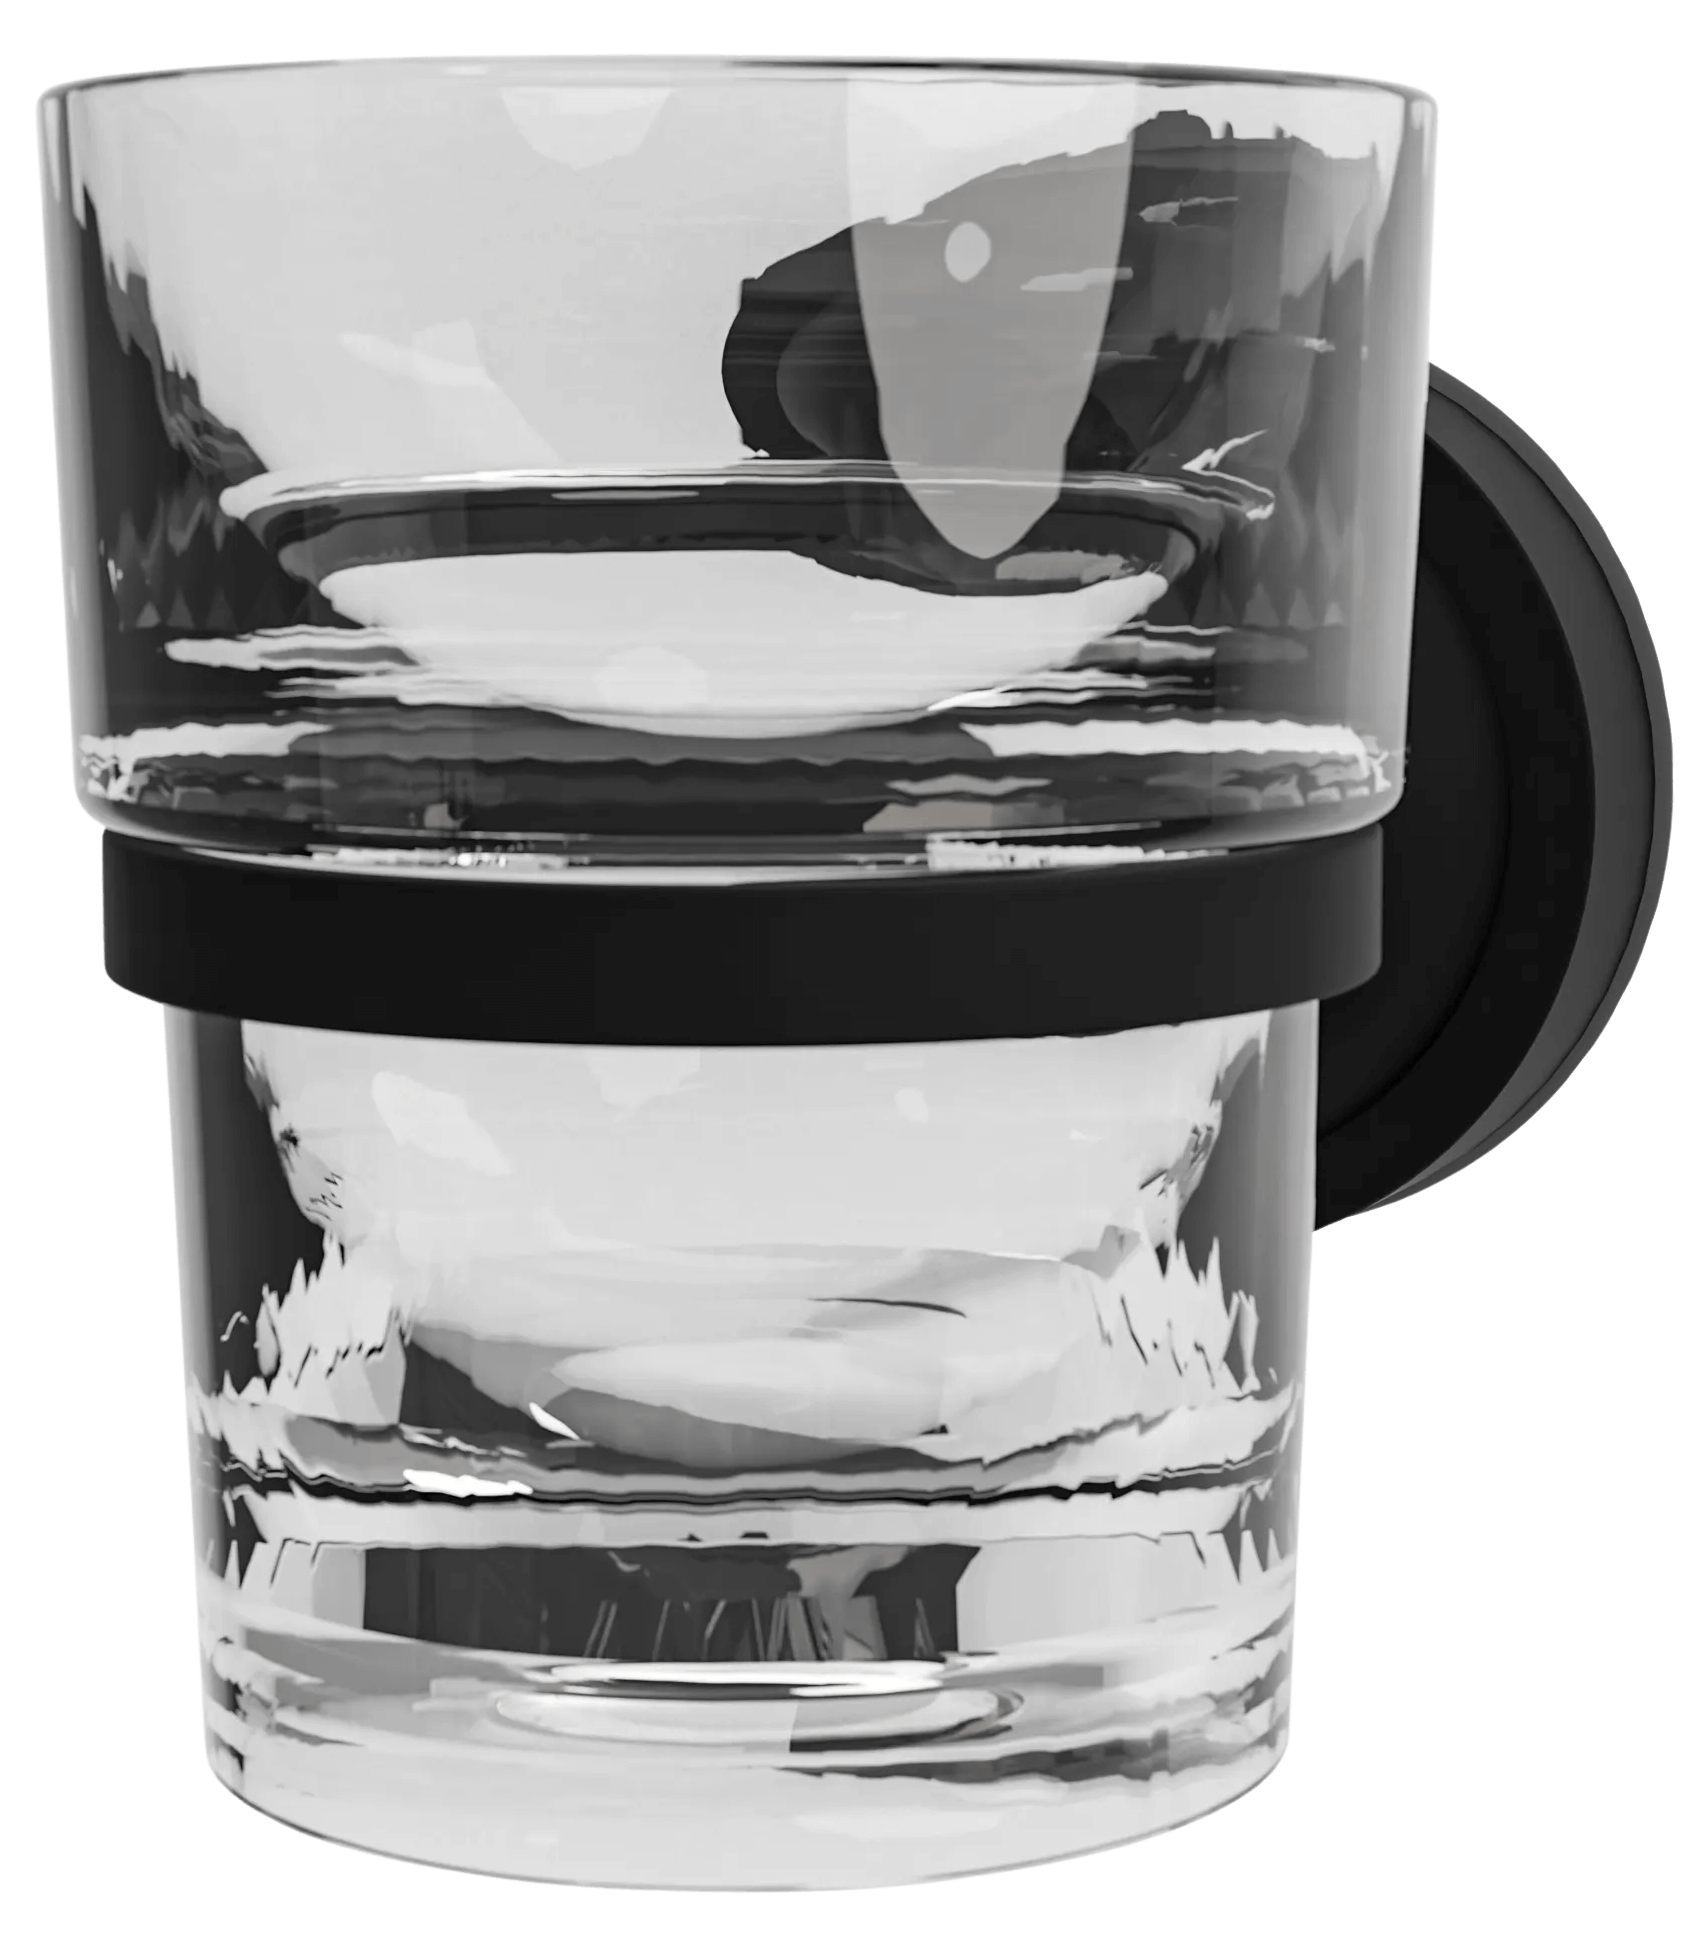
- Designer and decorative hooks: Aesthetically appealing options that prioritize style alongside function
The adhesive strips typically require 24-48 hours to reach maximum strength, which is why patience during installation is crucial. Many users make the mistake of hanging items immediately don’t fall into this trap!
Why Renters and Homeowners Are Switching
The shift toward sticky wall hooks isn’t random. Renters face strict “no holes” policies in their lease agreements, with even a thumbtack able to jeopardize their security deposits. Homeowners, meanwhile, want to avoid the hassle of patching and repainting. A significant segment of the $12.26 billion professional organizer market in 2025 emphasizes damage-free solutions as a key selling point, reflecting how important wall preservation has become.
Beyond security deposits and resale value, there’s a practical element: flexibility. When you decorate your space with sticky hooks, you’re not committing to permanent positions. Want to rearrange your bedroom? Simply remove the hooks and reinstall them elsewhere. This fluidity aligns perfectly with modern living, where people are constantly updating their spaces.
The Problem Most People Face: Common Pain Points
The Wall Damage Dilemma
If you’re reading this, you’ve likely experienced the anxiety of hanging something on your walls. The questions race through your mind: “Will this damage the paint?” “Will my landlord charge me?” “Is there an alternative to drilling holes?”
Research on rental properties shows that wall damage is among the top tenant-caused issues, with holes, nail marks, and adhesive residue commonly cited as reasons for deposit deductions. Even if you own your home, repairing wall damage requires time, money, and effort money that could be better spent on actually decorating your space.
Surface Incompatibility Frustration
Not all walls are created equal. Textured walls, popcorn ceilings, wallpapered surfaces, and rough brick present significant challenges for sticky hooks. Countless homeowners have shared their frustrations on DIY forums about hooks falling off textured walls despite following installation instructions perfectly. The issue? The adhesive can’t achieve proper contact on uneven surfaces.
Weight Capacity Confusion
Perhaps the most dangerous pitfall is misunderstanding weight limits. Hanging a 15-pound mirror on a hook rated for 3 pounds is a recipe for disaster both for your décor and your walls when that hook eventually fails and causes impact damage. The confusion stems from manufacturers offering dozens of varieties, each with different weight capacities ranging from 900 grams to 7.5 pounds (3.4 kg).
Choosing the Right Sticky Wall Hook for Your Needs
Assessing Your Weight Requirements
Before purchasing any hooks, honestly evaluate what you’re hanging. Are you organizing lightweight items like hand towels and keys? Or do you need to support heavier items like mounted shelves and picture frames?
According to Command’s official weight capacity guide, here’s what different hook sizes typically support:
- Small utility hooks: Up to 3.4 kg (7.5 pounds)
- Medium designer hooks: 1.3 kg (3 pounds)
- Clear hooks: 900 grams (2 pounds)
- Decorative/metallic hooks: 1.3-5 kg depending on the specific model
The golden rule? Always choose a hook with a weight capacity 50% higher than what you’re actually hanging. If you’re hanging a 2-pound picture frame, opt for a hook rated for at least 3 pounds. This safety margin accounts for installation variations and environmental factors.
Surface Type Compatibility
Your wall material determines which sticky hooks will actually work. The most compatible surfaces include:
- Smooth painted drywall
- Glossy or semi-gloss tile
- Glass surfaces
- Metal surfaces
- Varnished or stained wood
- Non-textured walls
Avoid sticky hooks entirely on:
- Textured or popcorn walls
- Wallpapered surfaces
- Rough brick or concrete
- Woven fabrics
- Freshly painted walls (wait 28 days after painting)
This limitation is crucial. Installing hooks on incompatible surfaces is like trying to write with a pen on wet paper the results will be disappointing and frustrating.
Comparing Top Brands and Their Unique Features
The adhesive hook market offers several trusted options beyond the ubiquitous Command brand. TESA, for instance, is frequently praised by users for more aesthetically pleasing designs while maintaining strong holding power. VELCRO Brand HANGables offers both removable and permanent options, giving users flexibility based on their specific needs.
The Command 3M brand, which dominates with a 46.9% market share in North America, offers the most extensive product range and is readily available globally. Their stretch-release technology sets the industry standard, though they come at a premium price point. Budget alternatives provide similar functionality at lower costs, though user reviews often note slightly less reliable performance.

The Complete Installation Process: Getting It Right the First Time
Preparation: The Often-Skipped Step That Changes Everything
Installation success begins 24 hours before you touch a hook. Clean your wall with isopropyl rubbing alcohol—not water, not multipurpose cleaner, specifically isopropyl alcohol. Household cleaners leave behind slippery residue that prevents proper adhesion. Wipe gently and allow the wall to dry completely.
Why this matters: Your wall surface likely contains dust, oils, and residue from daily life. Even microscopic particles create a barrier between the adhesive and the wall. Skipping this step is like trying to apply makeup without washing your face you might get away with it, but results will be subpar.
Step-by-Step Installation Guide
Step 1: Gather Your Tools
You’ll need: rubbing alcohol, a clean cloth, your hook package, a measuring tape, and patience. That’s it. Simplicity is the point.
Step 2: Clean and Mark Your Location
Wipe the wall with rubbing alcohol using gentle, circular motions. Allow 2-3 minutes for complete drying. Use your measuring tape to mark the exact position eye-balling it often results in misalignment.
Step 3: Separate the Adhesive Strips
Open your hook package and separate the two adhesive strips. Remove the red liner first and press the adhesive firmly onto the back of the hook, pressing hard from the center outward to eliminate air bubbles. Hold for 15-20 seconds.
Step 4: Apply to the Wall
Remove the black liner (clearly marked as “wall side”). Press the hook firmly against your marked wall position using steady, even pressure. Most manufacturers recommend pressing for 30 seconds don’t rush this. The harder you press, the stronger the initial bond.
Step 5: The Critical Wait Period
Here’s where most people fail: wait one full hour before hanging anything. This period allows the adhesive to reach adequate bonding strength. Many installations fail because impatient users hang items immediately.
Advanced Installation: Two-Piece Hooks (For Heavy Items)
For heavier applications, two-piece hooks require additional reinforcement:
- Install the base plate following steps 1-4 above
- Slide the hook up and off the base plate temporarily
- Press the exposed base firmly against the wall for an additional 30 seconds
- Slide the hook back onto the base
- Wait 1 hour before use
This extra step concentrates the adhesive’s bonding strength and nearly doubles the hook’s holding capacity. While it seems like extra work, it’s invaluable for heavier items.
Advanced Tips: Maximizing Adhesive Performance
The Temperature and Humidity Factor
Environmental conditions dramatically affect adhesive performance. Humidity and temperature fluctuations cause walls to expand and contract, stressing the adhesive bond. High-humidity areas like bathrooms and kitchens present particular challenges.
Pro tip: Install hooks in areas with stable humidity (below 60%) whenever possible. If bathroom installation is unavoidable, use heavier-duty hooks and expect to replace them annually. Some experienced users apply a light heat source (like a hair dryer on low) to the adhesive before application—the warmth activates the adhesive compounds and improves bonding.
The Nano-Tape Alternative for Problem Surfaces
When you absolutely must hang items on textured walls or less-ideal surfaces, nano tape presents an interesting workaround. Different from traditional adhesive hooks, nano-tape grips through microscopic suction cups rather than adhesive chemistry. It works best on satin or eggshell-finish paint rather than flat paint, offering an alternative for notoriously difficult wall textures.
Strategic Hook Placement Strategies
Placement psychology matters more than people realize. Heavy items should be distributed across multiple hooks rather than hanging from a single point. If you’re organizing an entryway with coats, hats, and bags, distribute the load across several hooks spaced 16-24 inches apart rather than clustering everything on one massive hook.
Additionally, mount hooks slightly higher than you think necessary. Eyes naturally drop, making higher placements appear balanced while still allowing easy access. This small adjustment dramatically improves both function and aesthetic appeal.
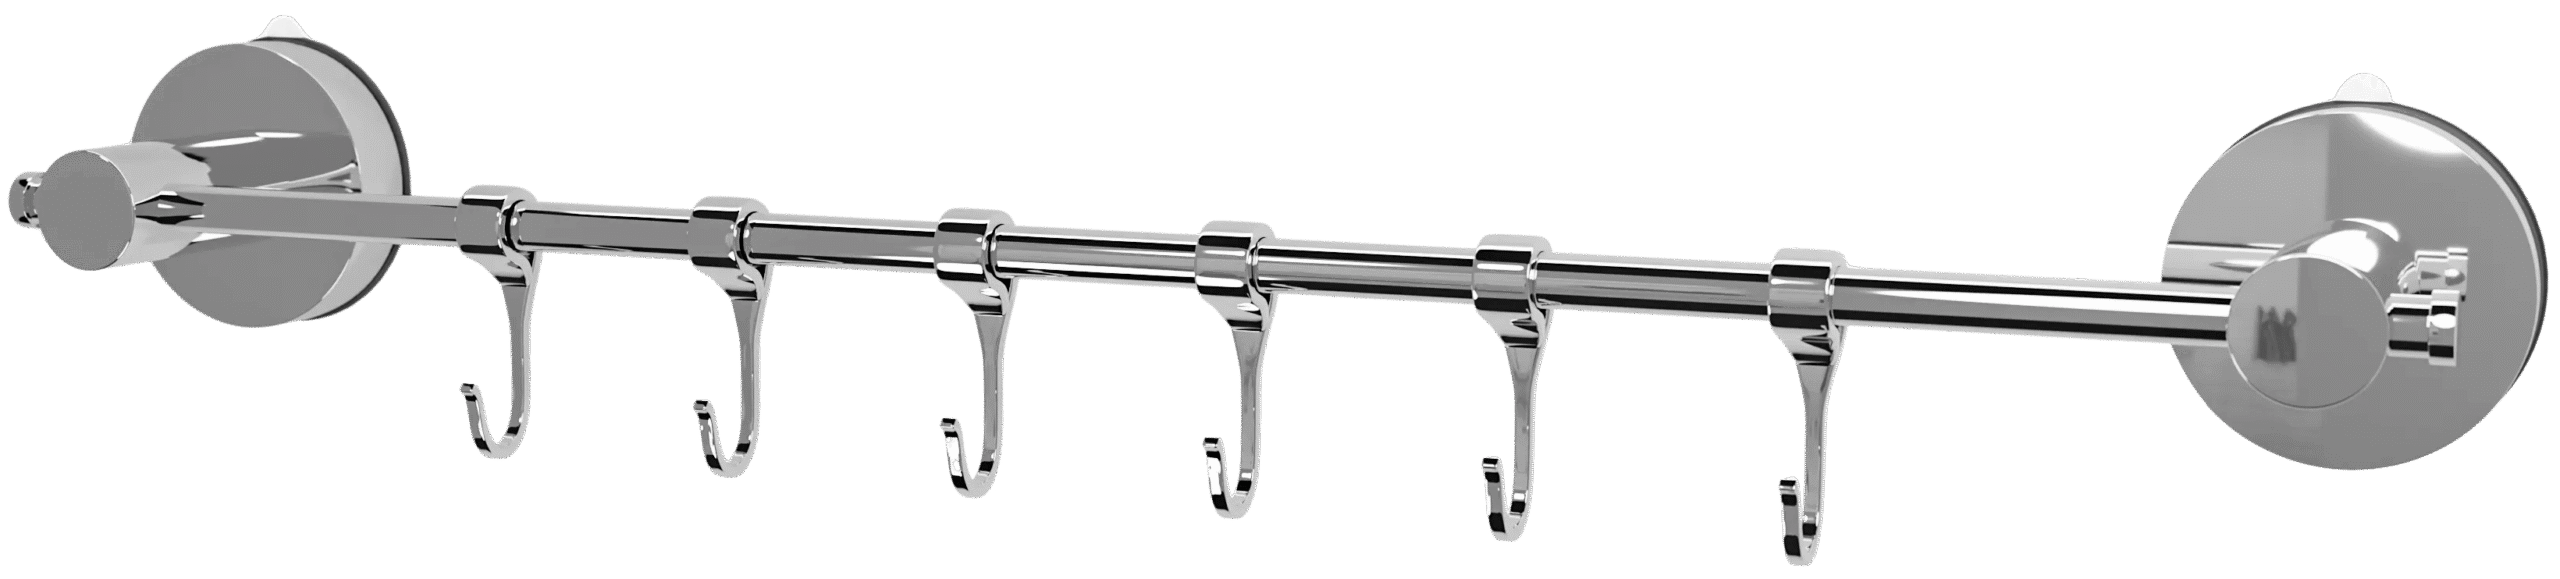
Creating Custom Hook Arrays
For ambitious DIY organizers, painter’s tape templates provide an excellent method for installing multiple hooks with perfect alignment. Create an “H” pattern with painter’s tape, position your hooks against the tape guides, and remove the tape after installation. This technique prevents the frustrating misalignment that results from installing hooks one at a time.
Removal Without Damage: The Stretch-Release Technique
Why Standard Pulling Fails
The number-one mistake people make when removing sticky hooks is pulling straight out from the wall. This creates force vectors that can tear paint from the wall, defeating the entire purpose of damage-free hanging. Instead, you need to understand the stretch-release principle.
The Proper Removal Method
Here’s the technique that actually works:
- Gently grasp the tab at the bottom of the adhesive strip (not the hook itself)
- Slowly stretch the strip downward at a 45-degree angle toward the floor
- Continue stretching gradually for 15-20 inches, allowing the adhesive to slowly release rather than tear away
- The strip should eventually separate cleanly with no residue
This gradual stretching allows the adhesive molecules to break their bonds sequentially rather than all at once. Think of it like unzipping a zipper slow, methodical movement instead of yanking.
Emergency Removal: Using Heat
If your hook has been up for years or the adhesive has hardened, apply gentle heat before removal. Use a hair dryer on low setting for 20-30 seconds, holding it about 6 inches from the wall. This softens the adhesive compounds, making the stretch-release technique significantly easier.
Adhesive Residue Solutions
If residue remains after removal (which happens occasionally), never scrape with sharp objects. Instead, roll a piece of low-tack painter’s tape into a ball and gently press it repeatedly onto the residue. The tape’s stickiness will gradually pull away the remaining adhesive without damaging paint. Alternatively, rubbing alcohol applied directly to remaining adhesive will soften it for easier removal.

Real-World Applications and Organizational Examples
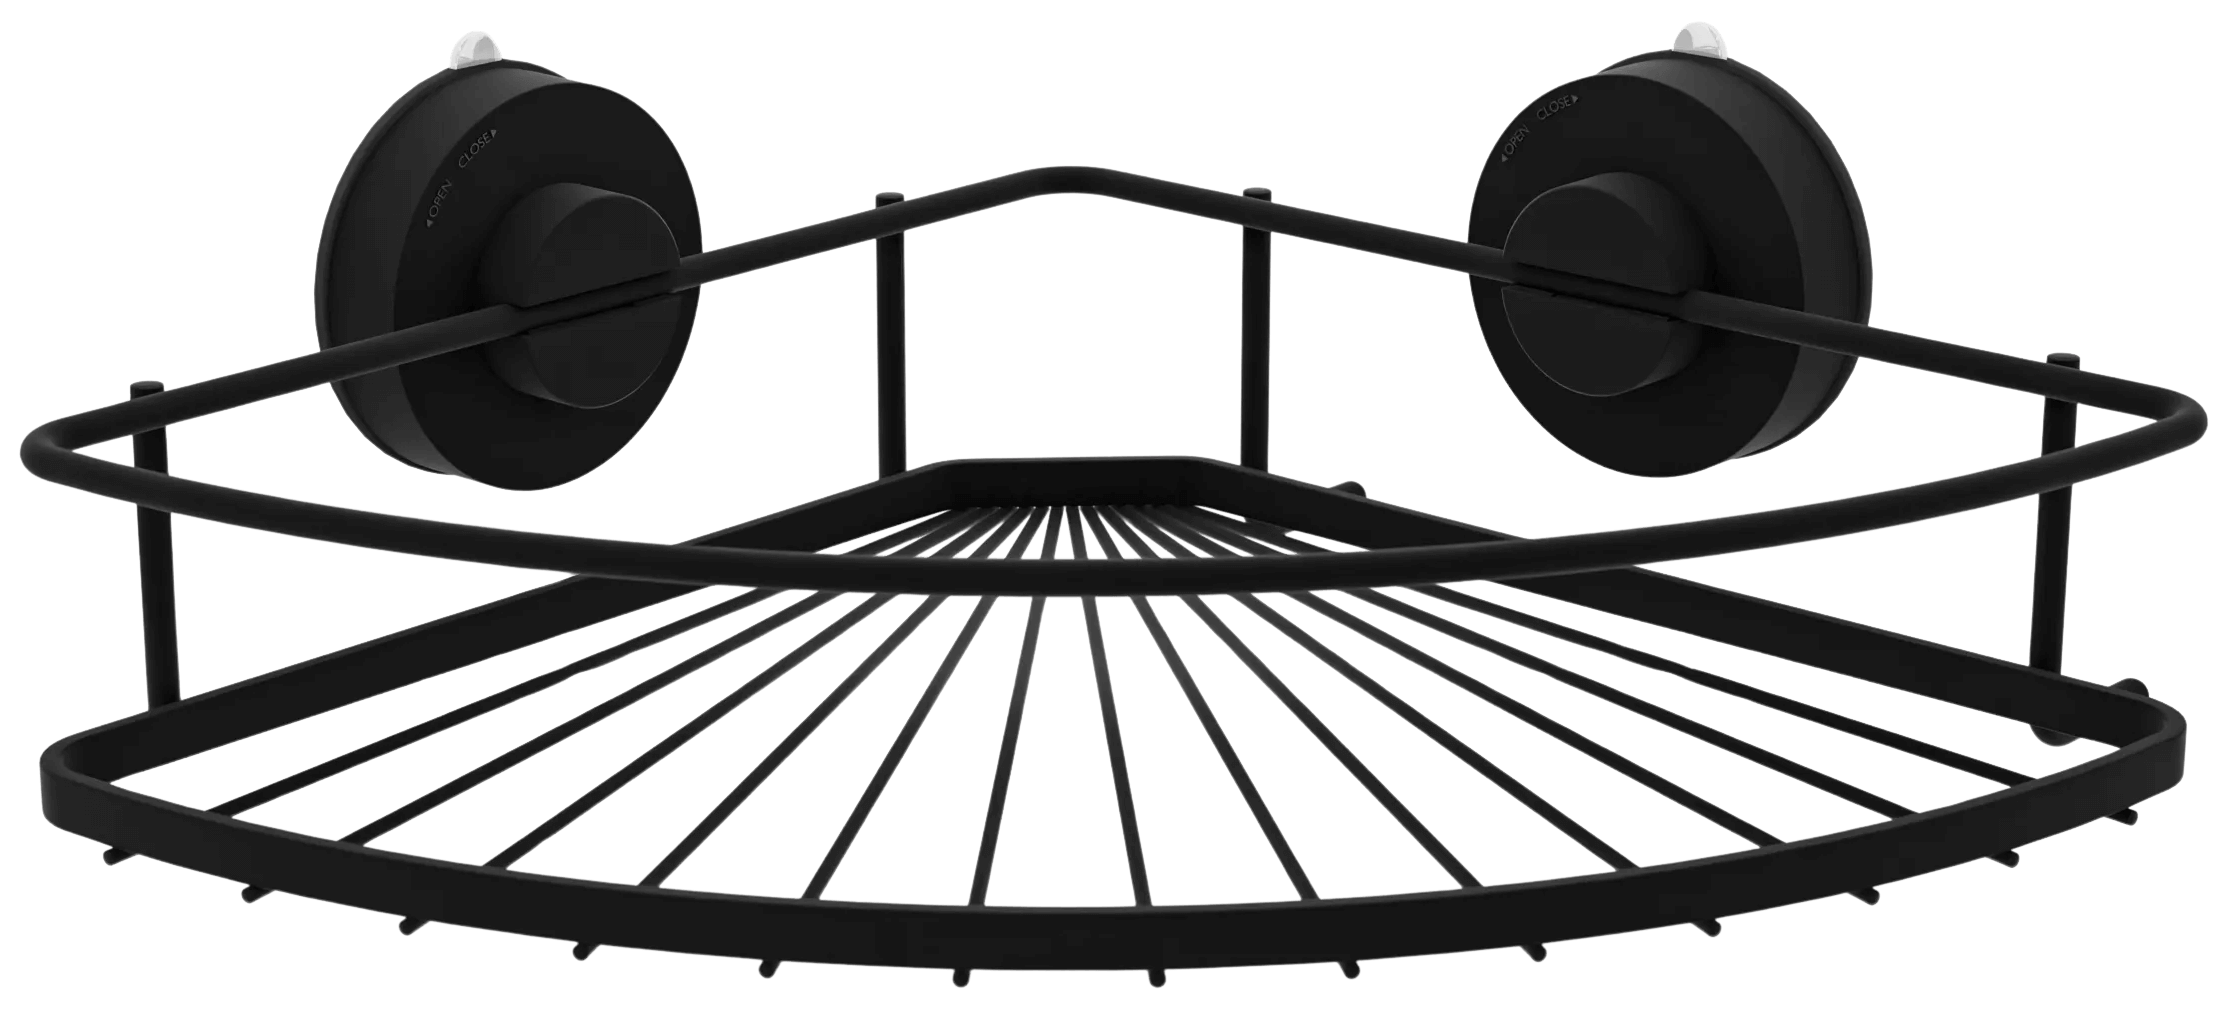
Bathroom Organization Solutions
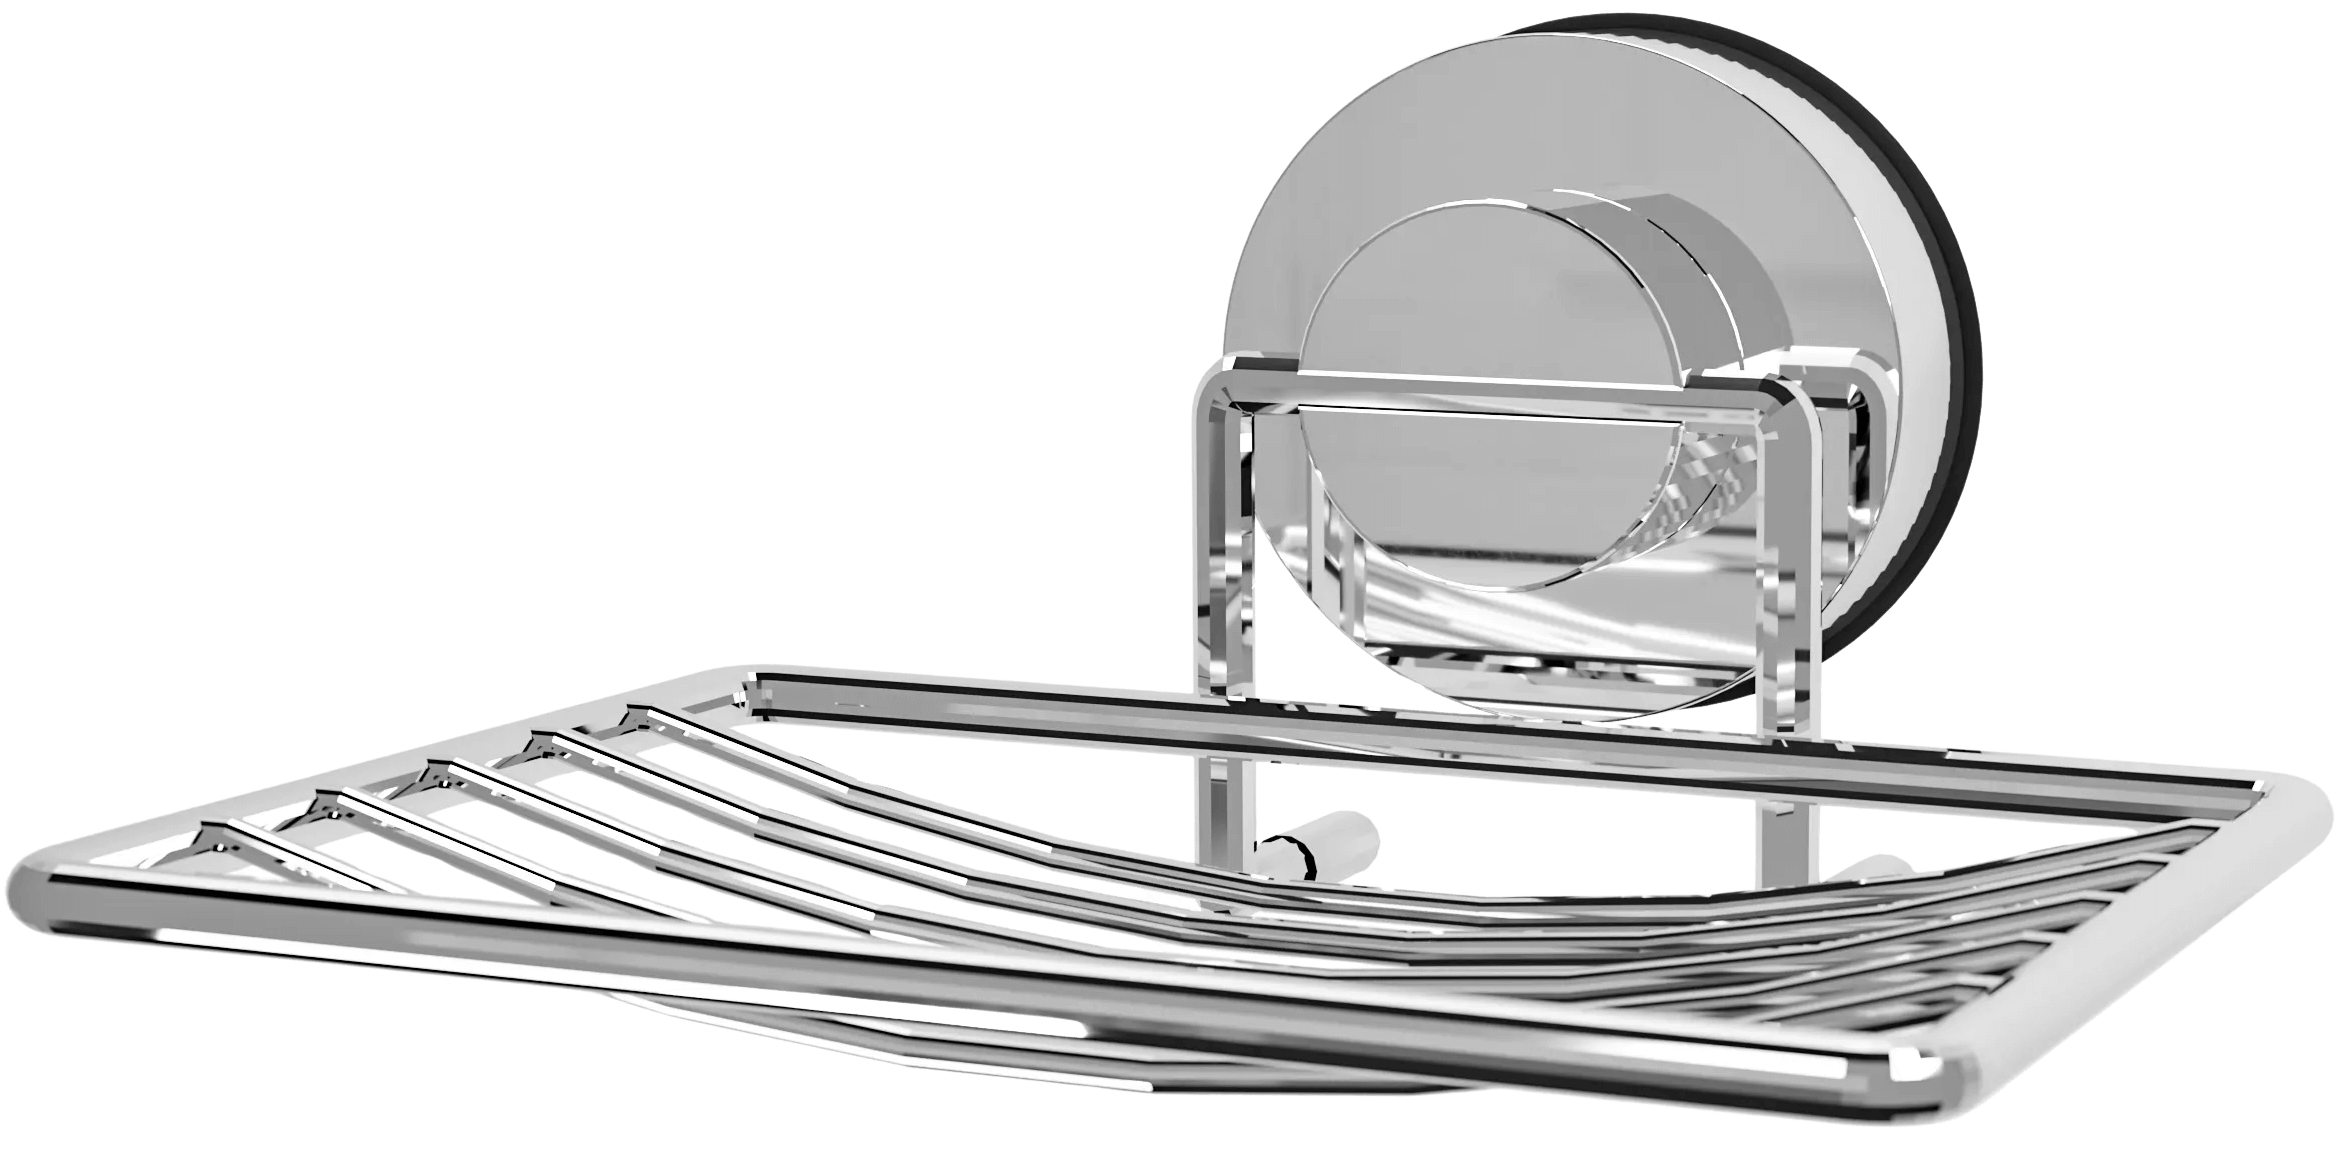
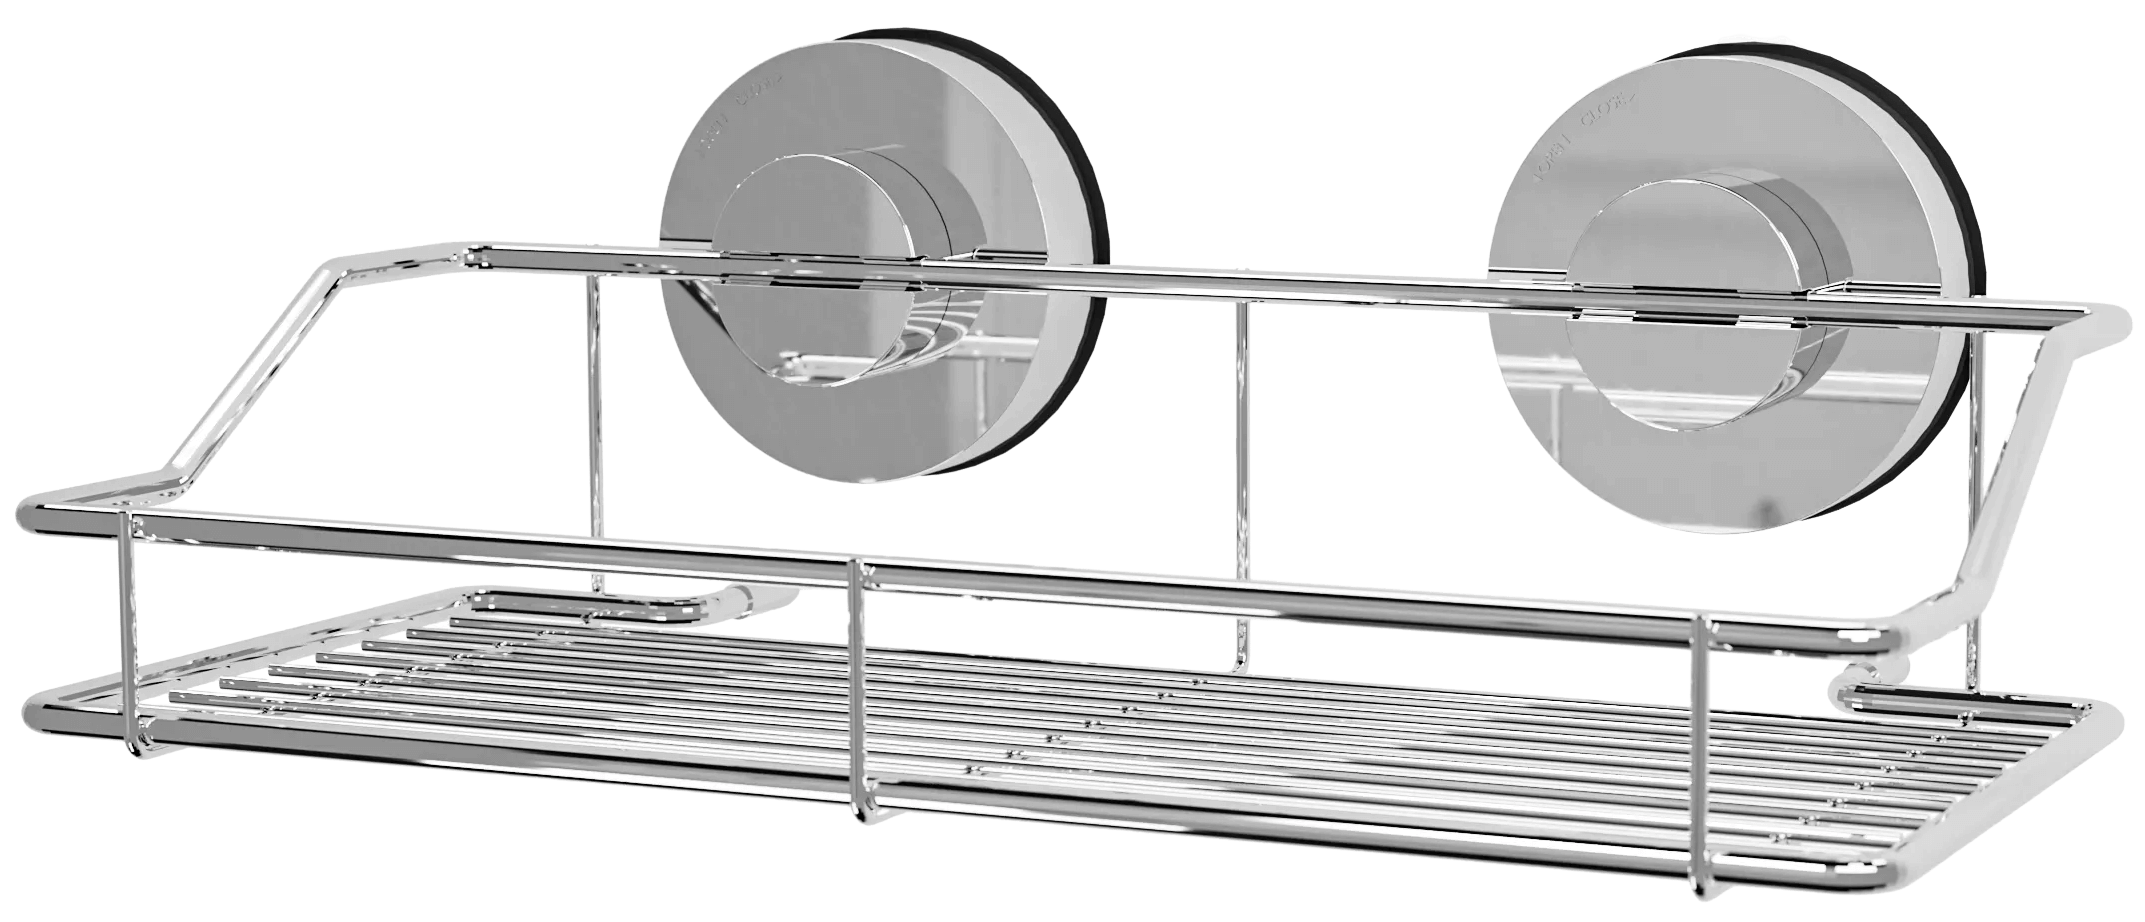
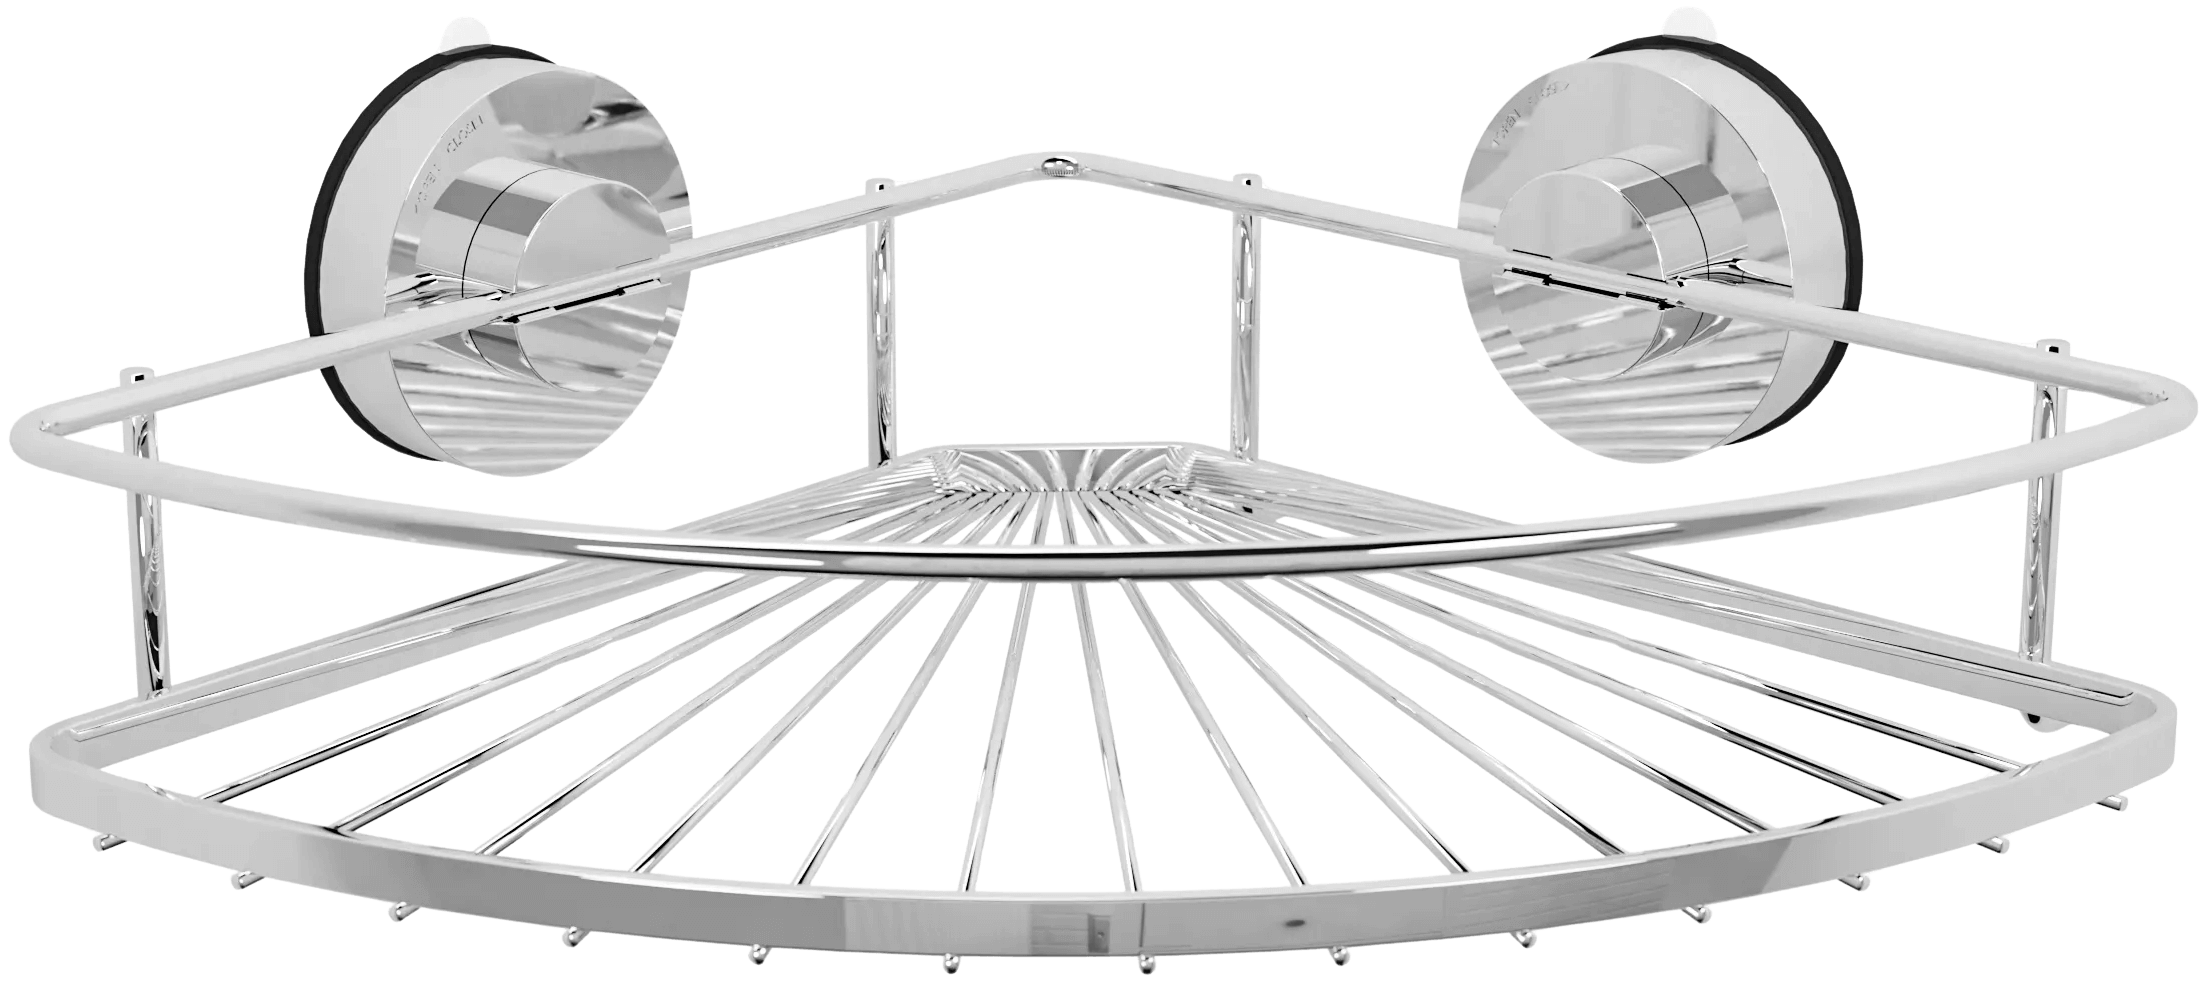
Bathrooms present both opportunity and challenge. The humid environment requires heavy-duty hooks, but the limited wall space makes clever organization essential. Consider this setup:
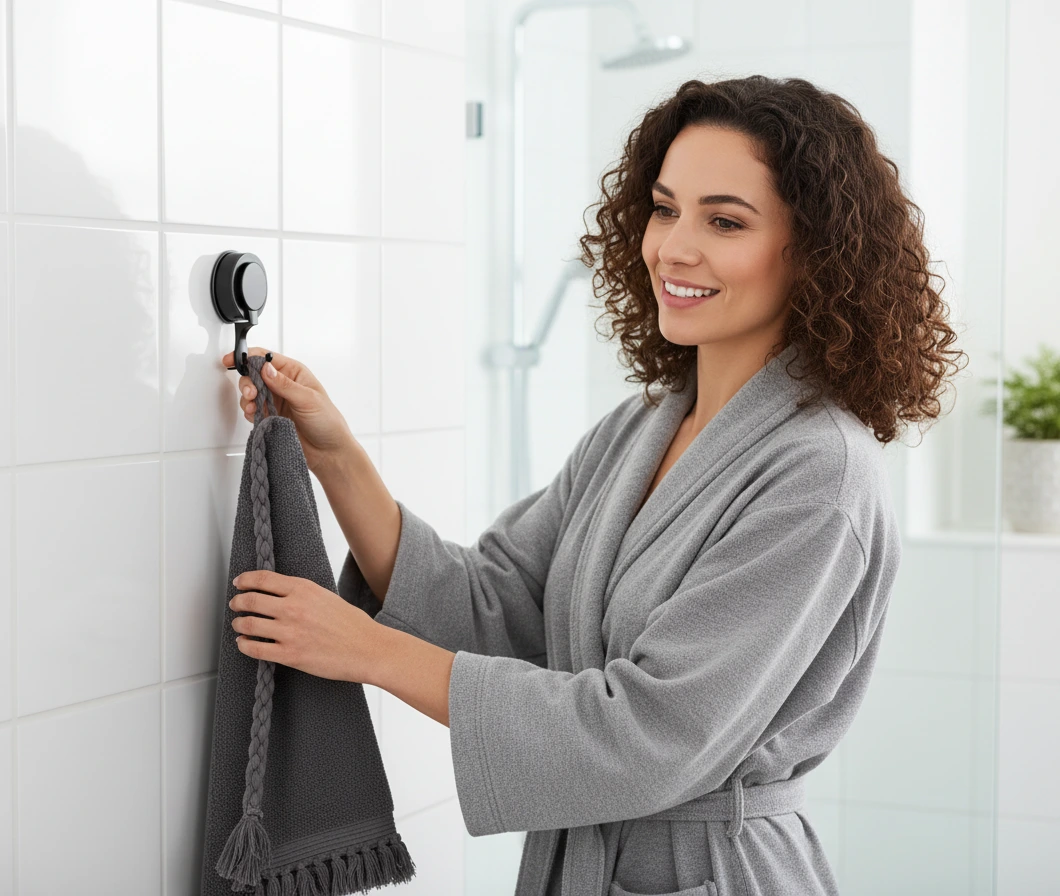
- Upper walls (above sink): Mount 2-3 medium hooks for towels and robes
- Shower area: Use waterproof hooks (specifically rated for bathroom use) to organize shower caddies holding toiletries
- Mirror sides: Small clear hooks hold minimal-weight items like hair brushes or skincare tools without visual clutter
Real example: A family of four installed five Command hooks in their bathroom, creating dedicated spaces for each person’s towel. This simple addition reduced daily towel pile-ups that previously accumulated on the floor.
Entryway Command Centers
Your entryway is ground zero for clutter. A strategic hook installation transforms this zone into an organized command center:
- Coat hooks: One per family member at appropriate heights
- Accessory hooks: Keys, bags, scarves, umbrellas
- Lower hooks: Child-height hooks encouraging kids to hang their own backpacks
- Decorative hooks: For displaying seasonal wreaths or aesthetic baskets
The key is distributing hooks at varying heights to accommodate different item weights and household members.
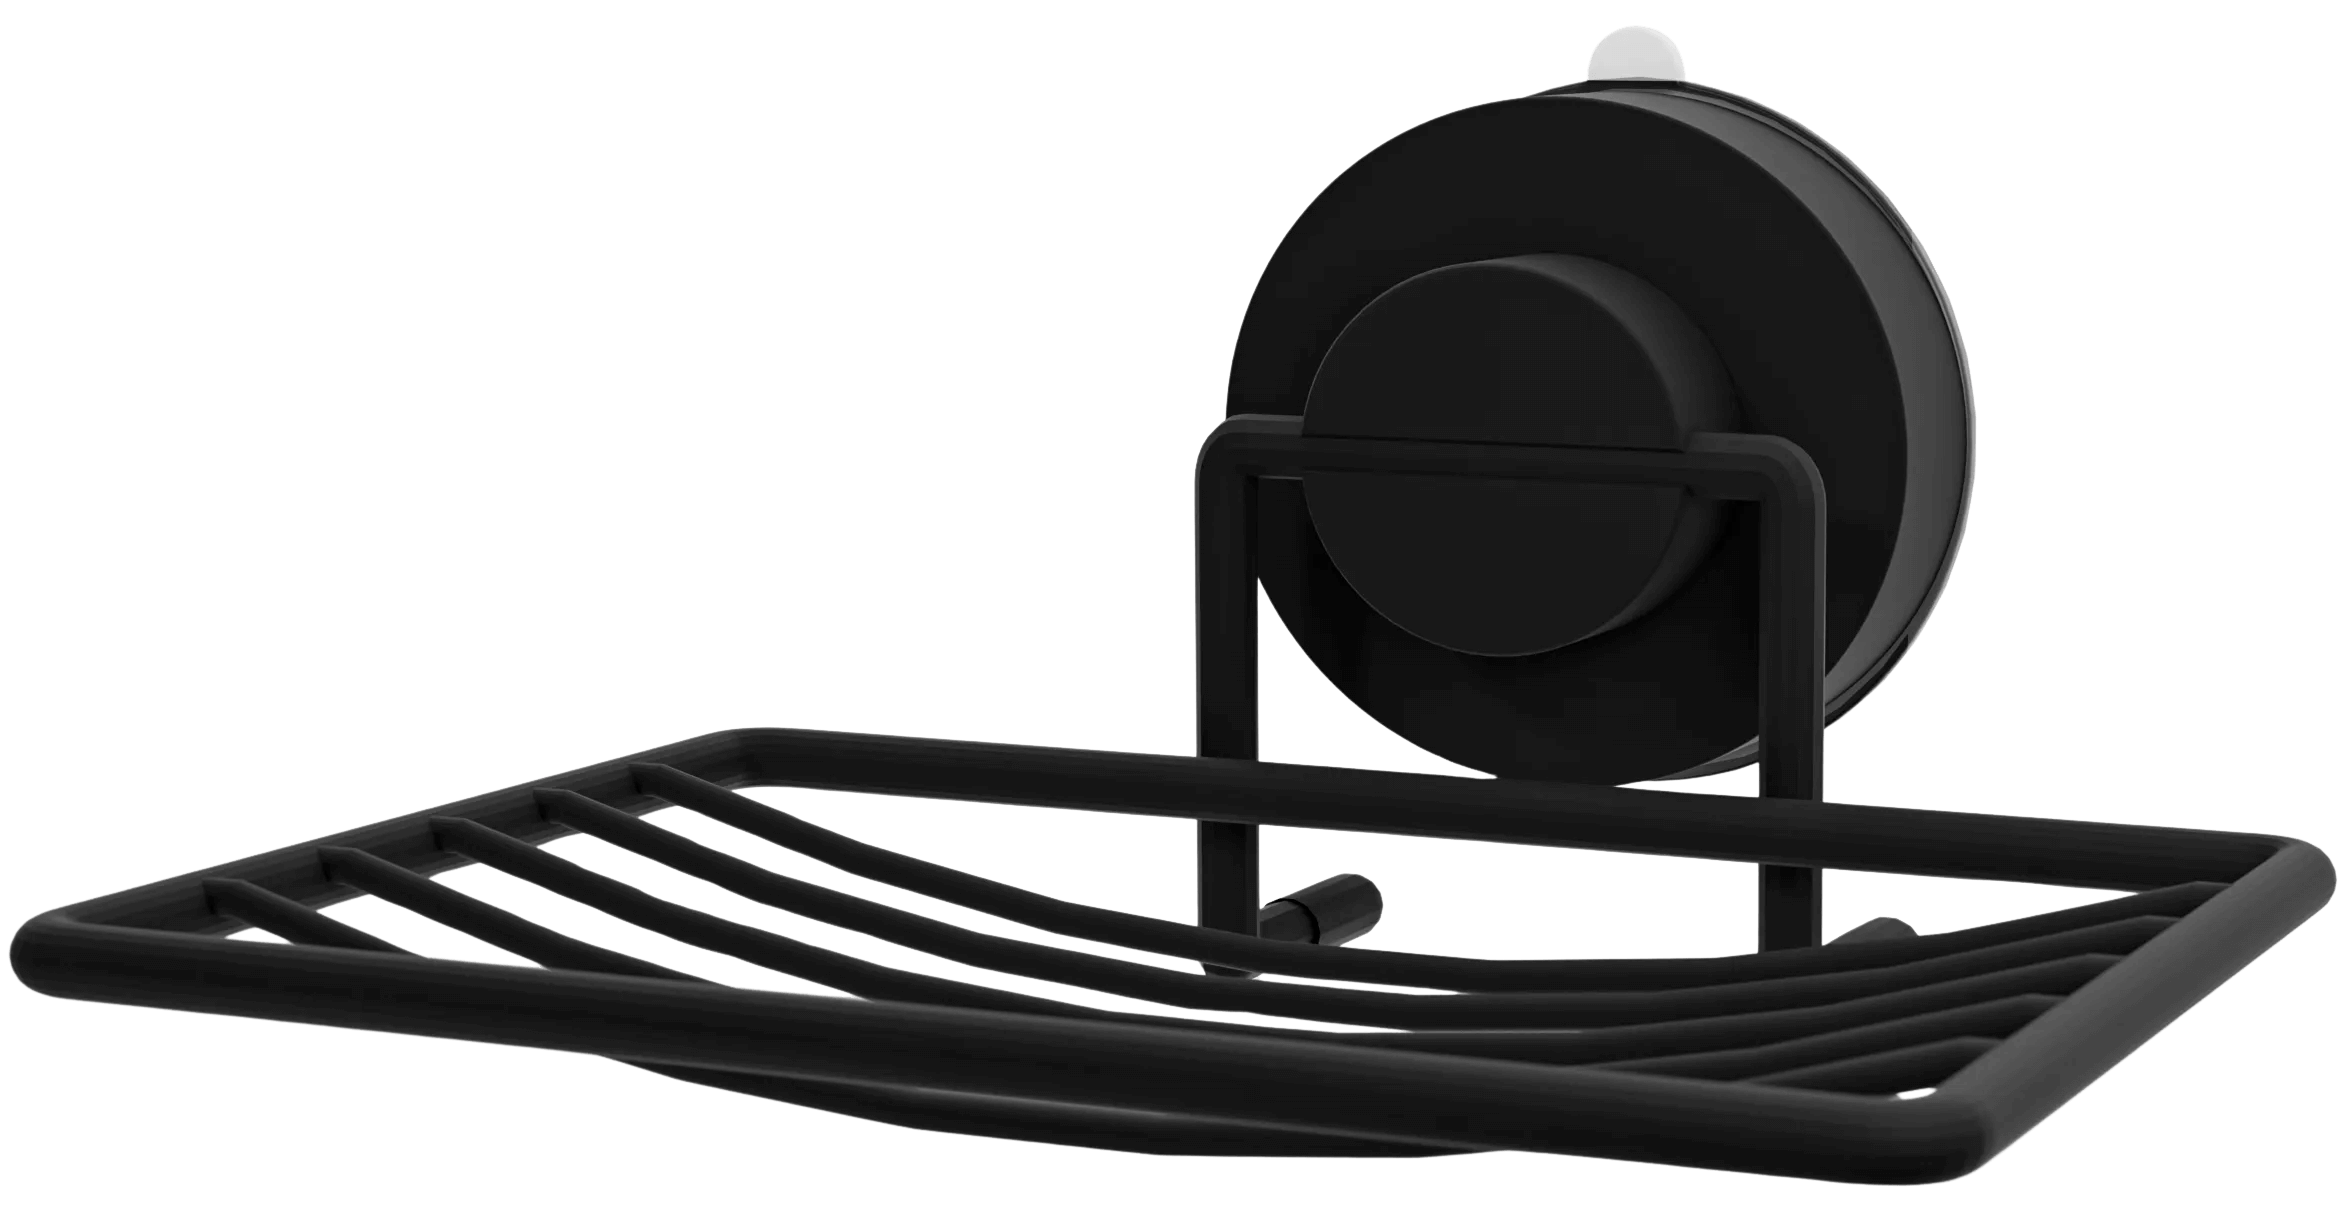
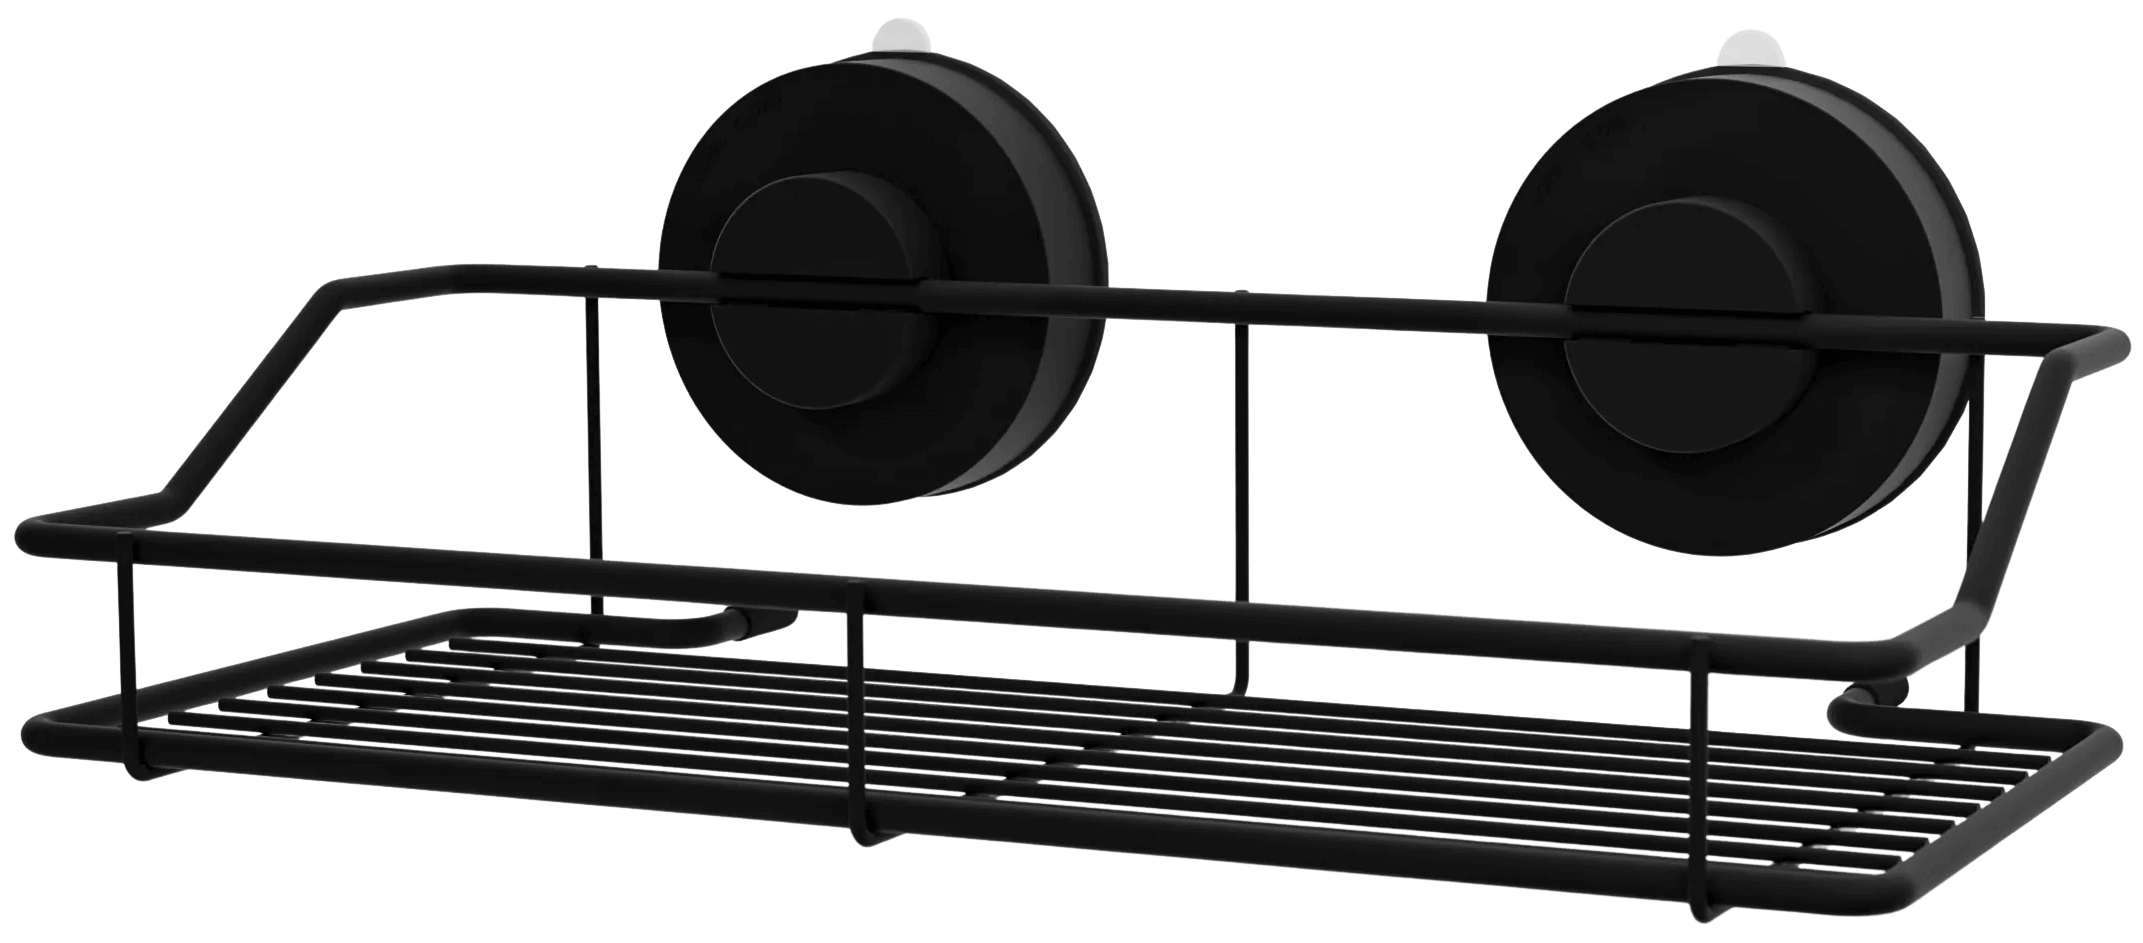
Kitchen and Pantry Organization
Beyond the typical dish towel application, sticky hooks revolutionize kitchen storage:
- Under-cabinet mounting: Hang measuring cups, spoons, and cooking utensils
- Wall panels: Create vertical storage for frequently-used items
- Pantry doors: Mount over-the-door organizers containing snacks or frequently-used ingredients
One user documented organizing 23 items with just 4 well-placed hooks, transforming a chaotic kitchen counter into a streamlined workspace.
Home Office and Creative Spaces
Remote workers and creatives have discovered that sticky hooks maximize limited space:
- Headphone hangers: Keep audio equipment organized and visible
- Cable management: Hooks prevent desk cable chaos
- Supply organizers: Hang organizational baskets for stationery
- Reference materials: Create wall-mounted inspiration boards
Nursery and Child-Friendly Organization
Parents particularly appreciate sticky hooks for safety-conscious design:
- No drilling means no dust: Important for nurseries where air quality matters
- Easy height adjustment: As children grow, hooks can be easily repositioned
- Lightweight items: Stuffed animals, lightweight toys, and soft clothing
- Safety compliance: No sharp fasteners creates a completely safe environment
Understanding Weight Limits: The Science and Safety
How Weight Limits Are Determined
Manufacturers conduct rigorous testing, applying steady downward force until the adhesive strip fails. These tests account for both the hook’s material strength and the adhesive’s holding power. However, real-world applications introduce variables that lab tests can’t fully replicate:
- Impact forces: Dynamic movement creates stress beyond static weight
- Temperature cycling: Adhesive bonds strengthen and weaken with temperature changes
- Humidity variations: Water affects adhesive performance
- Installation quality: Improper installation reduces capacity by 30-50%
The weight limits provided by manufacturers represent optimal conditions. Real homes rarely offer optimal conditions, which is why the “50% safety margin” recommendation exists.
Common Weight Capacity Misconceptions
Myth 1: “If it holds 5 pounds on the box, it holds 5 pounds on my wall.”
Reality: 5 pounds represents peak capacity under ideal conditions. Your wall’s texture, age, paint type, and humidity level all influence actual capacity.
Myth 2: “Multiple hooks can combine their capacities.”
Reality: Multiple hooks don’t add linearly. Installing three 3-pound hooks doesn’t create 9 pounds of capacity. Each hook functions independently, so you can distribute weight across multiple hooks, but you can’t exceed any individual hook’s capacity.
Myth 3: “Heavy-duty hooks are truly heavy-duty.”
Reality: “Heavy-duty” is marketing language, not a regulated standard. A Command “heavy-duty” hook might hold the same weight as a generic brand’s “standard” hook. Always check specific weight ratings rather than relying on marketing terminology.
Troubleshooting: Why Your Hooks Might Be Failing
The Textured Wall Challenge
If your adhesive hooks repeatedly fail on textured walls despite following instructions perfectly, the issue isn’t user error it’s fundamental incompatibility. Textured surfaces don’t provide the continuous contact required for adhesive bonding. Your options:
- Sand the wall texture (not ideal for rentals)
- Switch to nano-tape alternatives
- Use heavy-duty anchors despite the wall damage
- Accept the limitation and organize differently
One Reddit user reported months of frustration with popcorn ceiling hooks before discovering that the popcorn texture was the culprit, not installation technique. After switching to a different wall surface, the same hooks worked flawlessly.
The High-Humidity Problem
Bathrooms and kitchens present moisture challenges that weaken adhesive bonds over time. Solutions include:
- Using bathroom-specific adhesive hooks (designed for moisture resistance)
- Installing a small dehumidifier in problem areas
- Replacing hooks annually rather than expecting multi-year performance
- Applying hooks during lowest-humidity periods (typically early morning in most climates)
Installation Timing and Patience
Most hook failures occur because users hang items before the adhesive fully sets. A 1-hour wait isn’t arbitrary it’s science-based. Hanging items during this bonding period stresses the still-forming adhesive connection, potentially compromising its long-term strength.
Patience protocol: Install hooks in the evening and wait until the following morning before hanging anything. This conservative approach nearly eliminates early failures.
Paint Age and Application Method
Freshly painted walls present a particular challenge. The paint coating hasn’t fully cured, and air bubbles within the paint layer can prevent proper adhesive contact. The 28-day waiting period mandated by most manufacturers isn’t excessive it’s the time required for paint to fully cure and harden.
Sustainable and Eco-Friendly Hook Alternatives
The Environmental Cost of Traditional Adhesives
Standard adhesive strips contain chemical compounds that don’t break down in landfills, contributing to environmental concerns. As consumer awareness grows, manufacturers are developing more sustainable options.
Emerging Green Technologies
Several companies have introduced eco-friendly adhesive hooks using:
- Plant-based adhesives derived from natural resins
- Biodegradable materials for the hook structure
- Recycled stainless steel for metal components
- Compostable adhesive strips that break down naturally
While currently commanding premium prices, these options represent the future direction of the industry. The global market for eco-conscious home organization products is expanding rapidly, suggesting that affordable green alternatives will soon become mainstream.
Making Your Sticky Hook Setup Sustainable
Beyond selecting eco-friendly products, extend hook lifespan by:
- Installing correctly the first time (preventing reinstallation waste)
- Rotating hooks to different locations rather than replacing them
- Reusing adhesive strips when possible
- Choosing multi-purpose hooks to reduce total quantity needed
(FAQs)
1: Can I reuse adhesive hook strips after removal?
Answer: Generally, no. Once stretched and removed, adhesive strips lose 80-90% of their holding power. However, some heavy-duty strips designed for multiple applications can be reused 2-3 times with diminished capacity. Always purchase fresh strips for optimal performance rather than attempting to reuse compromised adhesive. Attempting to reuse failed strips often results in items falling, creating the wall damage you were trying to prevent.
2: How long do adhesive hooks actually last on walls?
Answer: In ideal conditions (moderate humidity, stable temperature, appropriate weight load), quality sticky hooks last 2-5 years. In challenging environments like bathrooms or humid climates, expect 1-2 years. High-humidity areas degrade adhesive compounds relatively quickly. Some users report decade-long performance, but these represent exceptional cases with minimal environmental stress. Plan for annual inspection and replacement in high-use areas.
3: What’s the actual difference between cheap and expensive adhesive hooks?
Answer: Price differences reflect several factors: longevity (premium hooks last longer), weight capacity (expensive hooks hold more), environmental conditions (premium adhesives resist humidity better), and aesthetic design (designer hooks cost more for appearance). A $1 generic hook and a $5 premium hook might both hold 2 pounds initially, but the premium hook will maintain that capacity longer and perform better in humidity. For permanent installations in ideal conditions, cheap hooks suffice. For challenging environments or important items, invest in premium options.
4: Can adhesive hooks work on painted metal surfaces like filing cabinets?
Answer: Absolutely, and metal is actually one of the ideal surfaces for adhesive hooks. Metal provides the smooth, non-porous contact that adhesive needs for optimal bonding. Make sure to clean the metal surface thoroughly with rubbing alcohol to remove dust and oils. Painted metal works particularly well—the adhesive bonds directly with the paint layer. This application is perfect for organizing garage workspaces, office filing systems, or metallic appliances.
5: What’s the best adhesive hook solution for apartment dwellers on a budget?
Answer: For renters on limited budgets, purchase mid-range brand adhesive hooks (not the cheapest, not premium) in bulk 20-packs, which offer the best price-per-hook value. Stick with 1-3 pound capacity hooks for most applications—they’re affordable, reliable, and suitable for light-to-moderate items. Focus on smooth painted drywall and tile surfaces where performance is most reliable. Expect to replace hooks every 1-2 years, budgeting $15-20 annually for organization supplies. This approach balances cost-consciousness with reliability.
Making the Decision: Are Sticky Wall Hooks Right for You?
Quick Self-Assessment Checklist
Answer these questions to determine if sticky wall hooks align with your needs:
- Do you rent your home? ✓ (Perfect candidate)
- Do you want to preserve wall condition? ✓ (Excellent choice)
- Is your wall smooth and painted (not textured)? ✓ (Optimal scenario)
- Are your items relatively lightweight? ✓ (Ideal application)
- Do you live in a moderate-humidity environment? ✓ (Best performance)
- Do you hate the permanence of drilled holes? ✓ (This solves your problem)
If you checked four or more items, sticky wall hooks are an excellent solution. If you unchecked several, explore alternative hanging methods or specialized hook options designed for your specific challenges.
Alternative Solutions When Sticky Hooks Aren’t Enough
In scenarios where sticky hooks don’t fit your needs, consider:
- Command Picture Hanging Strips: For picture frames only, these specialized strips provide enhanced strength for flat items
- Monkey Hooks: Specialized hooks that create minimal wall damage, ideal for drywall in difficult situations
- Suction Cup Hooks: Perfect for temporary bathroom applications on tile and glass
- Magnetic hooks: Ideal for metal surfaces (garage, workshops, metal storage units)
- Adjustable tension rods: Excellent for lightweight items across wide areas without adhesive
The Bottom Line: Transform Your Space Fearlessly
Sticky wall hooks represent more than convenient storage solutions they embody the modern approach to home organization that prioritizes both aesthetics and practicality. Whether you’re renting or own your home, maximizing limited space or implementing a complete organizational overhaul, these humble hooks deliver impressive results when used correctly.
The secret to success isn’t complicated: select appropriate hooks for your specific needs, prepare your surface meticulously, follow installation instructions precisely, and exercise patience during the adhesive curing period. These fundamentals separate frustrated users with falling hooks from satisfied customers whose walls remain pristine while their spaces transform.
Ready to start your damage-free organization journey? Begin with a single well-placed hook in an ideal environment smooth painted drywall, moderate humidity, light-to-moderate weight. This initial success builds confidence for more ambitious organizational projects.
Remember: wall damage costs money, time, and frustration. Sticky wall hooks cost a few dollars and fifteen minutes of preparation. The math is simple. Your walls and your security deposit will thank you.
